How to Hide a Double Chin With Makeup
A double chin can appear on anyone, in photos especially, where a slightly lowered head or downward camera angle makes the area under the jaw look fuller than it really is. The good news: makeup can create a convincing illusion of a sharper, more defined jawline in just a few minutes. This is not about changing your face; it’s about controlling light and shadow the same way photographers do.
Key Takeaways:
- A double chin shows most in photos because downward angles compress the jaw and neck.
- Prep skin well so contour blends seamlessly without caking.
- Map the jawline shadow just under the jawbone, not on the neck itself.
- Blend the shadow down into the neck so there is no visible line.
- Add a touch of light on top of the jawline to sharpen the edge.
- Photo tricks multiply the effect: chin slightly forward and down, camera at eye level.
- Choose the full contour routine plus the photo tricks for photos and occasions, and choose the photo tricks alone when you want no makeup, since the shadow is an illusion that reads best at a distance.
The whole technique rests on one idea: shadows recede, highlights come forward. Place a soft shadow under the jawline and the chin looks more sculpted. Place light on top of the chin and cheekbones and those features look more defined. Once you understand that, the rest is just blending.
Why a Double Chin Shows Up (Especially in Photos)
Before you pick up a brush, it helps to know what’s actually creating the effect. In most cases, it’s one of these:
- Camera angle. A lens even slightly above eye level compresses the neck and jaw together. Phone cameras held at chest height are the worst offenders, this is the same lens distortion problem that makes selfies lie about your face shape.
- Head posture. Chin tucked down toward the chest shortens the visible jawline and pushes soft tissue under the chin together.
- Lighting from above. Overhead light casts a natural shadow directly under the jaw, which ironically can both define and exaggerate the area.
- Expression. A fully relaxed jaw and slightly open mouth can make the under-chin area look fuller.
Knowing this matters because makeup works best when it teams up with the right photo habits, head slightly forward and down, camera at eye level. Our facial thirds guide explains how head position changes perceived proportions in a portrait.
What You’ll Need
You don’t need a full contour kit. A short shopping list:
- Contour product 2–3 shades deeper than your skin tone. A cream stick is easiest for beginners because it blends forgivingly; powder contour works if you already use setting powder. Matte only, shimmer under the chin will catch light and undo the illusion.
- Your regular foundation and concealer.
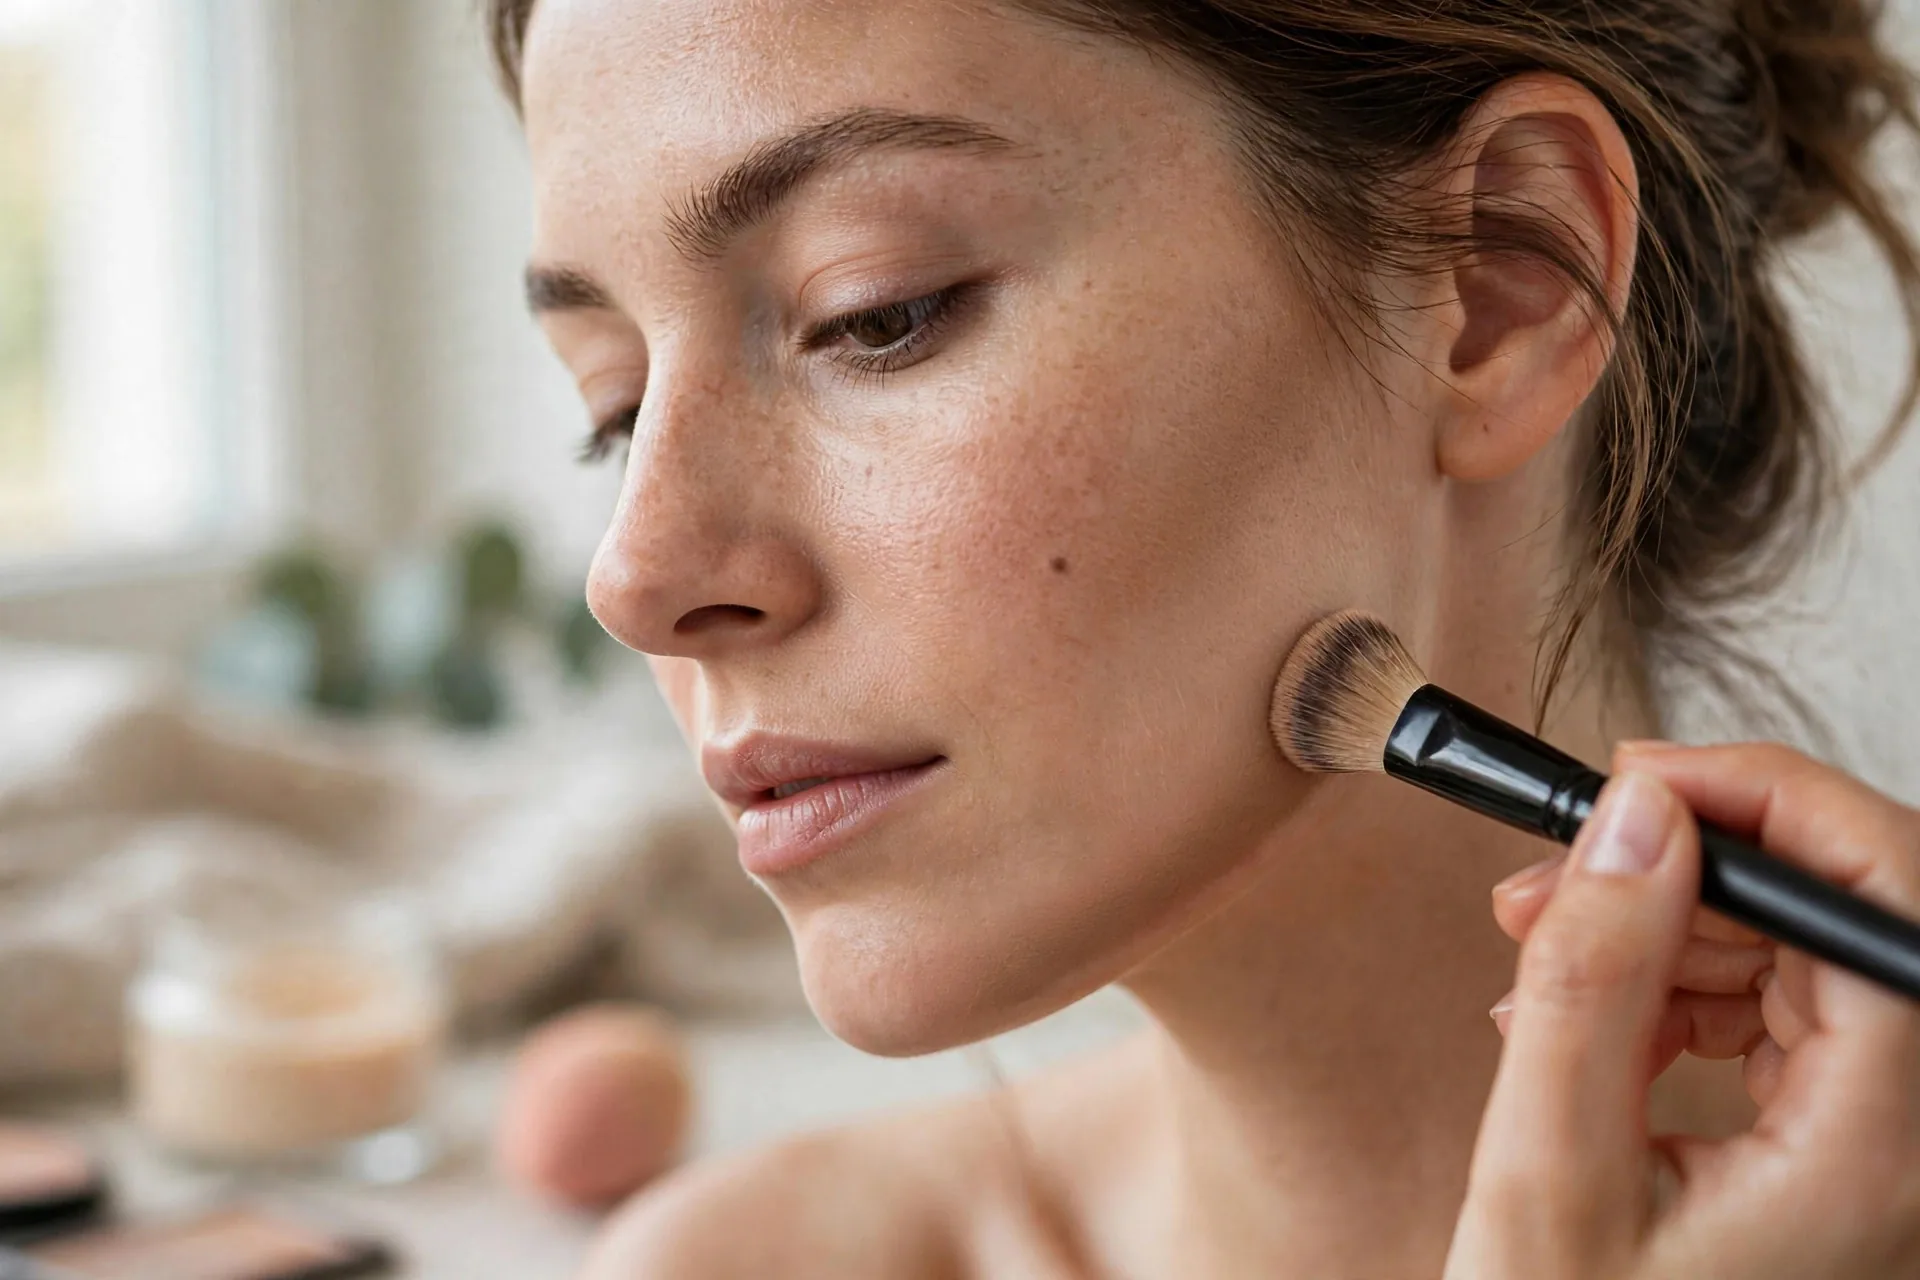
- A fluffy angled brush or a damp beauty sponge for blending.
- A small highlighter (subtle, not glittery) for the tip of the chin.
That’s it. The technique matters far more than the products.
Step 1: Prep the Skin
Apply your normal foundation and concealer first, including down the neck a few inches. Contour layered over bare or uneven skin grabs in patches and looks muddy. The single most common mistake beginners make is contouring before base makeup, always work on a finished base so the shadow sits at the right depth.
Set your base lightly if you tend to get oily, since contour sliding into shine will erase the shadow you’re trying to build.
Step 2: Map the Jawline Shadow
Tilt your head slightly down and feel along the underside of your jawbone with a fingertip. You can feel the bony ridge where the jaw meets the neck, that edge is your guide.
With your contour stick or brush, draw a soft line just below that jawbone edge, running from the ear toward the chin. Stay behind the jawline rather than on the visible face: you’re shading the area where the face meets the neck, not painting a stripe on your cheek.
Key placement rules:
- Keep the line soft and thin, about the width of a finger. Heavy stripes read as makeup from two feet away.
- Start the line behind the ear and pull it forward, stopping about an inch before the chin point. Going all the way across creates a “necklace” effect.
- Feather the edges immediately with your brush so there’s no hard line.
Step 3: Blend Down Into the Neck
This is the step that separates a convincing job from an obvious one. Take your fluffy brush or sponge and blend the contour downward into the neck, not upward onto the face. Upward blending pushes the shadow onto the jaw itself and darkens the lower face; downward blending melts the line into the neck so the jawline looks like it ends crisply.
Check your work from three angles: straight-on, a three-quarter turn, and with your head at normal posture. A shadow that looks perfect tilted down can vanish, or look stripey, when you stand naturally.
Step 4: Add Light on Top
Now do the reverse on the features you want to emphasize. With a small brush, place a subtle highlight on:
- The tip of the chin, this brings the chin forward visually.
- The tops of the cheekbones, defined cheekbones make the whole lower face look more structured.
Keep both restrained. You’re sculpting, not glowing.
Step 5: Set It So It Lasts
Dust a light layer of translucent setting powder over the contoured area, pressing gently rather than sweeping. This locks the shadow in place and prevents it migrating into your neck crease by midday. If you used a cream contour, a quick pass of matching powder contour on top will extend wear significantly.
Photo Tricks That Multiply the Effect
Makeup does the heavy lifting, but these camera habits make it twice as effective:
- Camera at eye level or slightly below. Never shoot from above.
- Chin slightly forward and down, the classic “turtle” pose. It stretches the skin under the jaw and defines the jawline instantly.
- Turn your body slightly sideways rather than facing the camera square-on.
- Smile with your teeth slightly together and press your tongue to the roof of your mouth, a red-carpet trick that tightens the under-chin area.
Common Mistakes to Avoid
- Contouring the front of the chin. The shadow belongs under the jawbone edge, not on the face itself.
- Using shimmer contour. Matte products recede; anything reflective will spotlight the area.
- Skipping the neck blend. An unblended line is worse than no contour at all.
- Going too dark. Two to three shades deeper than your skin is plenty; deeper shades look like a bruise in daylight.
- Contouring only one side evenly. Faces are naturally asymmetrical, check both sides in a mirror rather than mirroring your strokes exactly.
If you want to understand your own jawline and chin proportions better first, try our free AI face analysis tool on the homepage, it maps your facial structure from a photo and can confirm which angles flatter your features most.
Who This Double Chin Makeup Guide Suits, and Who Should Read It Differently
This guide suits anyone whose double chin shows most in photos, where a slightly lowered head or a downward camera angle makes the area under the jaw look fuller than it really is. The whole technique rests on one idea, shadows recede and highlights come forward, and the guide keeps the product list short, a contour stick, foundation, a brush or sponge, and a small highlighter, because the technique matters far more than the products. It walks through the full routine, prep, mapping the shadow just under the jawbone, blending down into the neck, adding light on top, and setting it, plus the camera habits that multiply the effect.
Read it differently if you want a lasting change, invisibility, or a bare-face result. Makeup is an optical illusion, not a treatment: it will not change skin laxity or the underlying structure, the effect is strongest in photos and from a few feet away, and up close it reads as makeup, which is fine, because the goal is a softer, more defined look. Some chin fullness is completely normal anatomy and cameras exaggerate it far more than real life does, and the principle is identical on all skin tones, with only the contour undertone varying, so treat the shadow as a photo tool, not a correction.
Frequently Asked Questions
Does contouring actually hide a double chin in real life, or just in photos?
It works in both, but the effect is strongest in photos and from a few feet away, where the brain reads shadows as depth. Up close, anyone looking carefully can tell it’s makeup, which is fine, because the goal is a softer, more defined look, not invisibility.
Cream or powder contour, which is better for the jawline?
Cream sticks are more forgiving for beginners because they blend longer and sit on the skin naturally. Powders last longer and photograph crisply. Many people use both: cream to map, powder to set.
How do I stop the contour from transferring onto my collar?
Two fixes: blend the shadow fully into the neck so no product sits on the surface, and set it firmly with translucent powder. A setting spray on top adds extra insurance for long days.
Will this work on all skin tones?
Yes, the principle is identical. The only variable is product selection: choose a contour shade with the right undertone for your skin (cool-toned shadows suit most people, but very warm skin tones need a warmer shadow to avoid looking grey).
Is there anything makeup can’t do here?
Makeup is an optical illusion, not a treatment, it won’t change skin laxity or the underlying structure. For everyday confidence and photos, though, a well-blended jawline shadow is one of the highest-impact techniques in a makeup bag. And remember that some chin fullness is completely normal anatomy; cameras exaggerate it far more than real life does.