Brow Shape for Round Face: High-Arch Mapping Guide
A round face has soft curves everywhere: a rounded hairline, full cheeks, a gently curved jaw, and width and length that measure roughly the same. Pretty, youthful, and balanced, but brows shaped the wrong way can make that roundness the only thing people notice. The right brow shape for a round face does the opposite job. It introduces angles and vertical lift where the face has none, so the whole face reads slimmer and more defined.
The short answer is a high, structured arch with a defined peak and a tapered tail. But “high arch” alone is the kind of vague advice every generic guide repeats. What actually changes the result is precision: where the arch peaks, how thick the brow runs, and where the tail ends. This guide covers all three with exact reference points.
Key Takeaways
- The best brow shape for a round face is a high arch with a defined peak, which adds vertical lines that elongate the face.
- Map the arch to line up with the outer edge of your iris. An arch placed further out makes a round face look wider, not slimmer.
- Keep thickness medium. Brows that are too thick look heavy on a full face, while overly thin brows turn severe next to a high arch.
- Avoid rounded, rainbow-shaped brows. Curves mirror the face’s roundness instead of contrasting it.
- The tail should end on the diagonal from the outer nostril past the outer eye corner. A tail that stops short looks unfinished and emphasizes width.
Why a High Arch Works on Round Faces
Brows are the only strong horizontal feature you can reshape on your face, and on a round face they carry real optical weight. A defined peak creates an upward point that draws the eye vertically, which reads as length. The angled line from the start of the brow up to the peak also breaks the face’s continuous curve, adding the structure that round faces naturally lack. Brow artist Momoi Supe puts it simply in Preview’s face-shape brow guide: high arches elongate and give a round face a vertical point to work with.
The contrast principle matters here. Round faces are all soft transitions, so a brow with a clear angle stands out in the best way. A soft, rounded brow on a round face just blends into the existing curves and adds nothing. That is why the goal is not “natural and soft” but “lifted and defined”, while still keeping the edges groomed so it never looks harsh.
Confirm Your Face Shape Before You Touch Your Brows
Shaping for the wrong face shape is the fastest way to hate your brows for six weeks. A round face has three tells: the forehead and jawline are about the same width, the cheekbones are the widest point, and there are no sharp angles at the jaw or chin. If your face is noticeably longer than it is wide, you are working with an oval or oblong face instead, and a high arch will only exaggerate the length.
Unsure? Run a free face-shape analysis on Russella’s homepage, which detects your face shape from a photo in seconds. Ten seconds of checking beats two months of growing out the wrong shape.
Round-Face Brow Mapping: The Exact Three Points
Every good brow starts with mapping, marking the start, arch, and end before removing a single hair. You need a spoolie and any thin, straight tool: a brow pencil, a makeup brush handle, even a chopstick. Round faces get one critical adjustment at the arch point that generic guides skip.
Step 1: The Start
Hold your tool vertically against the outer edge of your nostril, running straight up past the inner corner of your eye. Where it crosses your brow line is your start point. On round faces, resist the urge to bring the starts inward. Narrowing the gap between brows on a full face makes the center of the face look crowded and the cheeks look wider by comparison. Mark the point and move on.
Step 2: The Arch (The Round-Face Rule)
Look straight ahead. Angle the tool from the outer edge of your nostril through the outer edge of your iris. Where that line meets the brow is your peak. This is the single most important measurement in this guide, because arch placement is where round faces go wrong. As Wonderskin’s brow shape guide notes, the arch should line up with the outer edge of the iris, and placing it any further out from the nose makes a round face appear wider. An arch that sits too far toward the temple stretches the brow horizontally, which is exactly the direction you do not want to emphasize.
The peak itself should be defined, not a smooth hill. Think of a gentle mountain summit rather than a rounded dome. You are not aiming for a severe, dramatic point, just a clear change of direction that the eye reads as an angle.
Step 3: The End
Angle the tool from the outer edge of your nostril past the outer corner of your eye. Where it crosses the brow line is your tail end. On round faces the tail deserves extra length. A tail that stops short leaves the brow looking stubby, and short brows make the sides of the face look broader. Let the tail taper to a soft point rather than ending bluntly, and never let it dip below the horizontal line of the brow’s start. A drooping tail pulls the whole eye area downward and cancels the lift you just built.
Thickness and Length: The Round-Face Settings
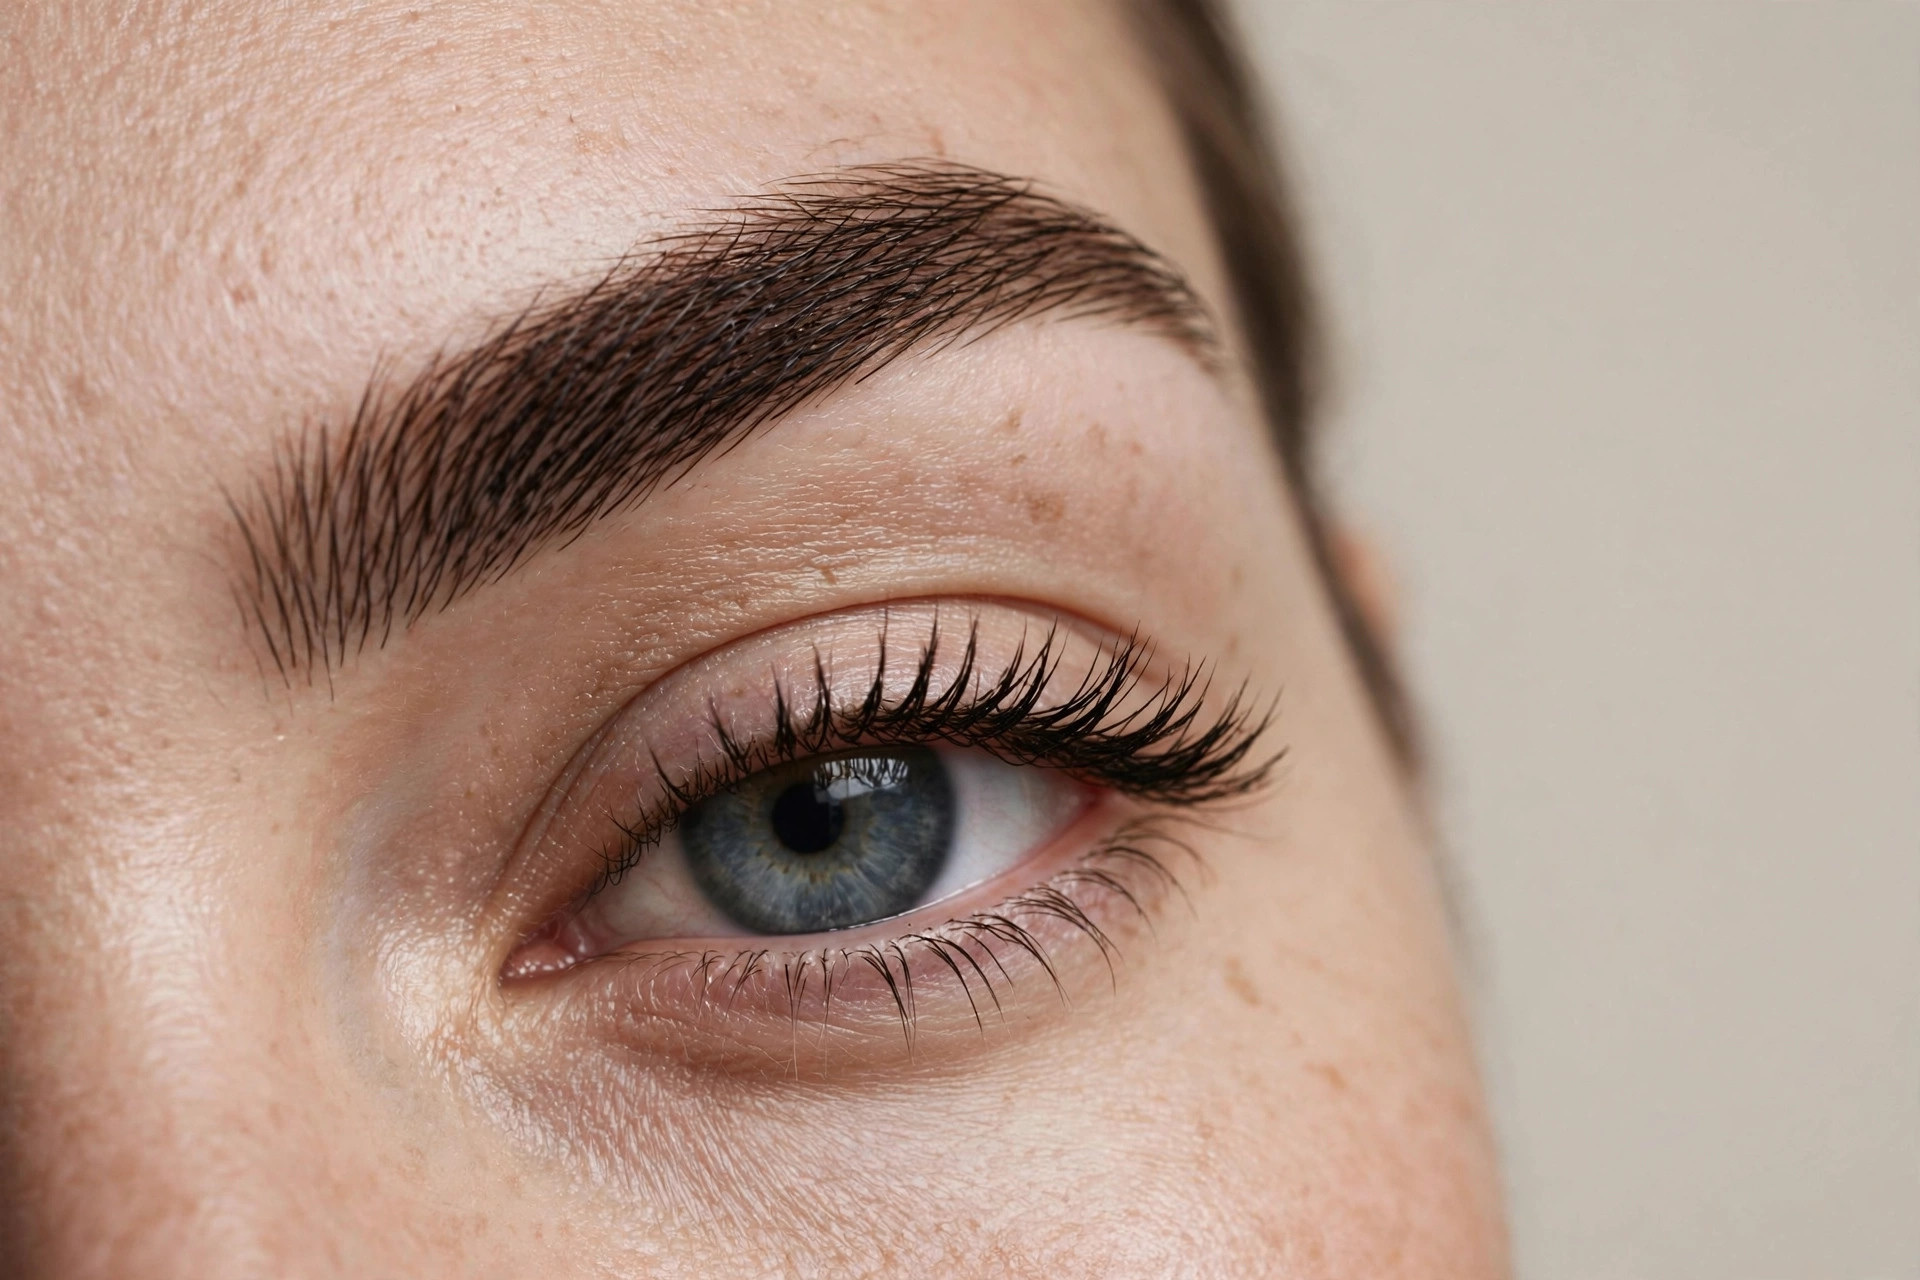
Thickness: Aim for medium, leaning slightly full. Here is the trap on both sides. Very thick, bushy brows add visual weight to the upper face and can look heavy above full cheeks. Very thin brows next to a high arch look severe and dated, and thinness removes the softness that keeps the angled shape wearable. Follow your natural density, clean up only what falls outside your mapped outline, and fill sparse areas with light strokes rather than plucking down to a thinner line.
Arch height: The peak should rise clearly above the brow’s baseline, roughly a third of the brow’s total height. Lower than that and you lose the elongating effect. Much higher and the brow starts to look surprised rather than sculpted. If you are nervous, build the height with pencil first and live with it for a day before committing with tweezers.
Tail length: Slightly longer than you think. The mapped end point from Step 3 is your minimum. Extending the tail a touch with pencil, following the natural downward angle, frames the eye and keeps the face from reading wide at the temples.
Filling In: Product Choices That Suit the Shape
The high arch lives or dies on precision, so product choice matters more here than on easier face shapes. A fine-tipped brow pencil is the best tool for defining the peak and drawing the tapered tail, because it lets you place hair-like strokes exactly where the mapped shape needs support. Use a brow powder or powder pencil to fill the body of the brow with soft density, then set everything with a clear brow gel brushed upward through the arch. The gel keeps the peak crisp all day, which is the whole point of the shape.
Go easy on heavy pomades. They can work, but on a round face a thick pomade brow risks the heavy, weighed-down look that fights the lift you are building. If you love pomade, use an angled brush and a light hand, and keep the edges clean.
Shade rule: match your natural brow color, or go one shade lighter if you are between colors. Darker-than-natural brows add contrast that can look striking, but on a round face overly dark brows draw a hard frame around the eyes that emphasizes width. Softer is safer.
5 Mistakes That Make Round Faces Look Wider
- Rounded, rainbow brows: A brow with no angle at all mirrors the face’s curves. This is the single most widening mistake on a round face.
- Arch placed too far out: A peak drifting toward the temple stretches the brow horizontally and makes the face read wider. Keep it at the outer iris line.
- Tails that stop short: Stubby brows emphasize the width of the cheek and temple area. Extend to the mapped end point at minimum.
- Over-plucked inner corners: Widening the gap between the brows crowds the center of the face visually and makes the cheeks look fuller.
- Flat, straight brows: With no peak, a straight brow shortens the face visually and leaves all the roundness unchallenged. Even a subtle arch beats none.
Maintaining the Shape
Tweeze strays once a week, always stepping back from the mirror every few pulls, and never use a magnifying mirror, which turns every fine hair into a crisis. Re-map your three points once a month, because brows drift as they grow and the arch is the first thing to blur. If you have over-plucked in the past, stop all removal for six to eight weeks and fill the gaps with pencil in the meantime. The high arch needs enough hair to read as a clean angle, and sparse arches look ragged rather than sculpted.
Frequently Asked Questions
What is the best brow shape for a round face?
A high arch with a defined peak and a tapered tail. The angled peak adds vertical lines that elongate the face, while the structure contrasts the face’s natural softness.
Should the arch be sharp or soft on a round face?
Defined but not severe. You want a clear change of direction at the peak, like a gentle mountain summit, not a rounded hill and not a harsh spike. Overly sharp peaks can look angry rather than sculpted.
Where exactly should the arch peak sit?
On the line from the outer edge of your nostril through the outer edge of your iris, while looking straight ahead. Placing the peak further toward the temple makes a round face look wider.
Are thick or thin brows better for round faces?
Medium thickness is the sweet spot. Very thick brows look heavy above full cheeks, and very thin brows turn severe next to a high arch. Follow your natural density and fill rather than over-pluck.
Can round faces wear straight brows?
Straight brows are one of the least flattering choices for round faces. With no peak, they shorten the face visually and leave the roundness completely unchallenged. Even a modest arch improves the result.
How long should the brow tail be on a round face?
At least to the diagonal line from the outer nostril past the outer eye corner, and slightly beyond is fine. Short tails make the sides of the face look broader, so err on the longer side and taper the end softly.