How to Contour a Round Face: Slimming Techniques That Work
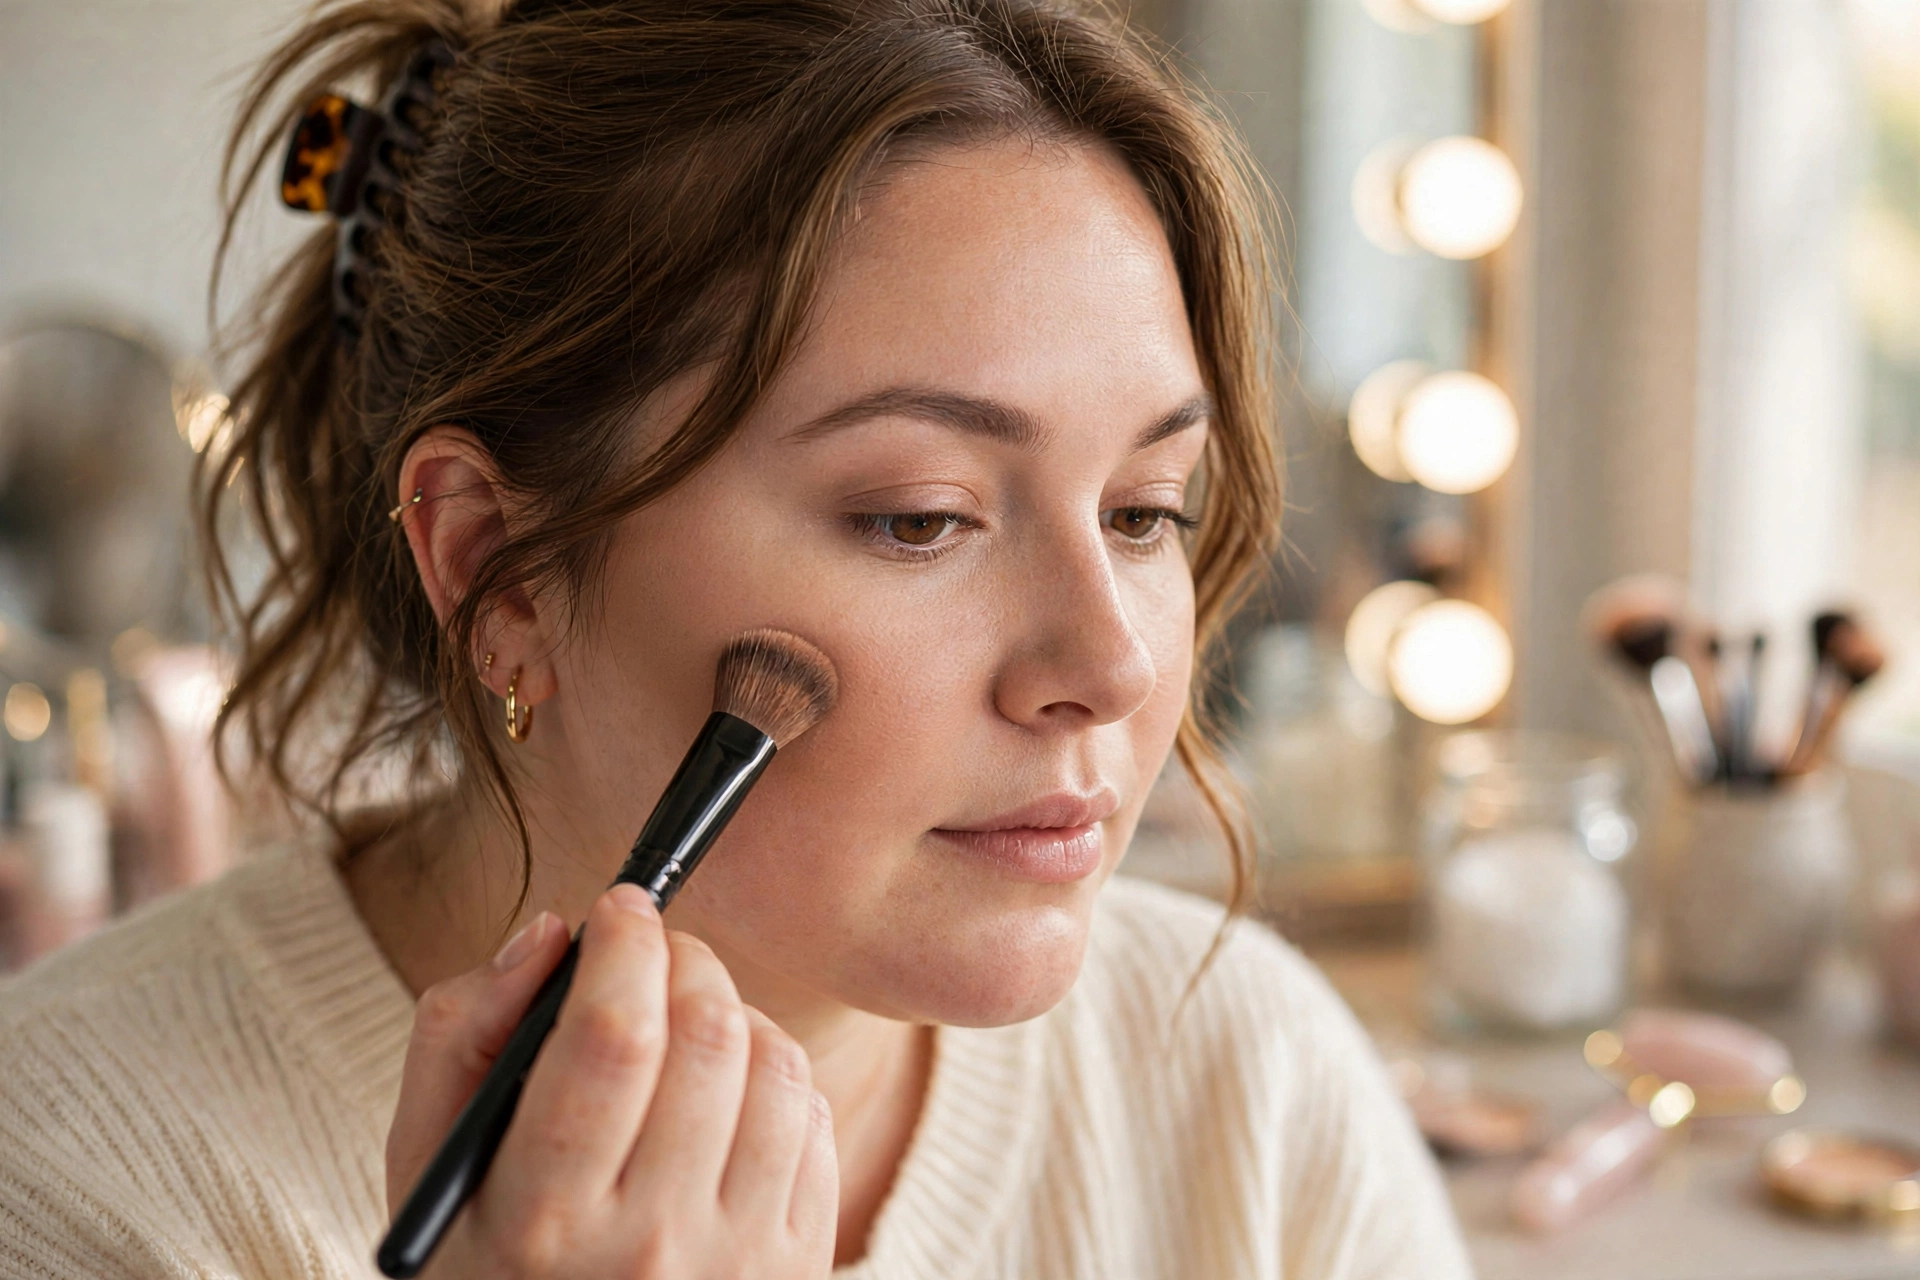
Direct answer: To contour a round face, apply a matte contour shade 1 to 2 shades darker than your skin along the temples, the hollows of the cheeks and the jawline, then blend thoroughly. These shadow placements create the illusion of angles and length, making a round face appear slimmer and more sculpted.
Key Takeaways
- Place contour on temples, cheek hollows and jawline to slim a round face
- Use a matte shade 1 to 2 shades darker than your natural skin tone
- Blend in upward motions with a damp sponge or dense brush, no harsh lines
- Cream contour suits dry skin, powder suits oily skin
- Always pair contour with highlight on the center of the face for balance
Contouring is the art of using shadow and light to reshape what the eye sees, and for round faces it is one of the most effective makeup techniques available. A round face is naturally soft and full, with width across the cheeks and a curved jawline. Strategic contour placement adds the angles and definition that create a slimmer, more sculpted appearance. This guide walks through exactly where to place contour on a round face, how to blend it naturally, and the mistakes that ruin the effect.
How Contouring Slims a Round Face
Contouring works on a simple optical principle: dark shades recede and light shades come forward. When you place a darker matte shade along the outer edges of a round face, those areas visually pull back, making the face look narrower. When you add a lighter shade down the center, that area comes forward, creating the illusion of length.
For round faces specifically, the goal is to carve structure into softness. You are not changing your face, you are guiding the eye to see angles where there are curves. The difference between good and bad contour is almost entirely about placement and blending, which is why technique matters more than expensive products.
If you are completely new to makeup sculpting, start with our contouring for beginners guide, which covers the basic tools and concepts before you tackle face shape specific techniques.
Where to Place Contour on a Round Face
Placement is everything. These four zones are the complete map for a round face:
1. Temples
Apply contour along the outer edges of the forehead, near the hairline at the temples. Use light, feathery strokes and blend into the hairline so there is no visible edge. This narrows the upper face and prevents the forehead from looking wide, which is a common concern with round faces.
The key mistake here is bringing the contour too far inward. Keep it within the outer third of the forehead on each side. If you can see where the contour starts, you have gone too far.
2. Hollows of the Cheeks
This is the most important placement for slimming. Find the hollows by sucking in your cheeks slightly, the dip below the cheekbone is your guide. Apply contour along this hollow, starting near the ear and stopping about two finger widths from the mouth. The line should angle slightly upward, never drag downward.
For round faces, keep the contour line higher than you think. Placing it too low makes the cheeks look sunken and the face look heavier. The line should sit just under the cheekbone, lifting the cheek visually. Blend upward into the cheekbone, not downward into the hollow.
3. Jawline
Run contour along the jawline from the ear toward the chin, staying just under the jaw bone. This creates a shadow that defines the jaw and separates the face from the neck, which is especially helpful for round faces where the jaw can look soft or undefined.
Blend downward into the neck so there is no line of demarcation. The most common giveaway of bad contour is a visible stripe along the jaw with unblended skin below it. Take the extra thirty seconds to blend into the neck properly.
4. Sides of the Nose (Optional)
Two thin lines down the sides of the nose with a small highlight down the center can make the nose look slimmer, which complements the overall slimming effect. This step is optional and works best for evening looks. Keep the lines thin and blend carefully, because harsh nose contour is very noticeable.
Cream vs Powder Contour
The formula you choose affects both the application and the finish:
- Cream contour: Best for dry or normal skin. Creams melt into the skin for a natural, skin like finish and are easier to blend. Apply with fingers, a dense brush or a damp sponge. They work well for beginners because you can sheer them out gradually.
- Powder contour: Best for oily or combination skin. Powders give a more matte, defined finish and last longer on oily skin. Apply with an angled brush over set foundation. They are less forgiving, so use a light hand.
- Combination approach: Many makeup artists layer cream first for depth, then set with a light powder contour for longevity. This gives the most sculpted result for events or photography.
For a full breakdown of product types and recommendations, see our contour makeup for round face guide, which focuses on choosing the right products as a beginner.
Blending Techniques That Make It Look Natural
Unblended contour is the difference between sculpted and striped. These techniques ensure a seamless finish:
- Blend upward, not downward: On the cheeks, blend the contour upward into the cheekbone. Downward blending drags the face down and ages the look.
- Use a damp sponge for cream: A damp beauty sponge sheers out cream contour beautifully. Bounce, do not drag, to press the product into the skin.
- Use a fluffy brush for powder: A large fluffy brush diffuses powder contour softly. An angled brush places it, a fluffy brush blends it.
- Blend in natural light: Bathroom lighting lies. Check your contour near a window before leaving, because daylight reveals harsh lines that artificial light hides.
- Less is more: You can always add another light layer, but removing too much contour disturbs the foundation underneath. Build gradually.
Highlight: The Other Half of the Equation
Contour only works when paired with highlight. While contour recedes, highlight brings forward, and the contrast between them is what creates dimension. For round faces, place highlight:
- Down the center of the forehead
- On the tops of the cheekbones, above the contour
- Down the bridge of the nose
- On the chin, lightly
- On the cupid’s bow above the lip
This center highlight creates a vertical column of light that elongates the face, working together with the outer contour to slim from both directions. Skip the highlight and contour alone can look flat and muddy.
Common Contouring Mistakes on Round Faces
- Wrong shade: Using a contour that is too dark or too warm creates an orange, muddy effect. Choose a matte shade 1 to 2 shades darker than your skin with a cool or neutral undertone, never orange.
- Contouring the apples of the cheeks: The apples should get blush, not contour. Contour belongs in the hollows below. Mixing them up adds fullness instead of removing it.
- Skipping the jaw and neck blend: A harsh jawline stripe with pale neck below is the most common contour fail. Always blend down.
- Over contouring for daytime: Heavy contour looks striking in photos but harsh in daylight. Scale back the intensity for day looks and save the drama for evening.
- Using shimmer as contour: Contour must be matte. Shimmer reflects light and brings areas forward, the opposite of what contour should do.
Byrdie emphasizes that the number one contour mistake is placement that ignores face shape, applying a generic contour map to a round face instead of adapting the technique. The placements in this guide are specific to round faces for exactly that reason.
Setting Your Contour So It Lasts
Contour that disappears by lunchtime is a common frustration. To make it last:
- Apply contour over well set foundation, not bare or tacky skin.
- For cream contour, set with a light dusting of translucent powder.
- For powder contour, it is already set, but a setting spray locks everything in.
- Carry a pressed powder for touch ups on oily skin, and blot before reapplying.
A good setting spray, applied in an X and T motion across the face, can extend wear by several hours. Healthline notes that proper skin preparation, including moisturizer suited to your skin type, also improves how long makeup wears.
The Only Tools You Really Need
You do not need a full professional kit to contour a round face well. Three tools cover everything:
- An angled contour brush: For precise placement of powder contour along the cheek hollows and jawline. The angled shape follows the natural curves of the face.
- A damp makeup sponge: For blending cream contour seamlessly. The dampness sheers the product out and prevents harsh edges.
- A large fluffy brush: For diffusing powder and softening any edges after placement. This is the tool that makes contour look natural rather than painted on.
Clean your brushes weekly with gentle soap and water. Dirty brushes deposit old product unevenly and can cause breakouts, which no amount of contour can hide. For hooded eyes and other beginner makeup topics, see our makeup for hooded eyes beginners guide.
Frequently Asked Questions
Where exactly do you put contour on a round face?
Place matte contour along the temples near the hairline, in the hollows of the cheeks below the cheekbones, and along the jawline. These three placements narrow the forehead, slim the cheeks and define the jaw. Always blend thoroughly and pair with highlight down the center of the face.
Should I use cream or powder contour for a round face?
It depends on your skin type rather than your face shape. Cream contour suits dry skin and gives a natural finish that is easier to blend, while powder contour suits oily skin and lasts longer. Beginners often find cream more forgiving because it can be sheered out gradually.
How do I make my round face look slimmer with makeup?
Combine contour on the outer edges with highlight down the center. The contour recedes the temples, cheeks and jawline while the highlight brings the forehead, nose bridge and chin forward. Together they create the illusion of a longer, narrower face. Well placed blush on the cheekbones adds lift too.
What is the biggest contouring mistake for round faces?
Placing the cheek contour too low. It should sit just under the cheekbone and blend upward. Too low, and the face looks sunken and heavier instead of lifted and slim. The second biggest mistake is using a shade that is too warm or too dark, which looks muddy instead of shadow like.
Can I contour every day or is it just for special occasions?
You can contour daily if you keep it subtle. Use a light hand, blend thoroughly and choose a shade close to your skin tone for a natural daytime effect. Save the more dramatic, layered contour for evenings and events where stronger definition photographs well.