Blush Placement for Oval Face: Where to Apply It (Guide)
Oval faces get called the most versatile face shape — and for blush, that’s genuinely true. Because an oval face is already balanced (forehead slightly wider than the jaw, length a bit more than width), blush placement is less about correcting and more about choosing an effect: do you want to add width, emphasize cheekbones, or keep everything soft and natural? Where you put the blush decides.
This guide covers the classic placements for oval faces, which technique suits which goal, and the common mistakes that can unbalance an otherwise easy canvas.
First: Confirm You’re Working With an Oval Face
Oval faces have a forehead slightly wider than the chin, a gently rounded jawline, and a face length roughly one and a half times its width. If you’re unsure, our face shape detector guide walks through the photo method, or you can run a quick check with the free AI face analysis tool on our homepage.
Why it matters for blush: techniques designed to slim a round face or widen a long face will fight an oval face’s natural balance. Oval placement is its own thing.
The Golden Rule: Follow the Cheekbone, Not the Apple
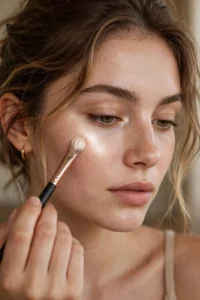
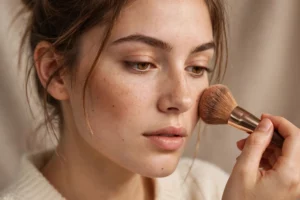
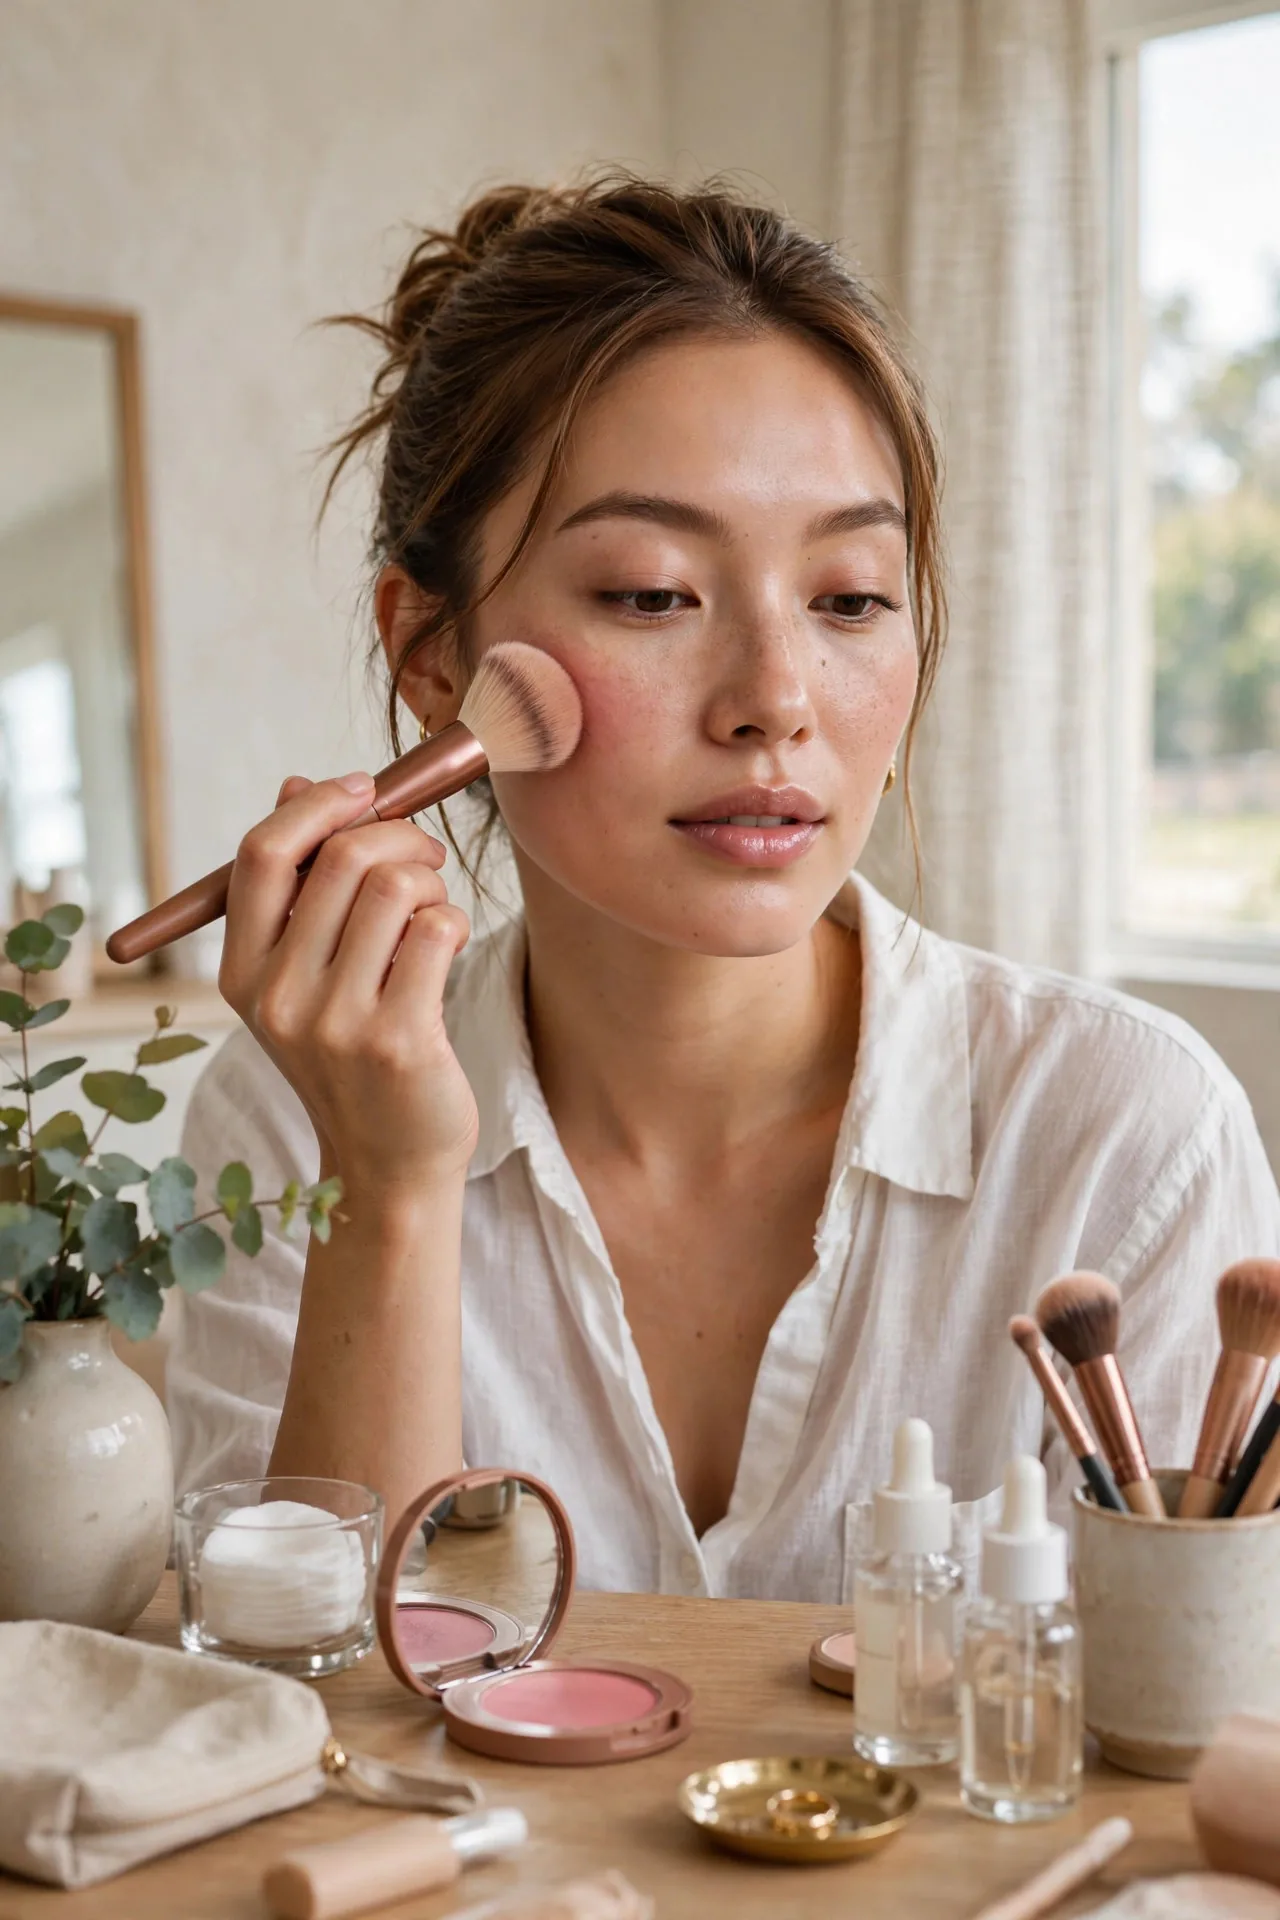
The most flattering blush placement for oval faces starts on the cheekbone — the bony ridge you feel when you press a fingertip below your eye’s outer corner — and sweeps up and back toward the temple.
Here’s the exact motion:
- Smile lightly to find the apple of your cheek.
- Place the brush just above the apple, on the cheekbone.
- Sweep upward and outward toward the top of the ear in a soft “C” shape.
- Keep the color above the nostril line — anything lower drags the face down.
This lifted placement enhances the cheekbones an oval face already has and keeps the face’s length looking elegant rather than long. It’s the placement makeup artists default to for oval faces, and it works with powder, cream, and liquid formulas.
Three Techniques, Three Different Effects
1. The Lifted Sweep (everyday default)
The technique described above: cheekbone to temple, upward motion. Best for daily wear, work, and photos. It adds structure without changing the face’s perceived shape. If you only learn one placement, learn this one.
2. The Apple Pop (youthful, casual)
Smile and dab blush directly on the apples of the cheeks, blending in small circles. This adds fullness and a fresh, youthful flush — great for casual looks. The trade-off: on an oval face, apple-focused blush can add visual width to the mid-face, so keep it light and blend the edges up toward the cheekbone so it doesn’t sit in a round patch.
3. The Draped Blush (evening, editorial)
Sweep blush higher — from the temple down across the cheekbone in one continuous wash, sometimes connecting toward the outer eye. This is a bolder, fashion-forward look that emphasizes bone structure. It photographs beautifully but can look heavy in daylight, so save it for evenings.
Width vs Length: Dialing the Effect
Because oval faces are longer than they are wide, most people with oval faces want to preserve or slightly add width rather than length:
- To add width: concentrate blush on the outer cheek and temple area, blending horizontally. This visually widens the mid-face.
- To keep length: use the lifted sweep and avoid dragging color down toward the mouth.
- To shorten a long oval: add a whisper of blush across the chin and forehead (the “three” or “E” technique) — this is the one case where blush leaves the cheeks.
This is the same proportion logic behind facial fifths: the face reads as balanced when its horizontal segments relate well to each other, and blush is one of the easiest tools for nudging that read.
Choosing the Right Formula
- Powder blush — best for oily skin and beginners; easiest to build gradually. Apply with a fluffy brush.
- Cream blush — best for dry or mature skin; melts into the base for a skin-like finish. Apply with fingers or a dense brush, then set lightly.
- Liquid/stain blush — most pigmented and longest-wearing; a dot goes a long way. Blend immediately — it sets fast.
Whatever the formula, start with less than you think you need. Blush is the easiest product to over-apply and the hardest to take back without redoing your base.
Pairing Blush With the Rest of Your Makeup
Blush doesn’t exist in isolation — it should harmonize with your contour, highlight, and lip color:
- With contour: if you contour your cheekbones, place blush just above the contour line, never on top of it. The contour creates the shadow; the blush adds the life. Overlapping them muddies both.
- With highlighter: highlighter goes on the very top of the cheekbone; blush sits just below and slightly outward. Together they create dimension — light on top, color in the middle, shadow beneath.
- With lipstick: a bold lip pairs best with a softer blush application so the two don’t compete. A nude or natural lip lets you go slightly bolder with blush. The classic rule still holds: emphasize one feature, support the others.
When all three cheek products (contour, blush, highlight) are placed correctly on an oval face, the result is a sculpted but natural look that enhances the face’s inherent balance rather than fighting it.
Mistakes That Unbalance an Oval Face
- Blush below the nostril line. Drags the whole face downward and can make an oval face look long.
- Too far toward the nose. Color that starts near the nose widens the center of the face and shrinks the eyes by comparison.
- A hard-edged circle on the apple. Reads as costume makeup; always blend the edges.
- Matching blush to lipstick exactly. Coordinated is fine, identical looks flat — let the blush be a shade softer or deeper.
- Ignoring your undertone. Warm peachy blushes flatter warm skin; cool pinks and berries flatter cool skin. The wrong undertone makes blush sit “on” the skin instead of in it.
Frequently Asked Questions
Where exactly should blush go on an oval face?
On the cheekbone, swept upward and outward toward the temple, staying above the nostril line. Start just above the apple of the cheek and blend back — never let the color drift down toward the mouth or in toward the nose.
Should oval faces put blush on the apples of the cheeks?
They can, for a youthful casual look — but blend upward into the cheekbone sweep rather than leaving a round patch. Pure apple placement adds mid-face width, which suits a long oval but can unbalance a shorter one.
Cream or powder blush for oval faces?
The placement rules are identical for both. Choose by skin type: cream for dry or mature skin (more natural finish), powder for oily skin or longer wear. Beginners usually find powder more forgiving.
Can blush placement make my face look slimmer?
On an oval face, the lifted cheekbone-to-temple sweep adds definition that reads as structure rather than width — it’s the closest thing to a slimming effect without contour. True slimming is contour’s job; blush is about color and lift.
How do I know if I’ve applied too much?
Step back from the mirror — blush should be clearly visible at arm’s length but not the first thing you notice. If it is, blend with a clean brush or press a translucent powder over it to sheer it out. And remember, an oval face’s natural balance is already an asset; blush is decoration, not correction.