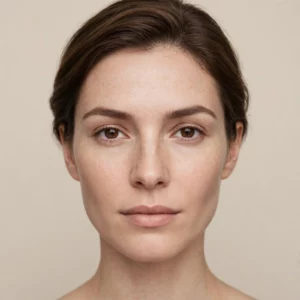
How to Take an Accurate Face Analysis Photo
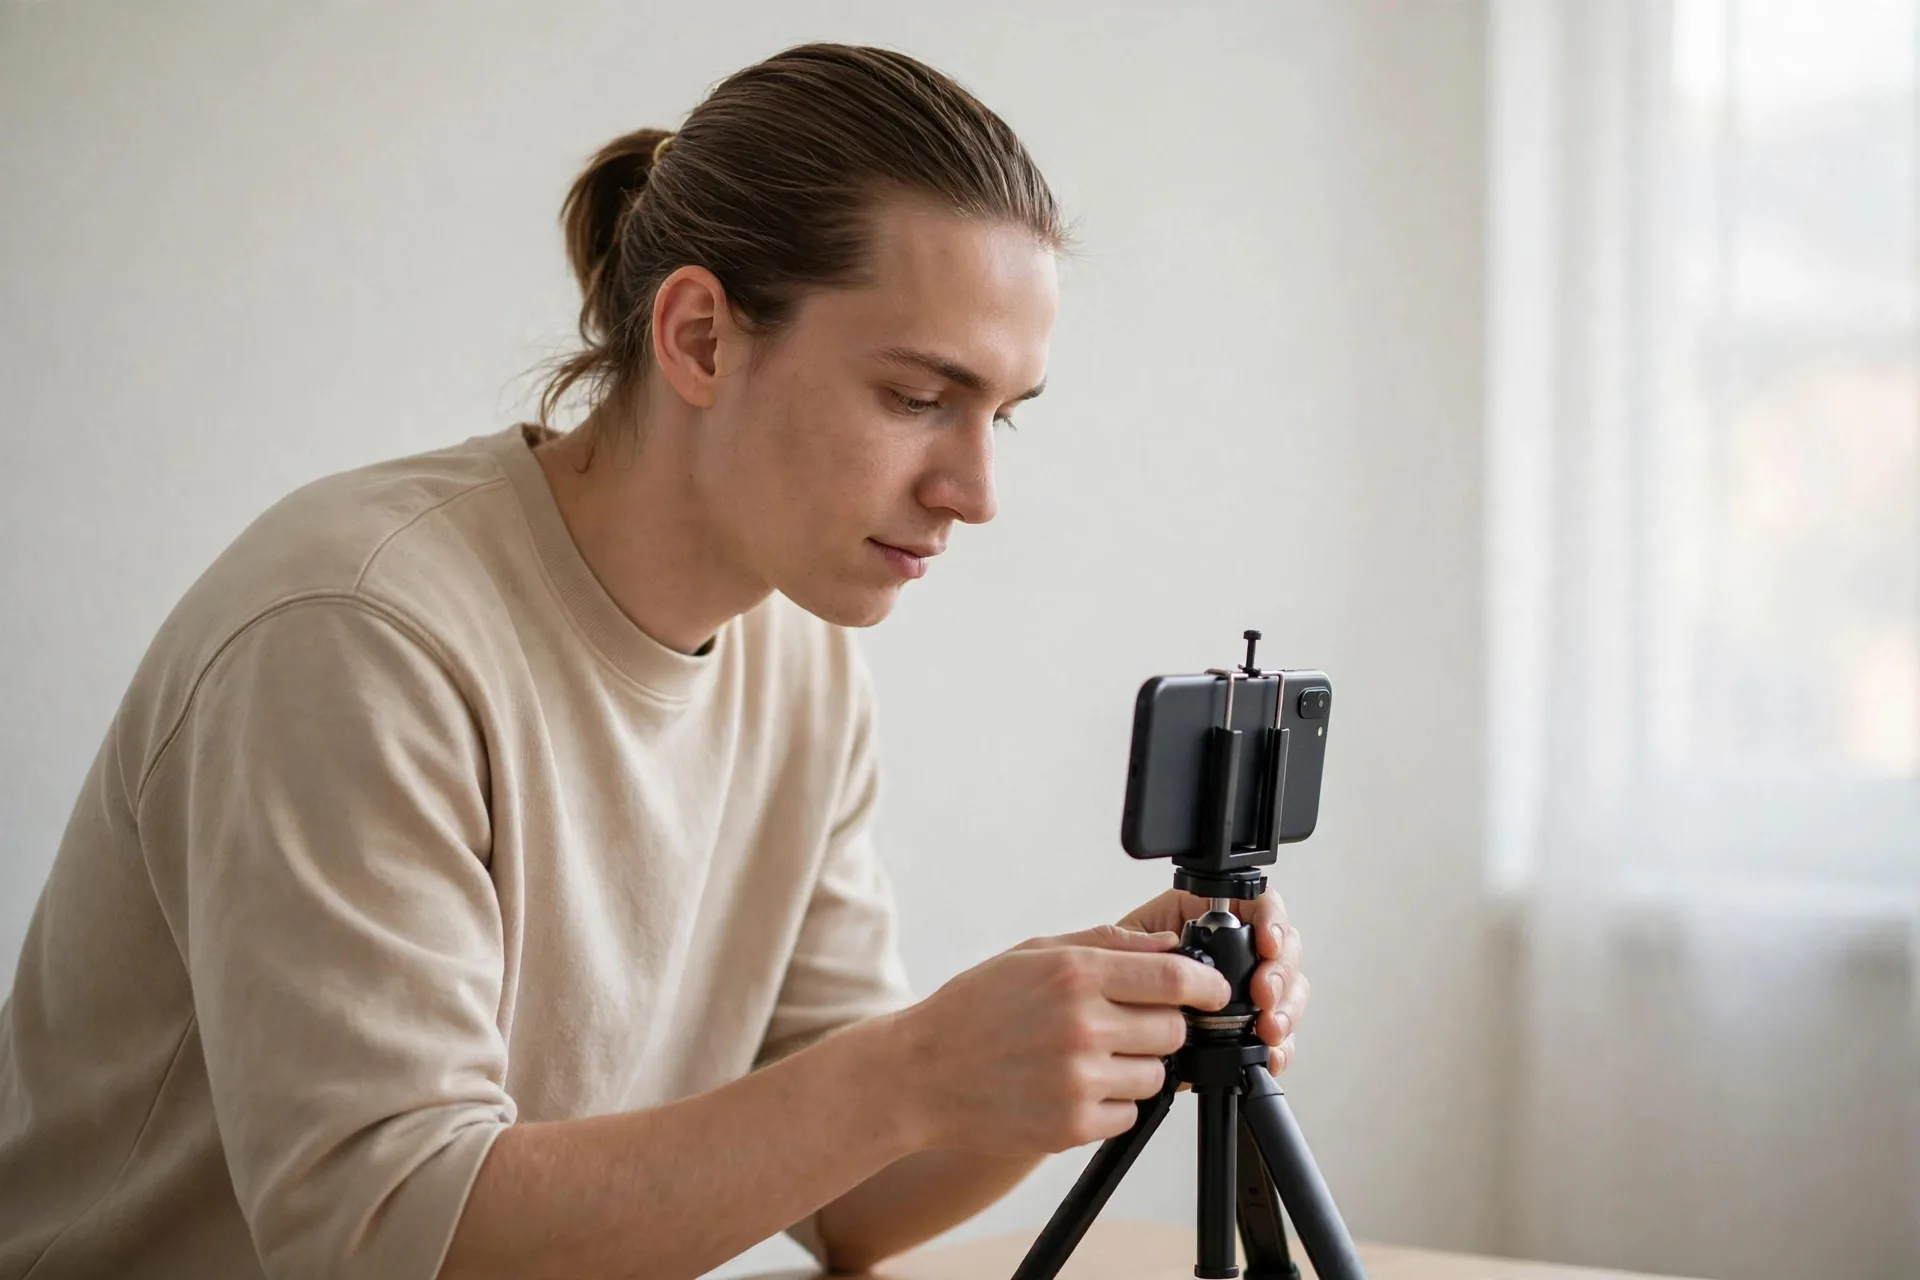
An AI face-analysis tool can only measure what your photo shows it. A tilted head, a shadow across one cheek, or a beauty filter left switched on can shift landmark detection enough to change your symmetry and ratio results. That does not mean you need a studio. It means you need a repeatable setup. Here is the exact checklist for taking a photo that is good enough for AI face analysis.
Set the camera distance: 4–6 feet
Distance is the single biggest factor in how your face photographs. At arm’s length, the wide-angle front camera exaggerates whatever is closest to the lens — typically the nose — and stretches the face. Step back and the distortion fades.
- Best option: place the phone on a tripod, shelf, or stack of books about 4–6 feet (1.2–1.8 metres) away from you and use the timer or a remote shutter. This is the setup that gives the most reliable, repeatable results.
- Acceptable option: a selfie at full arm’s length, arm fully extended, phone as far from your face as possible.
- Avoid: holding the phone closer than about 12 inches, or taking the photo with the phone resting near your face. Wide-angle distortion at close range is the main reason people say selfie camera accuracy feels inconsistent.
If you want before-and-after comparisons, mark the spot on the floor where you stood and use the same distance every time. Consistency matters more than finding a single perfect distance.
Use the rear camera, not the front camera
The rear (main) camera on almost every phone is the better lens: longer effective focal length, higher resolution, less distortion. The catch is that you cannot see the screen while shooting. The tripod-and-timer method solves this — set the framing once, check the shot, adjust, and then take the real photo.
If you must use the front camera, keep your arm fully extended and hold the phone at eye level. Results will be slightly less consistent than a rear-camera shot from a distance.
Keep the lens at eye level
The phone should sit at eye height, pointing straight at your face — not angled down from above or up from below.
- From above makes the eyes look bigger and the jaw look smaller.
- From below widens the jaw and nostrils and lengthens the chin.
Either angle changes the apparent proportions of your face, which is exactly what a face-analysis tool measures. Prop the phone on a shelf at eye height, or hold your arm out straight and horizontal.
Face the camera straight on
Look directly into the lens with your head upright — no tilt left or right, no turning, no chin tucked down or lifted up. Head rotation is one of the most common reasons symmetry readings look lopsided: a head turned even slightly makes one side of the face appear larger and one eye appear higher.
Keep your head still while the timer runs. Imagine a vertical line from the top of your head down through your nose to your chin.
Use a neutral, relaxed expression
Keep your mouth closed, lips relaxed, teeth unclenched, and your jaw at rest. Do not smile or squint. A smile widens the mouth, lifts the cheeks, and changes the measured ratio of your facial thirds.
Breathe out and let your face settle for a couple of seconds before the shutter fires. If you wear glasses, take them off — frames obscure the eyes and eyebrows, which are key landmarks for accurate measurements.
Pull your hair back
Hair covering the forehead or one cheek hides landmarks the tool needs: the hairline, the temples, and the jawline. Tie long hair back, tuck it behind your ears, or use a headband. Make sure the full outline of your face is visible, including the chin and both sides of the jaw.
Use even, frontal lighting
Lighting shapes every measurement the AI makes. Strong side light darkens one half of the face and can fool landmark detection around the nose and cheekbones.
- Best option: face a window in daylight so soft light falls evenly on the whole face. Overcast daylight is ideal.
- Good option: stand under a ceiling light that lights both sides of the face equally, or use two lamps, one on each side.
- Avoid: a single lamp or window to one side, overhead-only lighting that casts shadows into the eye sockets, backlighting (window behind you), and harsh direct sunlight that makes you squint.
The background should be plain — a bare wall is perfect — so the tool has no trouble separating your face from clutter.
Turn off filters and beauty mode
This is a hard requirement. Beauty filters, smoothing, slimming, and even mild HDR effects change the pixels the AI measures. On many phones, the front camera applies beautification by default, so check your camera settings before you shoot and disable every enhancement. Shoot in the phone’s default photo mode at full resolution, and do not edit the image afterwards.
If you are comparing results over time, always use the same phone and the same camera settings. Switching devices changes the lens, and the lens changes the face.
The same-setup rule for before/after photos
One photo gives you a reading. Two photos taken with the same setup give you something meaningful: a comparison you can trust. Use the same distance, the same lighting, the same camera, the same angle, the same expression, and the same time of day. Change one variable at a time, and your symmetry and ratio numbers stop being noise.
An honest word about “accuracy”
No consumer photo is a perfect map of your face. Cameras flatten a three-dimensional face into two dimensions, every lens bends light slightly differently, and your expression shifts by the millimetre from second to second. AI face rating scores are entertainment and self-exploration, not medical measurements — no app photo can diagnose anything about your health or bone structure. The goal is not a mathematically perfect portrait. The goal is a photo that is good enough for the tool to find your landmarks reliably, and consistent enough that your next photo is directly comparable.
Want to put the checklist into practice? Take your photo using the steps above, then run it through the free AI face-analysis tool and see your symmetry and ratio results in seconds.
Frequently Asked Questions
How far should I stand from the camera for a face analysis photo?
Stand 4–6 feet (about 1.2–1.8 metres) away from the phone, ideally with the phone on a tripod and the timer set. If you take a selfie, extend your arm fully. The further the phone is from your face, the less wide-angle distortion warps your features.
Should I use the front or rear camera for AI face analysis?
The rear camera. It has a better lens, higher resolution, and less distortion than the front camera on nearly every phone. Use a tripod and the camera timer so you can frame the shot without looking at the screen.
Do filters affect AI face rating results?
Yes, significantly. Beauty filters, skin smoothing, face slimming, and heavy HDR all alter the pixels the AI measures, which can change landmark detection and ratio scores. Turn off every enhancement in your camera settings and submit an unedited photo.
Why do my symmetry results change between photos?
Because the inputs change. Different distance, head tilt, lighting direction, expression, or lens between two shots will move your measured landmarks. Follow the same setup every time — same distance, angle, light, camera, and neutral expression — and your readings will stabilise.
Is my photo safe when I upload it for AI face analysis?
That depends entirely on the tool you use. Before uploading any photo of your face, check the site’s privacy policy for AI face analysis to see how your image is stored, how long it is kept, and whether it is used for training. A trustworthy tool tells you this plainly.