Highlighter Placement for Round Face: A Real Practical Guide
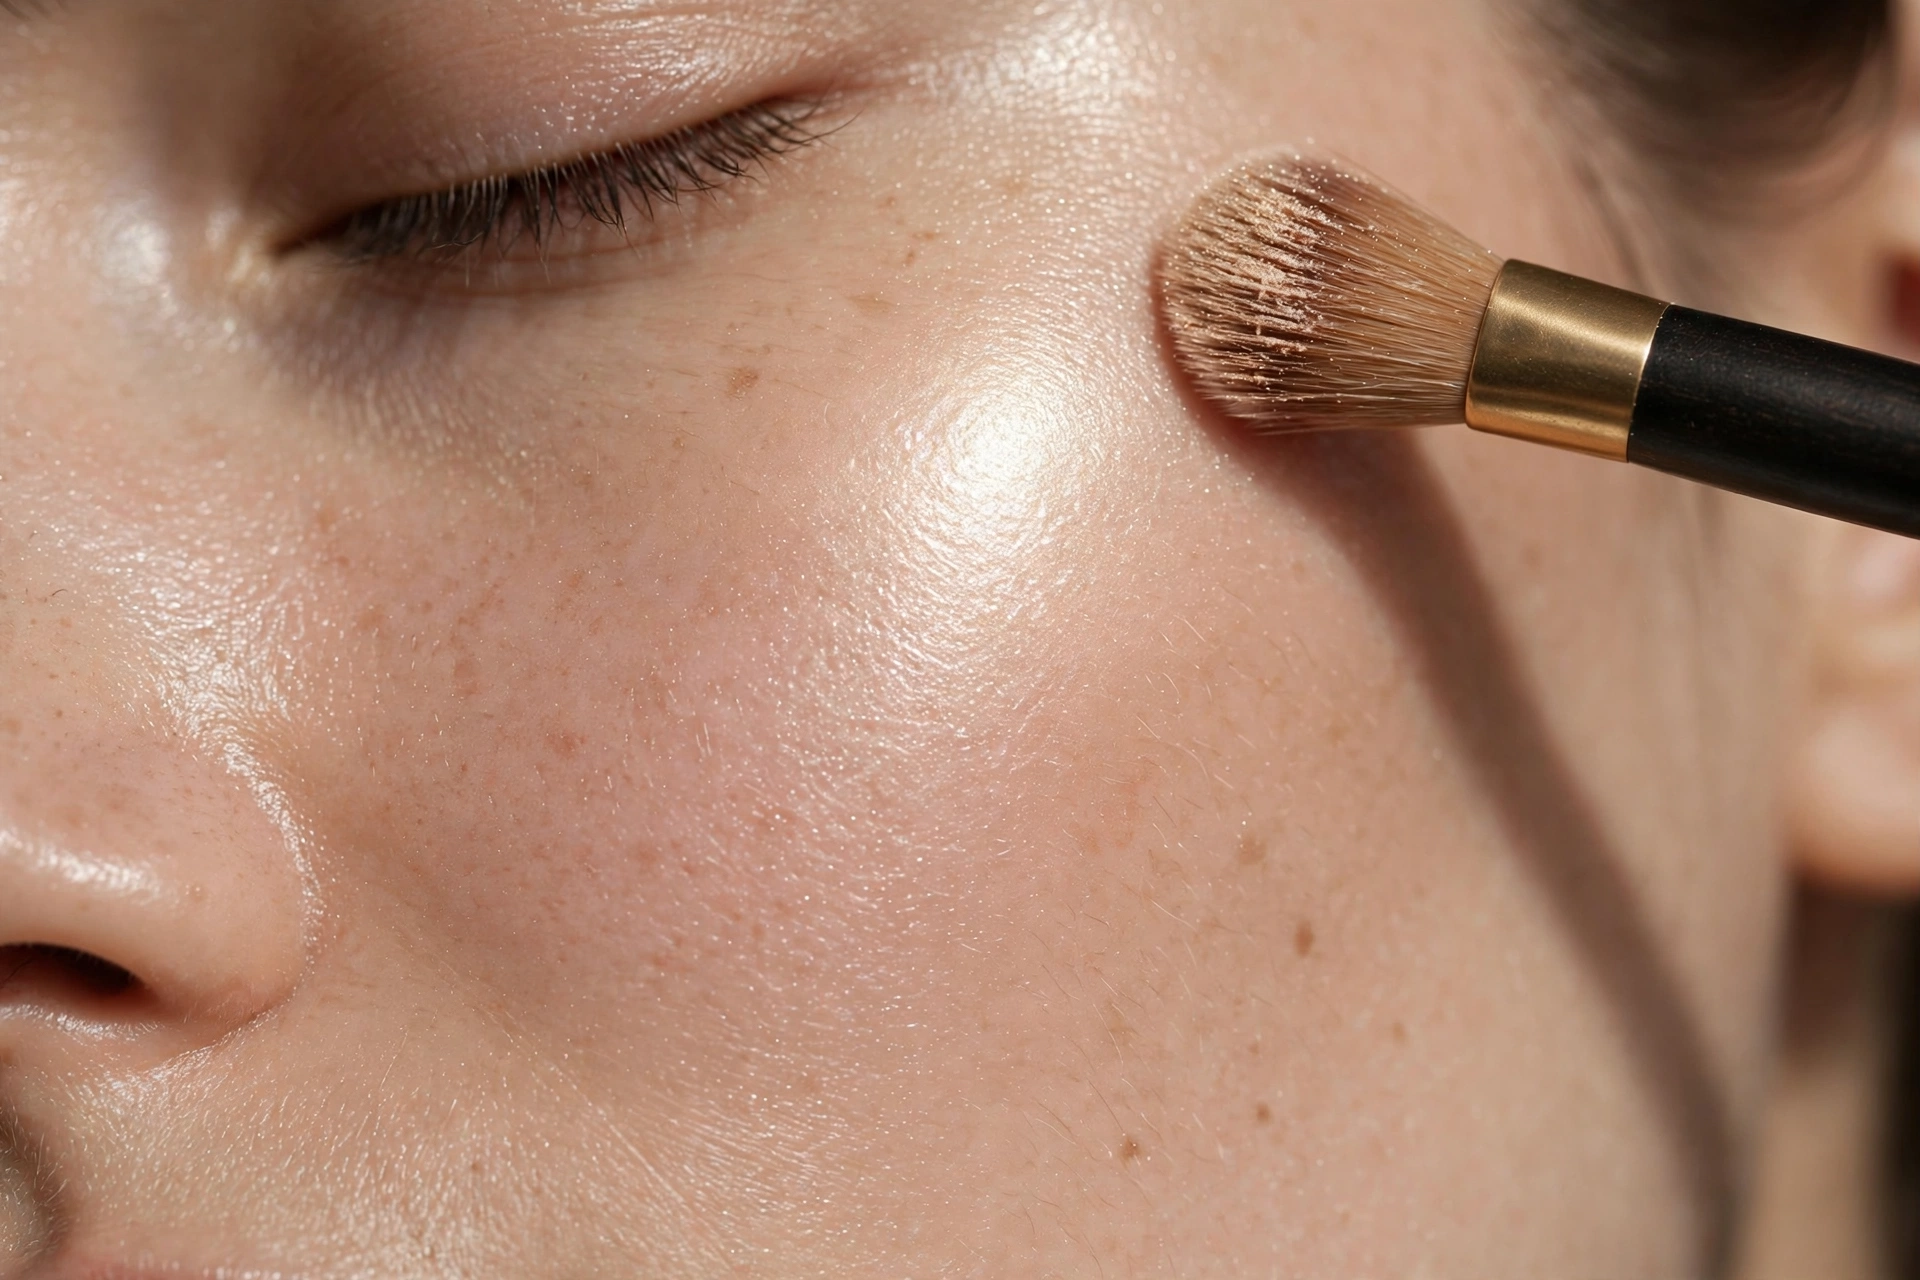
Highlight the center of the face to elongate round faces.
Key Takeaways:
- Highlighter on the tops of cheekbones lifts and sculpts round cheeks.
- A touch on the brow bone opens up the eye area.
- Light application down the nose center adds vertical definition.
- Cupid’s bow highlight draws attention to the lips, away from cheek width.
- Keep shimmer off the sides of the face to avoid widening it.
Let us be honest: most highlighter placement guides are written for one imaginary face. Yours is round, with soft fullness, so you need highlighter placement picked for that reality. These selections add definition and the illusion of length, which is exactly the point.
Below: the practical, no-fluff placement map for round faces, product and tool guidance, and the spots to keep matte. For the companion techniques, see our blush placement guide for round faces and our highlighter guide for heart-shaped faces.
How Highlighter Sculpts a Round Face
The principle is simple: light advances, shadow recedes. Wherever highlighter catches the light, the eye reads that area as coming forward. On a round face, you want the cheekbones, brow bones, and center-line features to advance, creating peaks and structure, while keeping the widest, fullest areas (outer cheeks, sides of the forehead, jaw corners) matte and receding. Highlighter is half of the sculpting equation; contour is the other half, covered in our guide to making a round face look slimmer with makeup.
The Placement Map: Where to Glow
Apply highlighter after foundation and blush, before setting powder (or after, if using powder highlighter, details below).
1. Tops of the cheekbones
The number-one spot. Smile lightly to find the top ridge of each cheekbone, then apply highlighter along the upper plane, above where your blush sits. The glow should sit high, near the outer corner of the eye level, sweeping slightly toward the temple. This creates the lit-from-within cheekbone pop that gives round faces visible structure.
2. Brow bone
A light sweep of highlighter just beneath the arch of each eyebrow (on the brow bone, not on the lid) lifts the eye area and adds vertical interest, both flattering on round faces. Keep it subtle; this is a whisper of light, not a stripe.
3. Down the center of the nose, lightly
A thin line of highlighter down the nose bridge adds a vertical element that counterbalances roundness. Key word: thin. A wide stripe widens the nose visually; a narrow, well-blended line lengthens it. Stop before the very tip unless you want to emphasize it, a tiny dot on the tip is optional.
4. Cupid’s bow
A dab of highlighter on the cupid’s bow (the dip of the upper lip) catches light when you talk and smile, drawing the eye to the center of the face. Small detail, noticeable payoff.
5. Inner corners of the eyes
A touch of light shimmer at the inner eye corners brightens and opens the eyes. On round faces, brighter eyes shift focus upward and inward, away from cheek fullness.
The No-Glow Zones: Keep These Matte
Just as important as where highlighter goes is where it does not:
- Apples and outer cheeks: the fullest part of a round face. Shine here spotlights fullness, keep these satin or matte.
- Sides of the forehead: width lives here; highlighting it widens further.
- Jaw corners and chin sides: glow on a soft jawline emphasizes its softness rather than defining it.
- The very tip of a rounded nose: can make the nose look wider and draw attention to the center of a full face.
Choosing Product and Tools
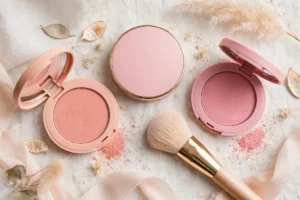
Formula: powder highlighter is the easiest to control precisely and suits most skin types; liquid or cream highlighter melts into skin for a natural glow but demands careful blending. Beginners should start with powder, mistakes are easier to sheer out.
Shade: choose a tone close to your skin with a luminous (not glittery) finish, champagne and soft gold for warm undertones, pearl and icy pink for cool undertones. Chunky glitter reads as texture, especially in daylight; finely-milled shimmer reads as glow.
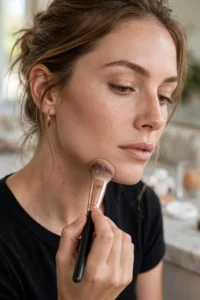
Tools: a small tapered highlighting brush or fan brush gives the precision these small zones need. Fingers work for cream formulas on the cheekbones and cupid’s bow, the warmth helps it melt in.
Amount: build in thin layers. Highlighter is one of the few products where restraint beats generosity; you can always add a second pass, but removing over-applied shimmer means redoing the base.
Common Mistakes
- Highlighting the full cheek: dragging highlighter down onto the apples instead of keeping it on the upper plane, the single most common error.
- Too much, too shiny: highlighter should look like light hitting skin, not like product sitting on skin. If you can see distinct sparkle particles at arm’s length, scale back.
- Skipping blush-concealer order: highlighter over unblended blush edges looks patchy. Blend each layer before adding the next.
- Checking only in bathroom light: overhead lighting flatters highlighter; always do a final check in natural daylight or with a window nearby.
Daytime vs. Evening Intensity
The placement map stays the same; only the intensity changes. For daytime, use a sheer wash: one light pass of powder highlighter on the cheekbone tops, a whisper on the brow bone, and skip the nose stripe if you are unsure, daylight is unforgiving of heavy shimmer. The goal is a healthy glow that reads as good skin. For evening, you can build: add a second layer on the cheekbones, bring in the nose bridge line and cupid’s bow, and let the inner eye corners carry a bit more sparkle since artificial lighting is kinder to shimmer. The most common mistake is wearing evening intensity to daytime, when in doubt, sheer it out.
One final tip: apply highlighter with a light hand and build gradually, you can always add a second sheer layer, but removing overdone shimmer usually means redoing your base makeup. Step back from the mirror and check your work at arm’s length, since that is the distance the world actually sees you from.
Frequently Asked Questions
Where should highlighter go on a round face?
Tops of the cheekbones (the key placement), brow bones, a thin line down the nose bridge, the cupid’s bow, and the inner eye corners. Keep the apples, outer cheeks, forehead sides, and jaw corners matte.
Does highlighter make a round face look slimmer?
It creates the illusion of more structure, lit cheekbones and a defined center line read as sculpted, which counterbalances roundness. It works best paired with subtle contour; highlighter alone does half the job.
Should I use powder or liquid highlighter as a beginner?
Powder. It offers the most control over these small, precise zones and mistakes blend out easily. Move to liquid or cream once placement feels automatic.
What highlighter shade suits my skin tone?
Match the undertone: champagne and warm gold for warm undertones, pearl and cool pink for cool undertones, with neutral skin able to wear either. The finish matters more than the exact shade, finely-milled luminosity over chunky glitter.
Can I wear highlighter every day on a round face?
Absolutely, just scale the intensity. A sheer wash on the cheekbone tops reads as healthy glow for daytime; build it up for evenings. The placement map does not change, only the amount.
The Bottom Line
Round-face highlighter is about discipline: glow high on the cheekbones, light on the brow bone and center line, matte everywhere full. Five small placements, and the face reads lifted and structured instead of flat and wide.
Want to map your own high points before you start? Try our free AI face analysis tool on the homepage, upload a photo for an entertaining breakdown of your facial proportions and symmetry.