Blush Placement for Round Face: A Beginner’s Photo Guide
Blush is one of the most powerful — and most misused — tools for round faces. Placed on the apples of the cheeks in a round circle (the classic advice), it can emphasize fullness. Placed higher and swept upward along the cheekbones, the same blush lifts, sculpts, and adds the definition round faces love. Placement is everything, and it takes about thirty seconds to learn.
This beginner guide walks you through the exact technique with photo-friendly checkpoints, the placements to avoid, and how to choose shades and formulas. For the same logic on other shapes, see our blush placement guide for oval faces and our highlighter placement guide for heart-shaped faces.
What Blush Should Do for a Round Face
A round face is roughly as wide as it is long, with full cheeks and a soft, curved jawline. The blush goal here is lift and structure: color placed to draw the eye upward and outward, creating the impression of higher cheekbones and a more sculpted midface. Think of blush as a spotlight — wherever you put the brightest color is where the eye goes, so you want that spotlight sitting high.
The Technique: Upward Along the Cheekbones
Forget the “smile and dot the apples” method for a moment. Here is the round-face technique, step by step:
1. Find your cheekbone line
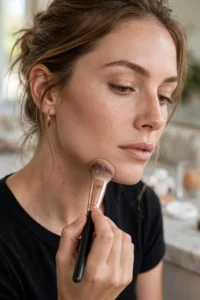
Place two fingers along your cheekbone, from near your ear toward the corner of your mouth. The ridge you feel is your placement guide. You will apply blush on and just above this line — not below it, where color drags the face down.
2. Start at the outer cheek
Smile lightly (not a full grin — a big smile shifts the apples upward and misleads placement). Place your brush at the outer third of the cheekbone, near where it meets the hairline. Starting at the outer edge keeps the deepest color where lift is wanted.
3. Sweep upward and inward
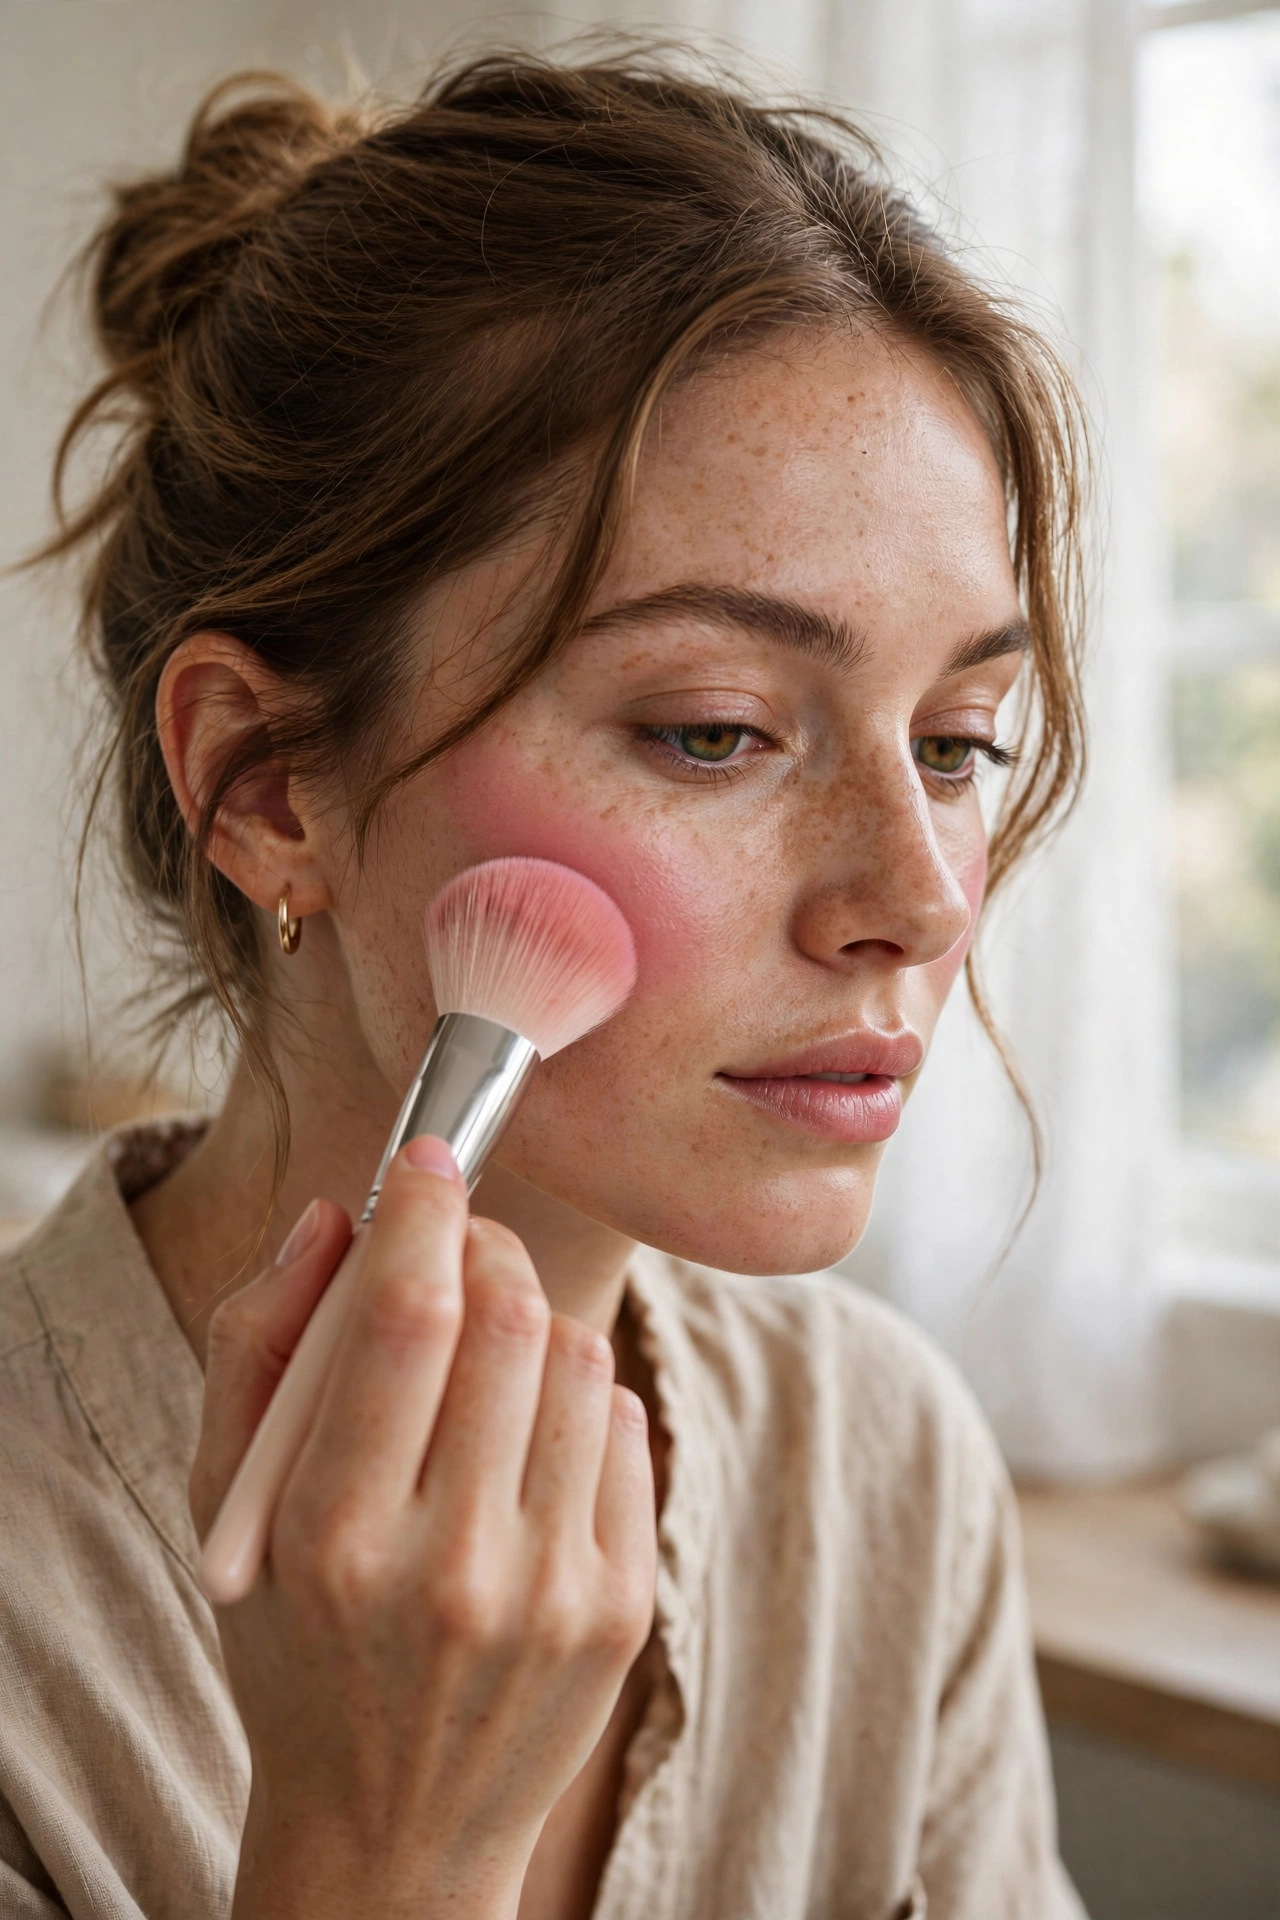
In soft strokes, sweep the brush upward and slightly inward along the cheekbone, fading as you move toward the center of the face. The motion is diagonal — up, not across. The color should be most intense at the outer cheek and diffuse toward the middle.
4. Blend the edges
With a clean fluffy brush (or the same brush with no product), soften the edges so there are no visible borders. Blush should melt into the skin like a flush, not sit as a stripe.
Photo checkpoint: take a straight-on photo after each cheek. The blush should read as a lifted glow on the upper cheeks — if you see two round pink circles on the apples, you placed too low and too centered.
Placements to Avoid on Round Faces
- Centered circles on the apples: the classic mistake — it spotlights the fullest part of the cheek and emphasizes roundness.
- Too low on the cheek: color below the cheekbone line pulls the face downward and can make cheeks look heavier.
- Across the nose bridge: the “sunburnt” trend is cute on some faces, but on round faces the horizontal band adds width.
- Too close to the nose: blush crowded toward the center makes the face look shorter and wider. Keep the inner edge of the color at least two finger-widths from the nose.
Choosing Your Blush: Shade and Formula
Shade: pick tones that mimic a natural flush for your skin — soft pinks and peaches for fair to medium skin, berry and warm rose for deeper skin tones. Avoid shades dramatically darker than your natural flush; they read as contour, not blush.
Formula: cream blush is the beginner’s best friend — it melts in, is hard to over-apply, and can be layered. Powder blush gives more precision and suits oily skin. Either works with the upward technique; the placement matters more than the format.
Finish: a satin or subtle sheen adds glow and lift; heavy shimmer all over the cheek can emphasize texture. Save the sparkle for the high points if you love shimmer.
Pair the lifted blush with complementary sculpting: our guide to making a round face look slimmer with makeup covers the full contour-and-highlight routine this technique slots into.
Layering Blush With Contour and Highlighter
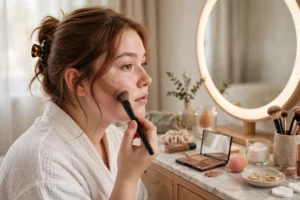
Blush works hardest as part of a team. The classic order: contour first (soft shading under the cheekbones and along the jawline), then blush swept upward along the cheekbones, then highlighter on the very tops of the cheekbones. Each layer should be blended before the next goes on — stacking unblended layers is what creates the patchy, stripey looks beginners fear. When the three work together, contour carves the shadow, blush adds the living color, and highlighter pops the high point; the combined effect on a round face is genuinely sculptural.
Making Blush Last All Day
Placement means little if the color vanishes by lunch. For long wear, layer formulas: apply cream blush first, then set it with a whisper of matching powder blush on top. The cream grips the skin and the powder locks it in — the combination outlasts either alone by hours. Set with a light mist of setting spray rather than heavy powder, which can dull the flush. And keep a travel brush handy for touch-ups: a quick sweep over the cheekbones revives the lift without rebuilding the whole face.
Blush Myths Worth Dropping
Two myths deserve retiring. First, “blush always slims the face” — it does not; only correct placement creates lift, and wrong placement emphasizes fullness. Second, “more blush means more effect” — heavy application reads as costume makeup and actually flattens the dimension you are trying to build. Sheer, well-placed color always beats bold, misplaced color.
Frequently Asked Questions
Where exactly do you put blush on a round face?
On and just above the cheekbone line, starting at the outer cheek near the hairline and sweeping upward and inward. Keep the color high and the edges blended — never as centered circles on the apples.
Should round faces avoid blush on the apples of the cheeks?
Mostly, yes — heavy color directly on the apples emphasizes fullness. A whisper of blush can touch the upper apples as part of the upward sweep, but the apples should never be the main placement.
Is cream or powder blush better for round faces?
Cream is easier for beginners because it blends seamlessly and layers gradually — useful while you are learning the upward sweep. Powder offers more control once the technique is comfortable. Both work.
What blush color slims a round face?
No color slims by itself — placement does the work. That said, matte or satin finishes in natural flush tones keep attention on the lift rather than the product. Very bright or shimmery shades draw the eye to the color’s location, so precise placement matters even more with them.
How do I keep blush from looking stripey?
Blend the edges with a clean brush until no border is visible, use less product than you think you need (you can layer), and check in natural light. Stripes almost always mean too much product, under-blended.
The Bottom Line
For round faces, blush goes high and diagonal: outer cheekbone, swept upward, edges melted away. Learn that one motion and you have turned blush from a roundness-emphasizer into a lift-and-definition tool.
Want to see your own cheekbone placement and proportions? Try our free AI face analysis tool on the homepage — upload a photo for an entertaining breakdown of your facial proportions and symmetry.