
Highlighter Placement for Square Face: Soften Angles With Light
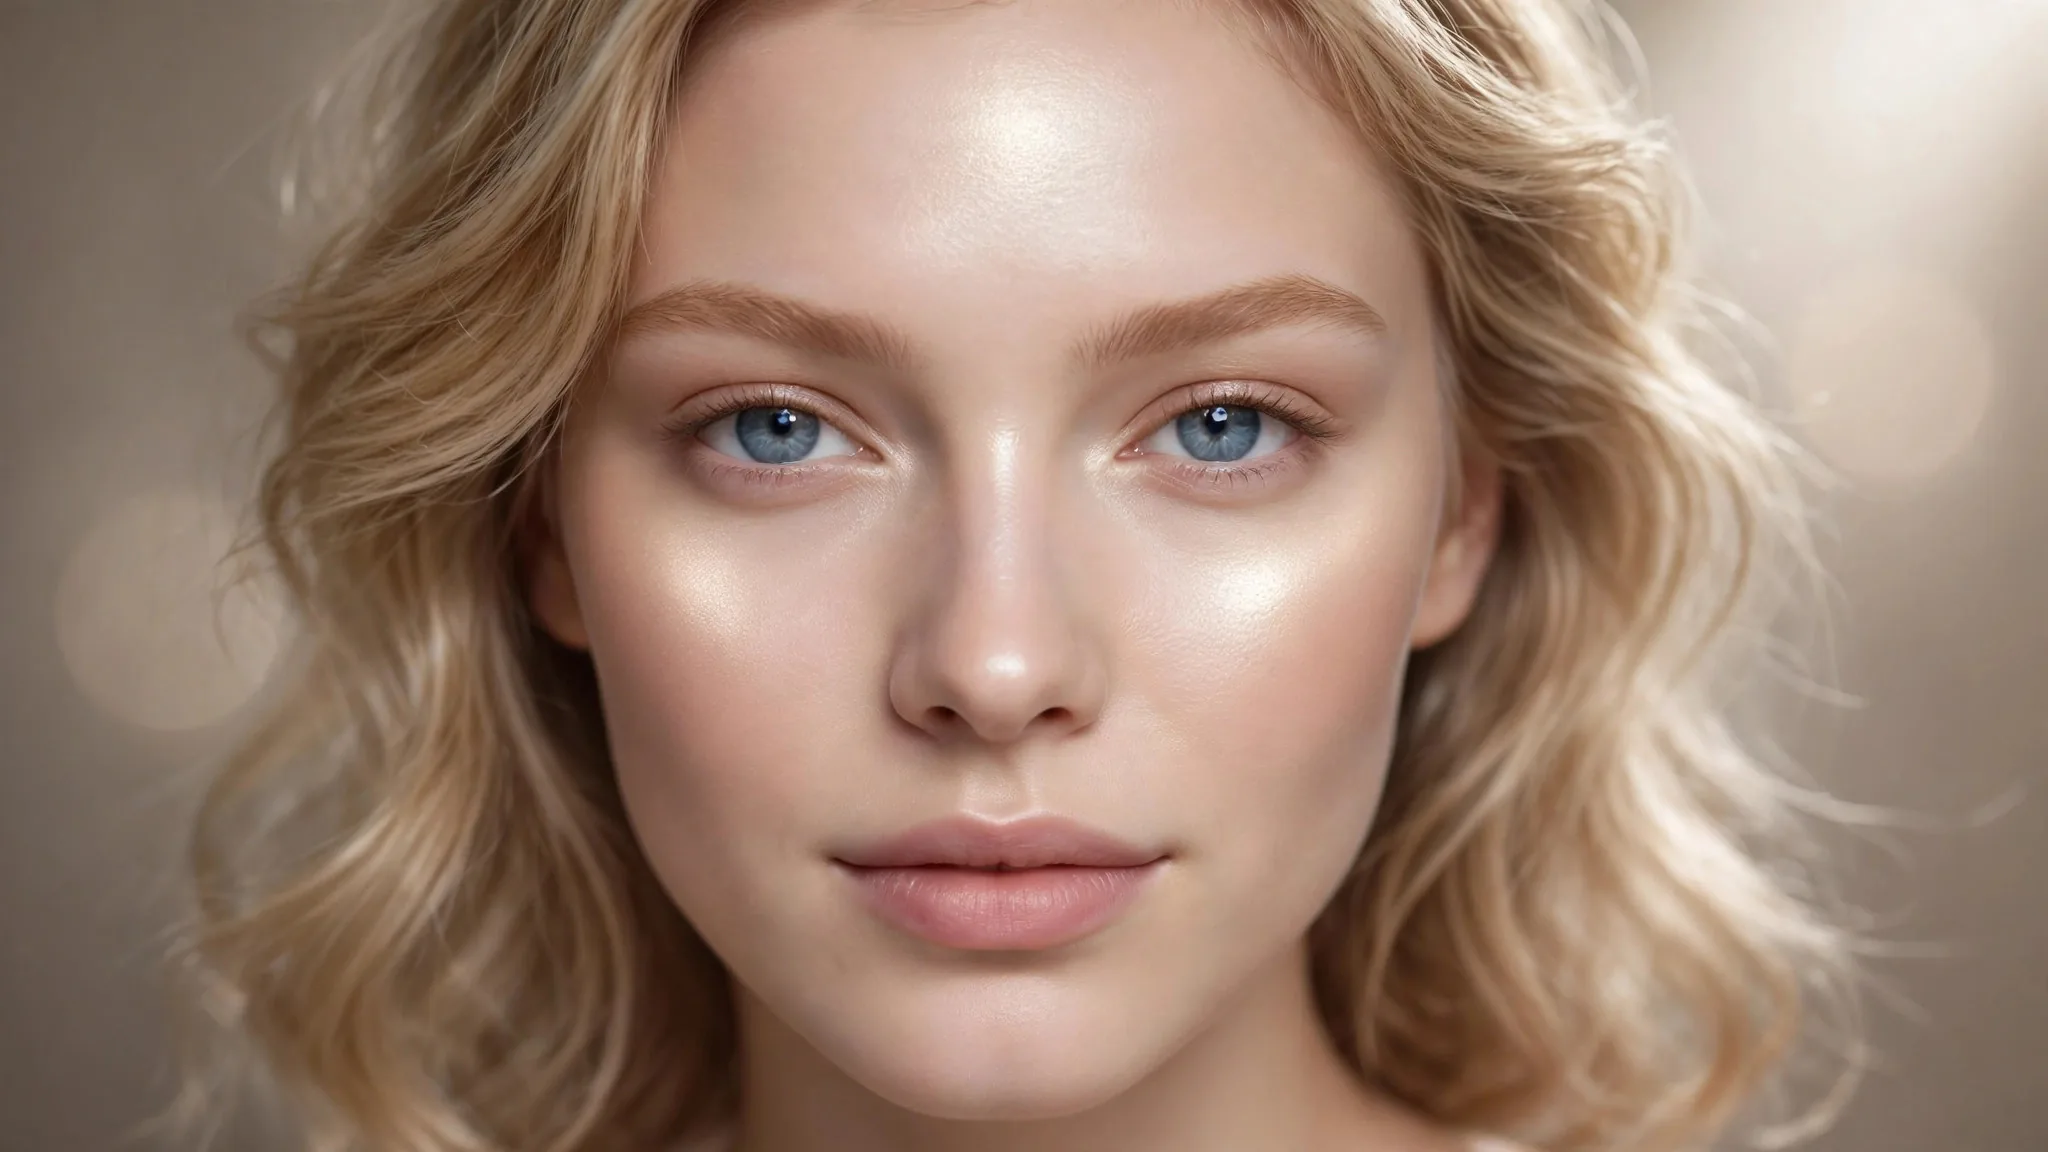
A square face has strong, beautiful structure — a broad forehead, wide cheekbones, and a defined jawline with minimal taper. Highlighter is one of the best tools for working with this shape, because light naturally softens. The right highlighter placement for square face shapes draws the eye to the center of the face and away from the corners, creating the illusion of softer, more rounded proportions without hiding your bone structure.
Understanding the Square Face
Square faces are roughly as wide as they are long, with the forehead, cheekbones, and jawline all sitting at similar widths. The angles at the jaw and the corners of the forehead are the most prominent features. Your highlighter strategy is the opposite of someone with a round face: instead of adding structure, you are using light to blur the sharpest points and pull focus inward.
The golden principle is simple. Highlight the center of the face in a soft vertical column, and keep shimmer away from the corners — the temples, the outer jaw, and the sides of the forehead.
Where to Put Highlighter: Step by Step
1. The center of the forehead
Apply highlighter in a soft oval or vertical strip in the middle of the forehead, keeping it well away from the temples and the corners near the hairline. This pulls the eye to the center and makes the forehead look narrower and less boxy. Blend the edges thoroughly so there is no harsh boundary.
2. The brow bone and inner eye area
Sweep a thin line of highlighter under the arch of each brow and add a pinpoint to the inner corner of each eye. Brightening the center of the eye area contrasts with the wider outer face and makes the eyes look closer-set and more delicate — a lovely counterbalance to a strong jaw. For a related eye-brightening routine, see how to make eyes look bigger with makeup.
3. The tops of the cheekbones — placed high and inward
Here is where square-face placement differs most. Smile to find your cheekbones, then place the highlighter on the upper-inner portion, starting near the outer corner of the eye and sweeping only slightly outward. Do not drag it toward the temples or the ears. Keeping the glow high and close to the center lifts the cheeks and avoids emphasizing the wide outer face. Compare this with highlighter placement for round face, where the goal is the reverse.
4. Down the bridge of the nose
A thin, well-blended line down the center of the nose bridge reinforces the vertical line of light down the middle of the face. Keep it narrow and stop above the tip. On square faces, a slim vertical highlight on the nose makes the whole face read as longer and less wide.
5. The cupid’s bow and center of the chin
Dab highlighter on the cupid’s bow to draw attention to the lips, and place a small, soft dot in the center of the chin. The chin placement is especially useful on square faces because light in the center of the chin visually rounds the jaw area and softens its squared-off look. Blend it well — a harsh dot here looks like a mistake.
6. What to skip
Do not highlight the temples, the outer corners of the forehead, the sides of the jaw, or the jawline itself. Light on any of these areas emphasizes the exact width you are trying to balance. If you contour, place the contour on those outer areas instead — shadow recedes, light advances.
Pairing Highlighter With Contour
Highlighter and contour are a team on square faces. While highlighter goes down the center, contour belongs on the corners: the temples, the sides of the forehead near the hairline, under the cheekbones, and along the jawline. This push-and-pull — light in the middle, shadow on the edges — is what creates the softened, oval-like illusion.
Keep both products subtle and blend until no lines are visible. A good test: step back from the mirror. If you can see exactly where the highlighter starts and stops, blend more. For a full contour routine matched to this face shape, see contouring for square face shape guide.
Choosing the Right Formula and Shade
Powder highlighters are the easiest to control and the best choice for beginners. Cream and liquid formulas give a more luminous, skin-like finish but demand careful blending on the larger surface areas of a square face. Whichever you choose, avoid chunky glitter — it draws attention to texture and defeats the softening goal.
For shade selection, match your skin’s undertone first and depth second. Champagne and pearl flatter fair skin, gold and peach suit medium tones, and bronze and copper glow on deep skin. A shade that is one to two levels lighter than your skin gives the most natural lit-from-within effect.
Mistakes to Avoid
- Highlighting the jawline. This is the single most common error on square faces. Light on the jaw corners makes the jaw look wider and more angular.
- Dragging cheekbone highlighter to the temples. Stop the sweep early. The outer third of the cheek-to-temple zone should stay matte.
- Using a metallic, mirror-like finish all over. High-shine formulas emphasize angles. A satin or soft-sheen finish softens them.
- Applying highlighter before contour. Do your contour and blending first, then add highlighter to the center. It is much easier to place light precisely once the shadows are set.
- Forgetting to blend down the neck. If you highlight the chin and jaw area, blend any product at the jaw’s edge downward so there is no visible line.
Touching Up Through the Day
Highlighter fades faster than other face products, especially on the nose and chin where skin produces more oil. For touch-ups, carry a small powder highlighter compact rather than reapplying over the whole face. Blot any oil first with a tissue or blotting paper, then press — do not sweep — a tiny amount of highlighter back onto the cheekbones. Pressing avoids disturbing your base makeup and keeps the glow looking fresh rather than layered.
FAQs
Can highlighter really make a square face look softer?
Yes — this is one of makeup’s most reliable optical effects. Light brings features forward and draws the eye, while the absence of light lets the outer corners recede. Center-focused highlighting consistently makes angular faces read as softer in photos and in person.
Should I skip highlighter on the nose if my nose is wide?
Keep the nose highlight but make it narrower — a very thin line down the exact center of the bridge. Skip the sides entirely and make sure your contour lines on the sides of the nose are well blended.
What is the best highlighter finish for daytime on a square face?
A satin or soft-pearl finish in a shade close to your skin tone. It gives dimension without the reflective intensity that can emphasize angles under harsh daylight.
Does this placement work for photography?
It works especially well for photography. Cameras flatten the face, so the center-column highlight preserves dimension in photos. Pair it with the tips in best makeup for flash photography to avoid flashback.
Light Is Your Softening Tool
Square faces have striking structure — highlighter simply lets you decide where the eye lands. Keep the glow central, the edges matte, and blend everything until it looks like your skin on its best day. To confirm your face shape before you begin, try the free AI face-rating tool at Russella and get an instant read on your proportions.