
Contouring for a Square Face Shape: Soften the Jaw & Slim the Forehead
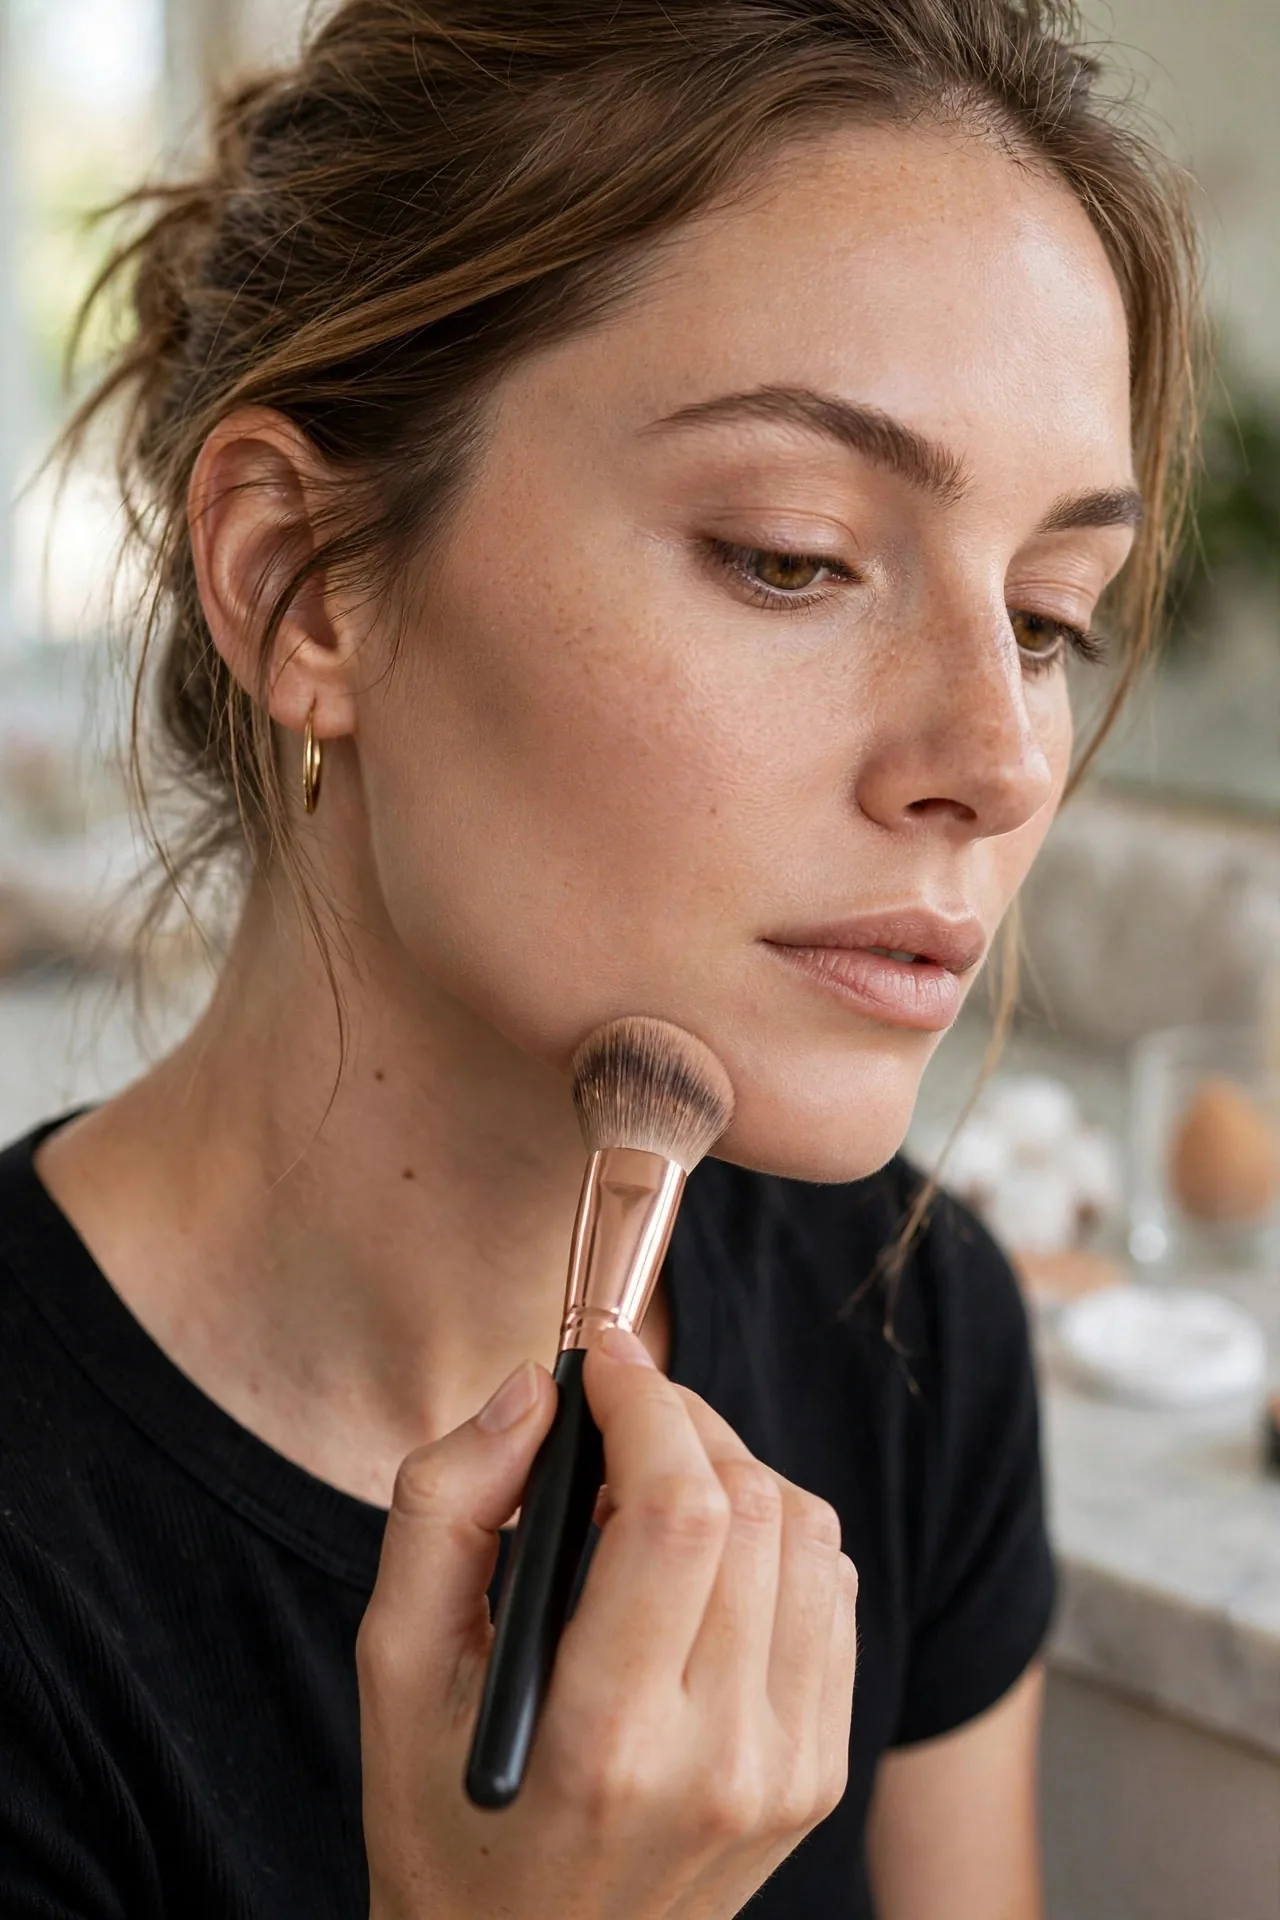
A square face — strong jawline, wide forehead, roughly equal width across the forehead, cheeks, and jaw — is striking and photographs beautifully. Contouring it has the opposite job from contouring a round face: instead of adding angles, you soften them. The goal is never to “fix” your bone structure. It is to round the sharpest corners and draw light to the centre, so the face reads balanced rather than boxy. Get the placement right and the effect is subtle — people notice you look polished, not that you are wearing contour.
What a Square Face Actually Needs From Contour
Contour is shadow, and shadow recedes. So shade goes on the four corners — the jaw angles and the temples — because corners that recede look rounder. Highlight goes down the centre — middle of the forehead, bridge of the nose, centre of the chin — to pull the eye inward and give the face length.
Restraint matters more here than on any other face shape. Over-chiselling a square jaw emphasises the very squareness you are trying to soften. Think of it as dimming the corners of a photograph, not redrawing the frame. The difference between flattering and harsh is usually one extra layer of product — which is why every placement below works best built up sheer rather than applied bold. And keep expectations realistic: most faces carry some natural unevenness, so blend for balance rather than chasing perfect symmetry — our facial symmetry guide explains why ordinary asymmetry is completely normal.
The Square-Face Contour Placement Map
Forget the generic three-stripe contour diagram. For a square face, placement is specific — corners get shade, the centre gets light. Work through the four zones below in order, blending each one before moving to the next, so the map stays controlled.
Soften the Jaw Corners
The angle of the jaw is the signature of a square face, so this is your most important placement. Sweep contour along the outer edge of each jaw corner and just beneath the jawline, then blend downward into the neck so there is no visible shelf. Do not run contour along the entire jawline toward the chin — that frames the jaw and makes it look wider instead of softer. Keep the product concentrated at the corner where the jaw turns.
Slim the Forehead
A wide forehead makes the top half of the face read boxy. Shade the temples and the corners where the forehead meets the hairline, blending the product up into the hairline itself so it melts away. Leave the centre of the forehead for highlight — that bright centre column is what makes the forehead read narrower. This is where understanding facial fifths helps: the classically balanced face is about five eye-widths across, so shading the outer fifths visually pulls a wide forehead toward that proportion.
Lift the Cheekbones
Find the hollow beneath your cheekbone and place contour there, angling it slightly upward toward the ear — never straight back or downward, which drags the face down. Keep the line short: start roughly below the outer corner of the eye and stop well before the corner of the mouth. On square faces a shorter, lifted contour line flatters; a long stripe emphasises width. Place blush just above the contour line rather than on the apples of the cheeks, which keeps the lift going instead of adding roundness to the mid-face.
Highlight the Centre
Balance every shadow with light. Highlight the centre of the forehead, the bridge of the nose, the tops of the cheekbones, and the centre of the chin. This centre column of light is what draws the eye inward and gives the face its sense of length. Skip heavy highlight on the jaw corners — light there would undo all your softening work.
Blending Rules That Keep It Looking Like Skin
Placement gets the credit, but blending does the work. Unblended contour does not look sculpted — it looks like dirt.
Blend upward and outward, never downward. Dragging contour down pulls the face with it. Use pressing, bouncing motions with a damp sponge rather than wiping strokes, which smear the product out of place.
Apply cream before powder, in thin layers. Two sheer passes always beat one heavy one. Cream contour is the most forgiving format for beginners because it stays workable while you blend; set it lightly with powder only once the shape looks right.
Check your work in natural daylight. Bathroom lighting is famously flattering and famously dishonest. Step to a window before you leave — if you can see where the contour starts, it needs more blending.
Keep edges soft everywhere. The rule is simple: visible edges are the mistake. Contour should fade into skin like a real shadow, with no line where it begins.
Blend one zone at a time. Finish the jaw corners completely before moving to the forehead. Working the whole face at once is how product migrates into places it should not be, and how beginners end up with an all-over muddy tone instead of defined zones.
Beginner Mistakes to Avoid
- Contouring the full jawline. This frames the jaw and makes it look wider. Corners only — never the straight stretch toward the chin.
- Stripes that never get blended. A harsh brown stripe reads as dirt, not shadow. When in doubt, blend more.
- The wrong undertone. Warm, orange-leaning bronzers do not read as shadow on most skin tones. Choose a neutral-to-cool tone two to three shades deeper than your skin.
- Contouring too low on the cheek. Placing the hollow line too far down drags the face downward. Stay inside the actual hollow beneath the cheekbone.
- Forgetting the highlight. Shadow without light just darkens the face. The centre highlight is half the job — it is what creates the length that balances the width.
Check Your Face Shape First
Contour maps differ completely by face shape — the placement that softens a square jaw would widen a round face. Before you pick up the brush, confirm your geometry with Russella’s free AI face-analysis tool, which checks your face shape from a photo in seconds. Try the free face shape check and contour for the face you actually have.
Frequently Asked Questions
Where do you put contour on a square face?
On the four corners: the jaw angles (and just under the jawline), the temples and hairline corners, and the hollows of the cheeks angled slightly upward. Then highlight the centre — forehead middle, nose bridge, and chin — to draw the eye inward.
Should you contour your whole jawline on a square face?
No — only the corners. Running contour along the full jawline toward the chin frames the jaw and emphasises its width, which is the opposite of the goal. Concentrate product where the jaw turns, and blend it down into the neck.
What contour shade suits a square face best?
A neutral-to-cool tone two to three shades deeper than your skin. Cool-leaning shades mimic real shadow; warm, orange-leaning tones read as bronzer and can look muddy. Cream formulas are the most forgiving for beginners because they stay blendable, while powders suit oily skin and faster application. Whatever the format, test the shade on your jaw in daylight before committing — store lighting lies about undertones.
Can contouring make a square face look oval?
It can create the illusion of softer corners and more length, but it cannot change bone structure — makeup is an optical effect, not a structural one. Used well, it rounds the visual edges of the face; used heavily, it just looks like makeup. Aim for the soft-focus version.