Highlighter Placement for a Heart Shaped Face: A Beginner’s Guide
A heart shaped face is easy to love: a wider forehead, high cheekbones, and a chin that tapers to a soft, narrow point. Highlighter can make it glow in all the right places. The right highlighter placement for a heart shaped face adds light to the center of the face, gives the chin a little more presence, and keeps the broader forehead from dominating the whole look.
This beginner-friendly tutorial maps out exactly where to place highlighter, which spots to skip, and how to blend for a lit-from-within finish. All you need is a highlighter, a small fluffy brush or your fingertip, and a mirror.
How to Tell You Have a Heart Shaped Face
Pull your hair back and look straight into a mirror. On a heart shaped face, the forehead is the widest part, the cheekbones sit high and wide, and the face narrows to a delicate, slightly pointed chin — the classic upside-down triangle. For a second opinion, the AI face shape detection tool can analyze a selfie and suggest your closest match. Treat it as a playful starting point, since lighting and angles can easily nudge the result.
Why Highlighter Flatters a Heart Shaped Face
Highlighter works by bringing features forward — wherever light lands, the eye follows. On a heart shaped face, that solves the shape’s one common imbalance: a broad forehead paired with a narrow chin. Concentrating glow down the center of the face and adding a touch of light to the chin visually widens the lower face and draws attention inward, so the forehead feels like part of a whole rather than the main event.
The result is balance, not reshaping. Your cheekbones stay the stars of the show; highlighter just makes sure the chin gets a little stage time too.
The Highlighter Map: Where to Glow
1. The Center of the Forehead
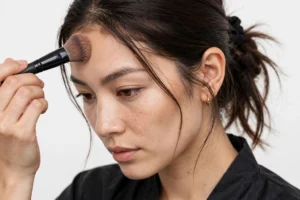
Tap a small amount of highlighter onto the center of your forehead, between the brows and the hairline, and blend it outward in soft strokes. Lighting up the middle of the forehead (the upper facial third) creates a bright focal point that pulls the eye inward and stops the wider forehead from reading as one flat, expansive surface. Keep the glow in the center — pushing it toward the temples will only emphasize width.
2. Down the Bridge of the Nose
A thin line of highlighter down the center of the nose bridge continues the central glow and ties the forehead to the rest of the face. Use a very light touch and stop before the tip — highlighting the tip can draw unwanted attention and make the nose look wider in photos. Blend the line gently with your fingertip so it melts into the skin rather than sitting as a stripe.
3. The Tops of the Cheekbones
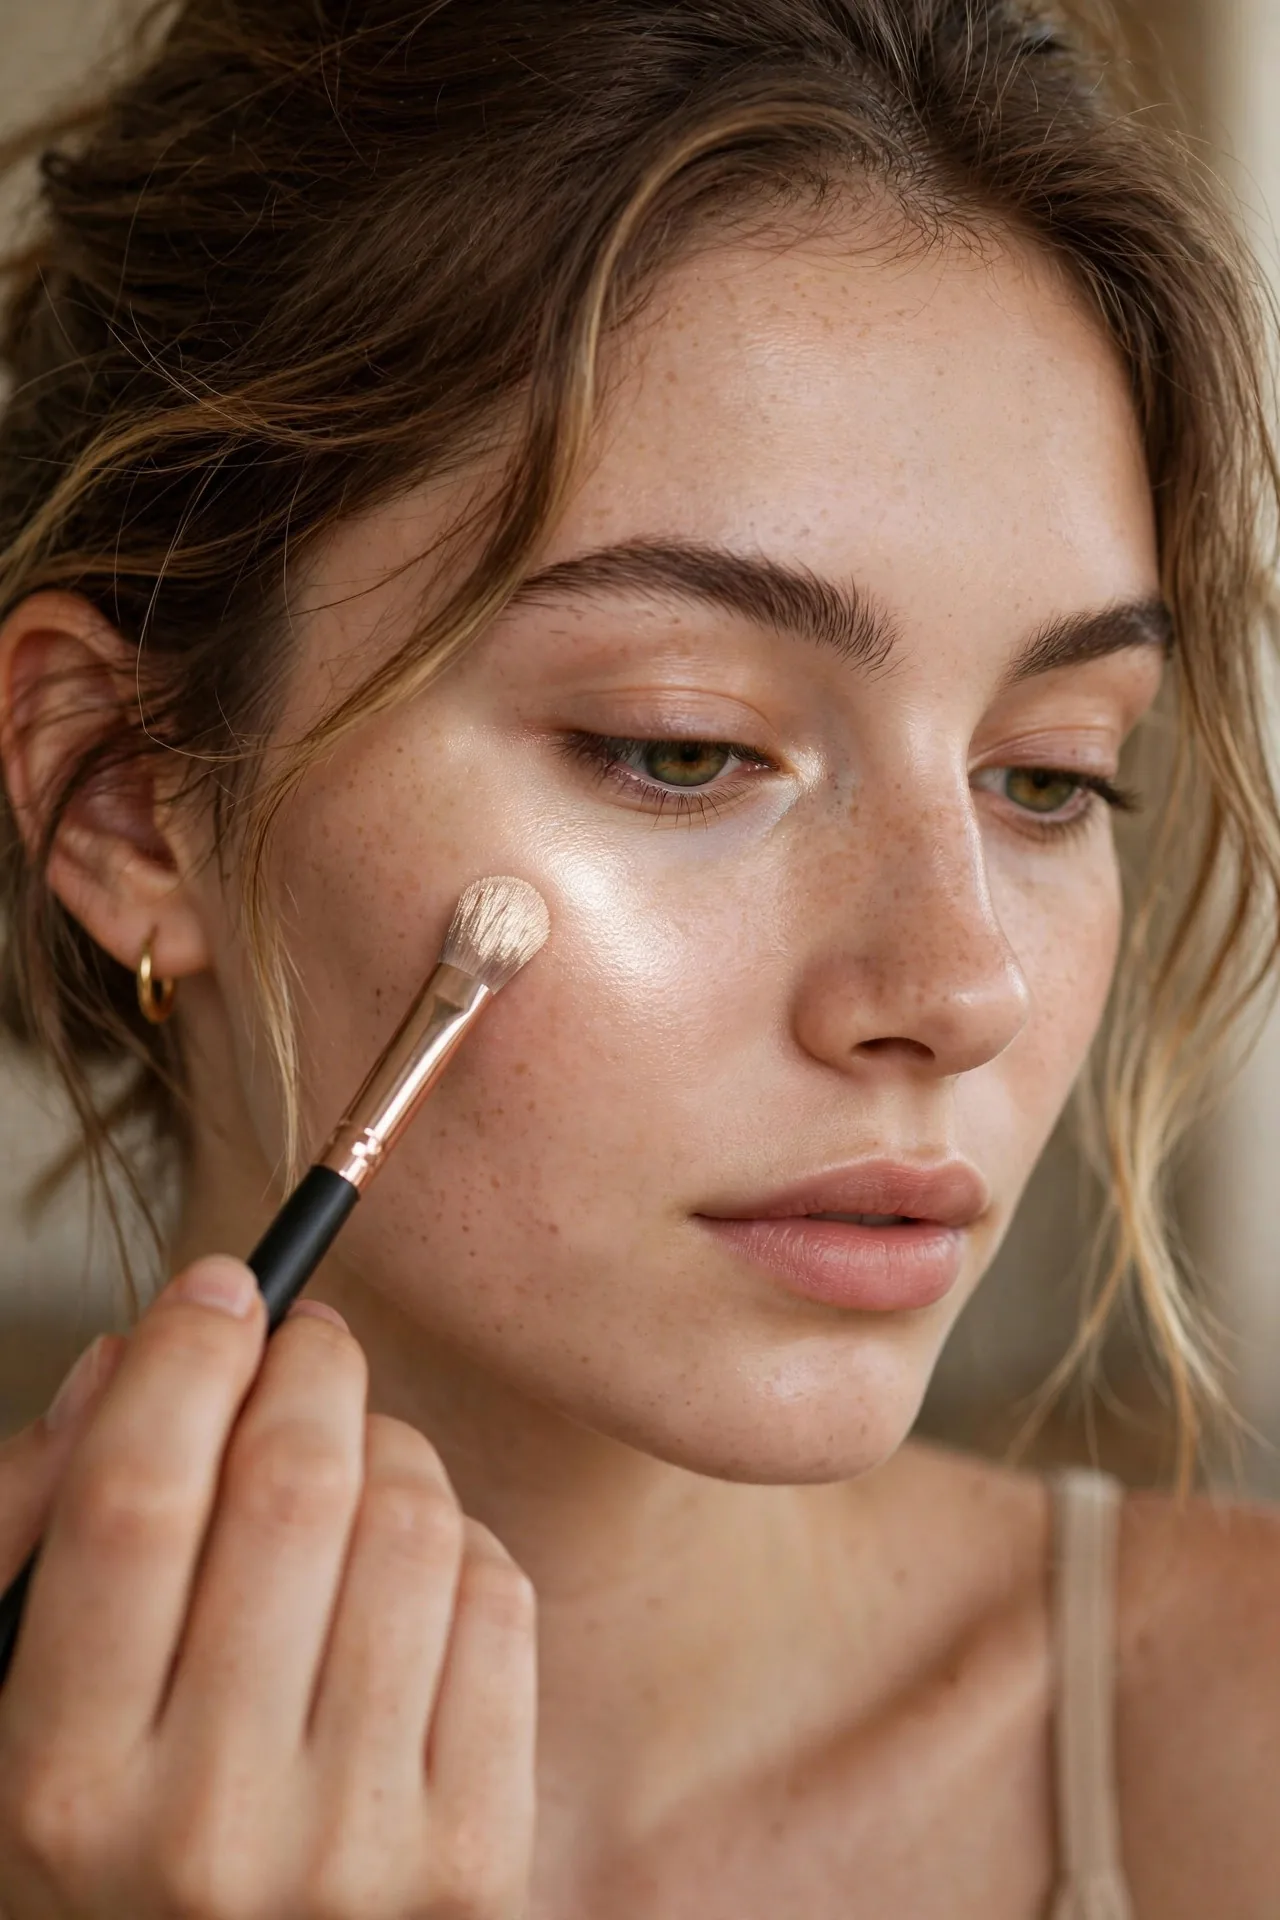
Heart shaped faces already have gorgeous cheekbones, and highlighter makes them luminous. Smile lightly to find the top of the cheekbone, then sweep highlighter along its highest plane in a soft “C” shape curving from the outer cheek up toward the temple. Keep the product on the upper cheekbone only — dragging it downward emphasizes the narrowness of the lower face, which is the opposite of what you want.
4. The Chin
This is the placement most beginners skip, and on a heart shaped face it’s the most important one. A narrow chin can recede visually, making the forehead look even wider by comparison. Dab a tiny amount of highlighter onto the center of the chin and blend it out softly. The added light brings the chin forward, giving the lower face more presence and restoring balance. Use the smallest amount of any zone — a little glow goes a long way here.
5. Inner Eye Corners and Brow Bone
Finish with the detail work. A pinprick of highlighter in each inner eye corner brightens tired eyes and opens up the whole face. Then trace a whisper of highlighter just beneath the arch of each brow, on the brow bone, and blend upward. This lifts the eye area and frames the central glow. These two spots use the least product but add the most polish.
Choosing the Right Highlighter
Formula matters more than shade. Powder highlighters are the easiest starting point: they apply evenly, blend forgivingly, and suit normal to oily skin. Cream or liquid highlighters give a dewier, skin-like glow and suit dry skin, but they demand a lighter hand — save them for once you’re comfortable with placement.
For shade, match your undertone. Fair skin glows with pearly, champagne, or soft pink tones; medium skin loves warm champagne and gold; deeper skin looks stunning with rich gold and bronze. The finish should look like light hitting skin, not glitter sitting on it — if you can see individual sparkle particles in daylight, the formula is too chunky for daytime wear.
Blending Tips for a Seamless Glow
Highlighter should look like it’s coming from within the skin, and blending is what sells the illusion. Apply to the high points first, then blend the edges outward with a clean fingertip or a small fluffy brush — never drag the product across the face, which just relocates it somewhere unwanted. Build in sheer layers: one light pass, check, then add a touch more only where you want extra impact.
Apply in the best light you have, then do a final check in natural daylight near a window. Shimmer that looks subtle under warm indoor bulbs can turn surprisingly intense in sunlight, and it’s far easier to tone it down now than to notice it in photos later.
Common Mistakes to Avoid
Highlighting the temples. On a heart shaped face, the temples are already wide. Adding glow there pushes them further outward and makes the forehead look broader, undoing your careful balancing work.
Skipping the chin. Without that small touch of light on the chin, the lower face recedes and the forehead dominates. It’s the tiniest placement on the map and the easiest to forget.
Too much shimmer on textured skin. Highlighter emphasizes whatever it sits on, including texture and pores. On a textured day, choose a subtle satin finish and keep it to the cheekbones and brow bone.
See Your Glow in Action
Want to see how the balanced glow changes your overall look? Snap a before-and-after selfie and run it through the free AI face-analysis tool — you can explore fun details like how balanced your facial proportions look with the new highlight map in place. Remember it’s all playful experimentation, never a verdict on your appearance.
Frequently Asked Questions
Can highlighter make my forehead look smaller?
Not smaller exactly, but it can make it look less dominant. By concentrating glow in the center of the forehead and pairing it with light on the chin, you pull the eye inward and downward, so the forehead reads as part of a balanced whole rather than the widest feature.
Should I use highlighter and bronzer together on a heart shaped face?
Yes, they complement each other nicely. Use bronzer softly at the temples and along the hairline to visually narrow the forehead, then place highlighter down the center of the face as described above. The combination sculpts and illuminates at the same time.
Where should I avoid highlighter on a heart shaped face?
Keep it off the temples, the sides of the forehead, and the jawline — highlighting the outer edges emphasizes width where you least want it. Also skip the tip of the nose and anywhere your skin is textured or breaking out.
Is cream or powder highlighter better for beginners?
Powder, in most cases. It’s more forgiving, easier to control, and simpler to blend with a brush. Once you’re comfortable with placement, try a cream formula for a dewier finish on evenings out or in photos.