Nose Contouring for Bulbous Nose: A Beginner’s Soft-Line Guide
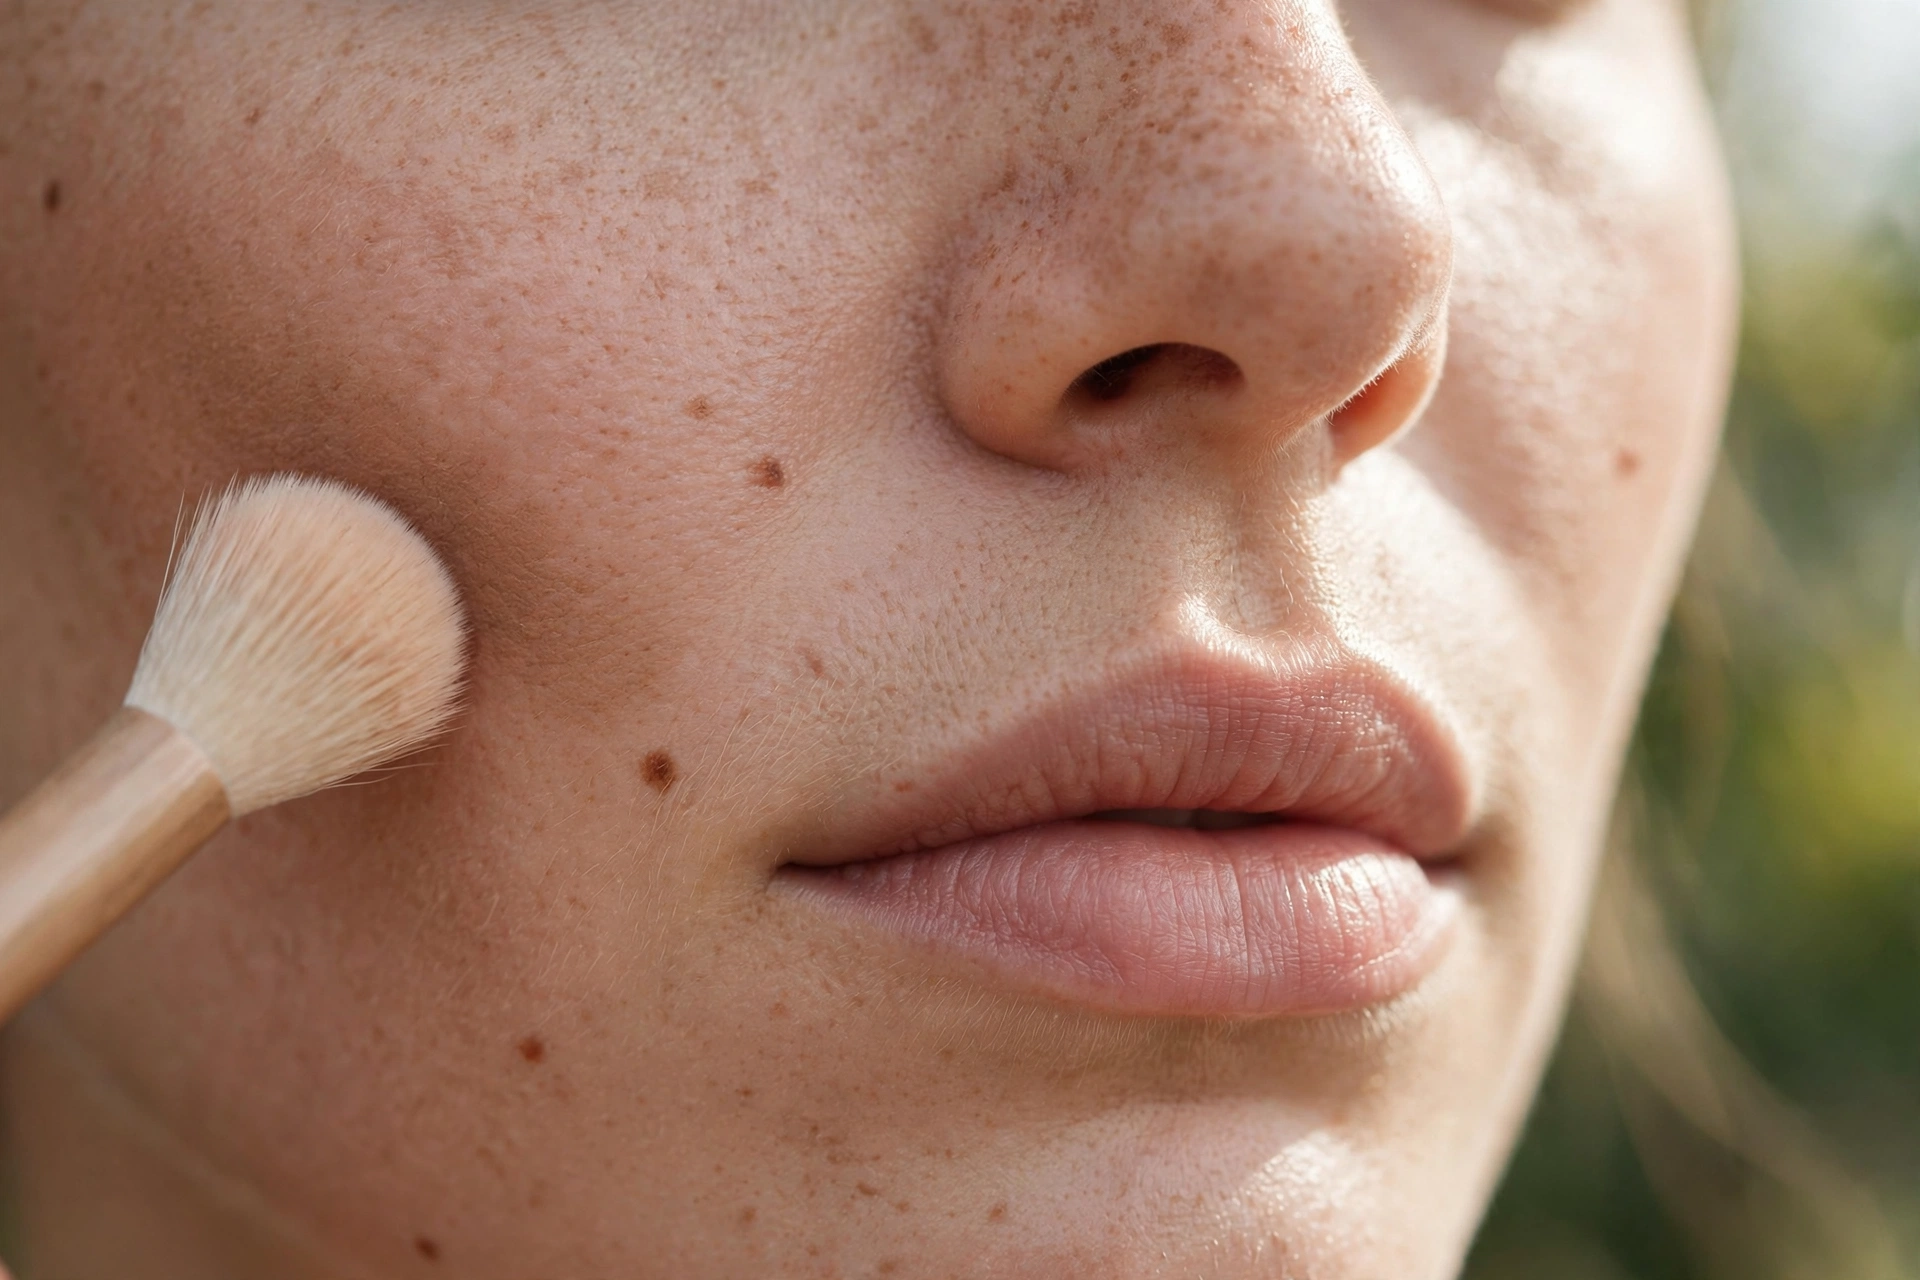
A bulbous nose — a rounder, softer, more full-looking tip — is one of the most common nose shapes in the world, and there is nothing wrong with it. But if you’re curious how a little contour could make the tip look slightly more defined, this beginner guide is for you: a gentle, soft-line method using sheer layers, neutral-toned shadow, and patient blending. No harsh stripes, no pressure.
Contouring is paint on skin, not a fix. It washes off at night and cannot change cartilage, nostril width, or your nose’s actual structure. Think of it as styling, not correcting — everything below is optional.
What makes a bulbous nose different to contour
A bulbous nose reads widest and roundest at the tip rather than the bridge. That changes the map compared to other nose shapes. Drawing the usual two lines down the bridge and stopping short leaves the tip doing all the visual talking — which is exactly what beginners want to soften.
So the beginner method for a bulbous nose has three parts instead of two: slim shadow lines down the bridge sides, a narrow highlight down the centre, and — the part most tutorials skip — a whisper of shadow around the tip’s lower edges to soften its roundness. That third step is what turns “contoured bridge, still round tip” into a balanced, cohesive result.
One more honest limit: contour cannot narrow the nostrils or reshape the tip’s cartilage. It softens how the tip reads in photos and mirrors. For a feel of the wider framework your nose sits in, our guide to facial fifths explains the proportions classical analysis reads — harmony with the whole face matters more than a maximally narrow nose.
Start with powder, not cream
For beginners, matte powder contour is the kindest medium: it builds gradually, blends with a few brush sweeps, and mistakes dust away without lifting your foundation. Cream sticks and palettes can look beautiful, but they set quickly and demand fast, confident blending — one slow stroke can leave a patchy stripe that is hard to fix.
What to pick:
- A matte contour powder one to two shades deeper than your skin, in a neutral to slightly cool undertone. Warm, orange-leaning shades read as dirt in daylight — the single most common beginner mistake.
- A matte powder or concealer one to two shades lighter than your skin for the highlight strip.
- Everything shimmer-free. Shimmer reflects light and cancels the shadow effect entirely.
The three tools you need
You do not need a 12-brush kit. Three tools cover this method:
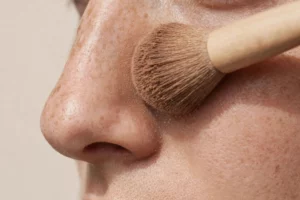
- A small, fluffy tapered brush — your workhorse for soft shadow lines and diffused edges.
- A tiny flat brush or your clean ring finger for the precise highlight strip and tip detailing.
- A damp makeup sponge (squeezed nearly dry) to press everything together at the end so skin and makeup read as one.
Wash the fluffy brush regularly — buildup deposits colour unevenly and makes blending harder.
The soft-line method, step by step
Step 1: Finish your base first
Contour goes over foundation, never on bare skin. Set the nose lightly with translucent powder first — contour blends far more smoothly over a set, non-tacky base.
Step 2: Map the bridge lines
Face a mirror in natural daylight, head straight (tilting shifts the shadows). Draw two thin lines from the inner corners of your brows down the bridge sides, stopping just above where the nostrils flare. For a bulbous nose, keep these lines:
- Thin. Thick lines look like stripes; thin lines look like natural shadow.
- Close together. The gap between the lines is what the eye reads as width — place them slightly closer than your instinct says.
Then add the highlight: a narrow, straight strip of the lighter shade down the centre between the lines, stopping before the tip. If you are unsure how your nose sits within your overall face, our face shape detection guide helps you read features as a set rather than in isolation.
Step 3: Soften the tip — the key step for bulbous noses
This is the step that makes the method work for a rounded tip. With the fluffy brush, take the tiniest amount of contour powder and softly shade the very bottom edges of the tip — the small rounded corners where the tip meets the nostrils. Use tiny circular motions, almost no pressure. You are suggesting gentle shadow where the tip curves away from light, which visually trims its roundness.
Then place a small dot — not a stripe — of the highlight shade right on the centre of the tip. This draws the eye to the middle and away from the width. Keep both applications sheer: at this stage everything should look barely there. You can add more; you cannot easily take away.
Step 4: Blend until there are no edges
This step decides the result more than anything else. With a clean fluffy brush, diffuse every line outward in small circular motions until no edge shows — only a soft gradient from shadow to skin. Blend a little upward into the brows so the lines start naturally. Then press gently all over with the damp sponge to melt powder into skin. Blend about twice as long as feels necessary.
Step 5: Set with a whisper of powder
Dust a barely-there layer of translucent powder over the nose to lock it in. Skip heavy baking — thick powder photographs chalky, settles into the tip’s curves, and can crack by evening.
Mistakes that undo the softness (and fixes)
- Over-contouring the tip — too much shadow looks muddy, not defined; keep tip shading the sheerest part of the routine.
- Harsh unblended lines — the classic giveaway. Blend with a clean brush, longer than you think.
- Too-warm shade — orange reads as dirt in daylight; switch to neutral-cool matte.
- Lines too far apart — visually widens the bridge; redraw thinner and closer.
- Contouring in bathroom lighting only — always check the result in daylight by a window before leaving.
For a broader grounding in nose contour technique that pairs with this tip method, our beginner’s guide to nose contouring for a wide nose covers bridge-line placement in extra detail.
Try it with your real proportions in mind
Makeup flatters most when it suits your actual face. For a neutral read on your features before you pick up a brush, try our free AI face analysis tool on the homepage — it checks face shape and key proportions in seconds.
Frequently Asked Questions
Can nose contouring make a bulbous nose look smaller?
It can soften how round the tip reads by using shadow at the edges and highlight at the centre. It cannot change the cartilage, nostril width, or the nose’s real structure — it is a lighting illusion that washes off.
Should beginners use cream or powder contour for a bulbous nose?
Powder. It builds gradually, blends easily, and mistakes wipe away without disturbing foundation. Cream sets fast and punishes slow blending, which is exactly what beginners are still learning.
How do I avoid harsh lines around the tip?
Use almost no product on the tip itself — tap the brush off thoroughly — and blend in tiny circular motions. The tip shading should be the sheerest part of the routine; if you can clearly see it before blending, there is too much.
Why does my nose contour look orange or muddy?
Almost always a too-warm undertone or under-blending. Switch to a neutral-to-cool matte shade one to two tones deeper than your skin, and diffuse the edges longer with a clean brush.
Will contouring last all day on the nose tip?
Sheer layers over a set base, finished with a whisper of translucent powder, last well. Thick unblended layers break down fastest — right where the tip moves and catches light.
Can makeup permanently reshape my nose?
No. Contour is pigment on skin that washes off — it cannot alter bone, cartilage, or tissue. Permanent reshaping is a medical procedure, not makeup, and anyone selling otherwise is misleading you.