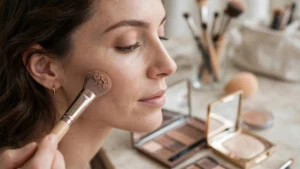
Eyeliner Tips for Round Face & Hooded Eyes: The Draw-With-Eyes-Open Wing
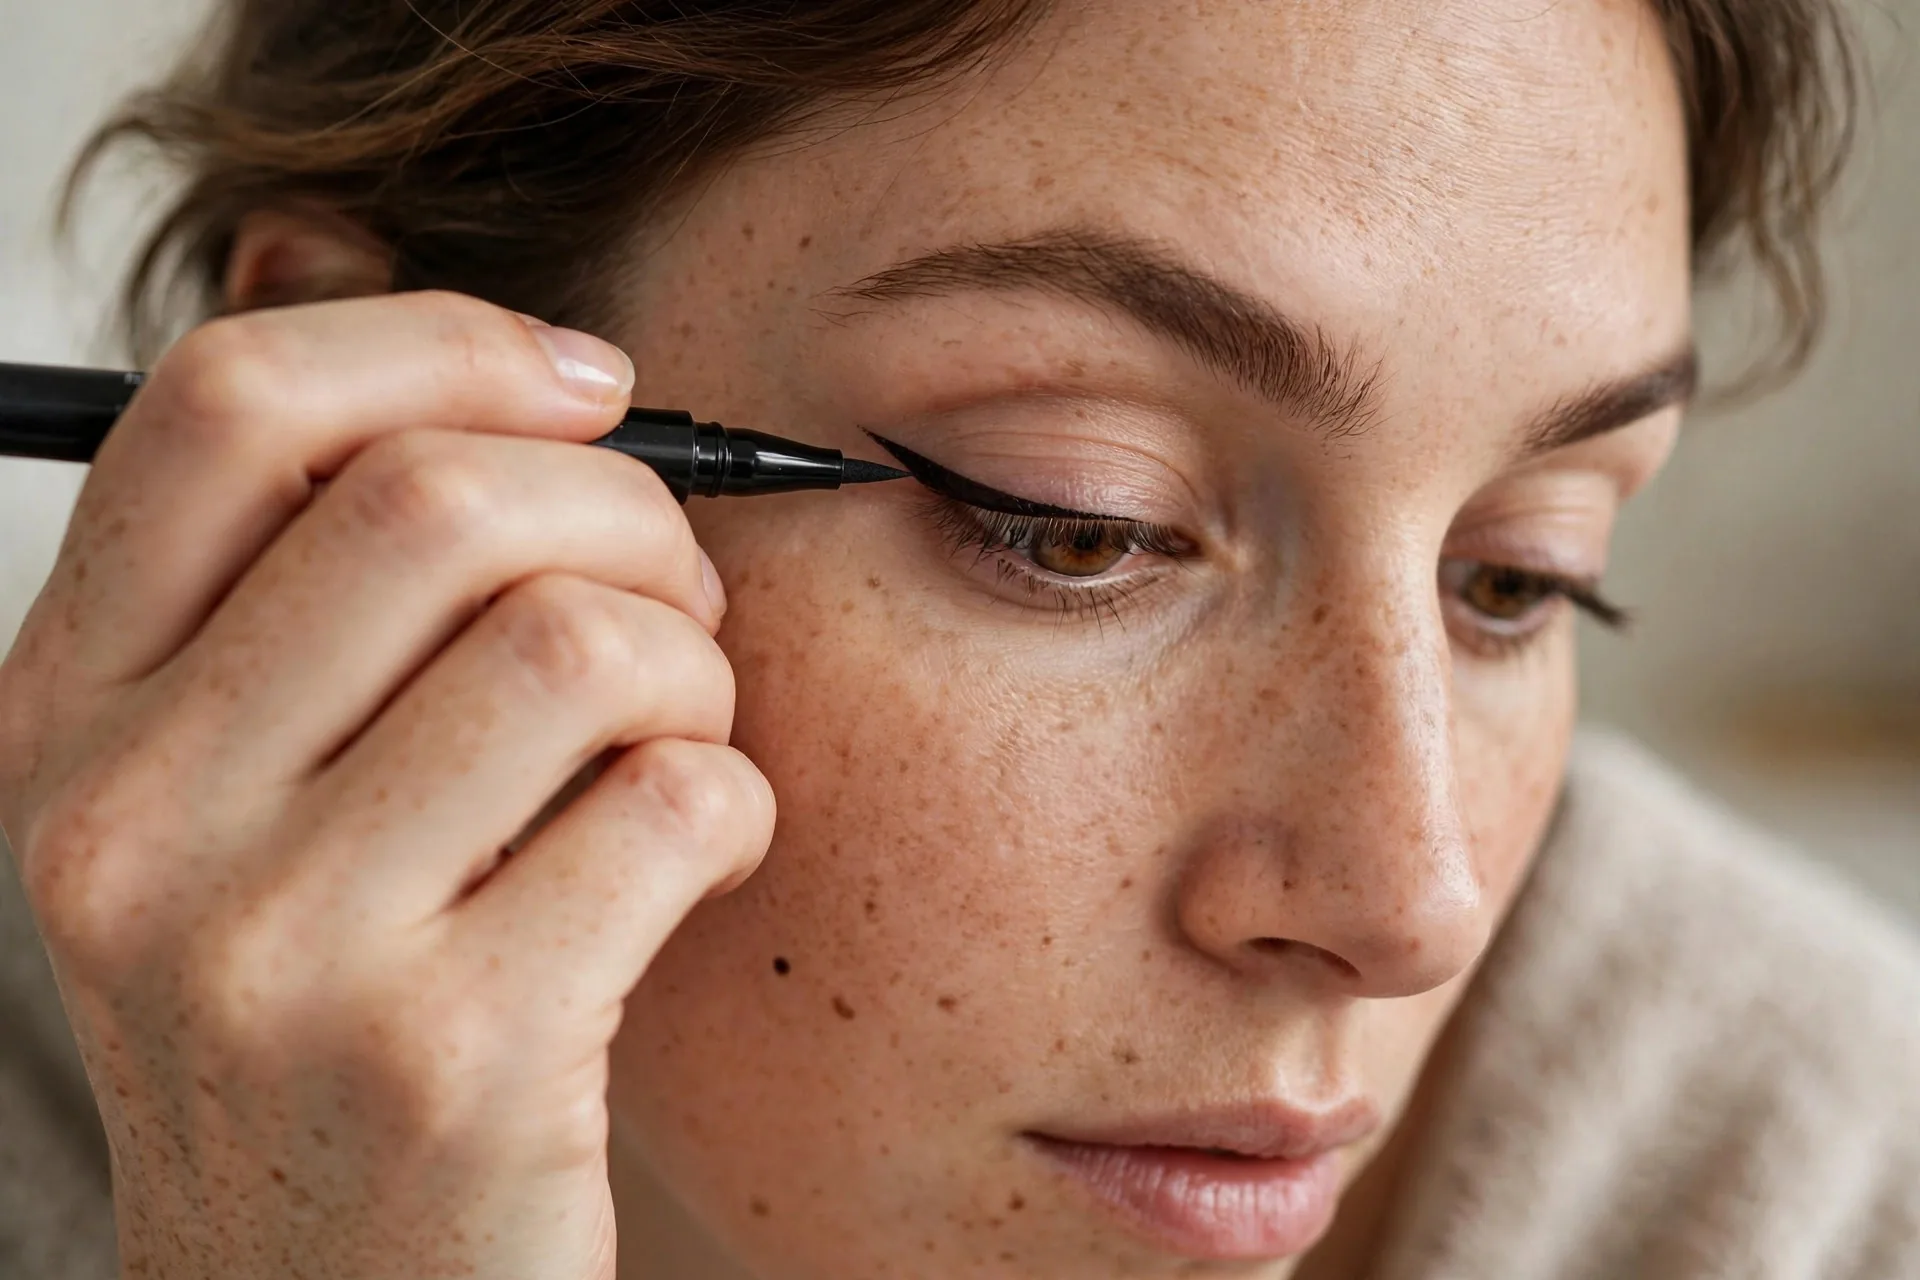
There is a specific frustration reserved for hooded eyes: you spend ten minutes on a perfect wing with your eyes closed, open them, and watch it vanish under the fold. Add a round face — soft curves, wide-set features, barely any natural angles — and most eyeliner tutorials stop being useful. They are usually demonstrated on deep-set or almond eyes, which is not you.
The good news: it is not harder, it just follows different rules. The core shift is simple — stop drawing with your eyes closed and start drawing with them open. This single change fixes most hooded-eye liner problems, because you finally see the liner the way the rest of the world sees it.
Why This Eye–Face Combination Breaks Standard Advice
Two things work against you. First, a hooded eye has extra skin folding over the mobile lid, hiding liner near the lash line. Second, a round face reads wide and soft — heavy liner around the full eye can shrink the eyes and widen the face, the opposite of what most people want — pairing liner with beginner contouring for round faces balances the effect.
Standard tutorials tell you to draw a thick line tight to the lashes and flick it upward. On hooded eyes, that thick line gets swallowed by the fold, and the upward flick lands awkwardly against the hood’s crease. It looks great for the first blink, smudged by midday. Once you understand the geometry, you can work with it instead of against it.
The Draw-With-Eyes-Open Technique
This is the single most important skill for hooded eyes. Instead of stretching the lid taut and drawing with the eye closed — which distorts everything — keep your eyes open and relaxed, looking straight into the mirror. You draw the visible design: what people actually see.
Step 1: Map the Wing First
Look straight ahead. From the outer corner of your eye, draw a short line angling outward and slightly upward, following the direction your lower lash line would take if it kept going. This is your wing skeleton. Because your eyes are open, you can immediately see where it sits relative to the hood — adjust the angle before committing.
Step 2: Connect From the Outer Third Inward
From the tip of that flick, draw back toward the lash line, meeting it about two-thirds of the way across the lid. Keep the line on the outer third thinner than you think it should be — a thick line near the hood crease disappears into the fold and then smudges.
Step 3: Fill In and Clean Up
Fill the triangle between your flick and the lash line. Then take a cotton swab with micellar water and sharpen the wing’s edges. Cleaning up is faster and more precise than trying to draw perfectly on the first pass.
Step 4: Check Both Eyes Against Each Other
Step back, look straight on, and compare the two sides. Eyes are rarely identical, and hooding often differs left to right, so one wing may need to sit a touch higher. Our guide to facial symmetry explains why perfect evenness is the exception — aim for overall balance, not mirror images.
Placement That Elongates a Round Face
The wing technique solves the hooded-eye problem; placement solves the round-face problem — see how to make a round face look slimmer with makeup for the full technique. Your goal is horizontal lift — stretching the eye outward so the face reads longer.
Extend Outward, Not Just Upward
A wing that points mostly upward visually shortens the eye. Angle it more horizontally — roughly following the lower lash line’s trajectory — and extend it a few millimetres past the outer corner. This draws the eye outward, creating the elongated silhouette that balances facial roundness.
Thicken the Outer Third, Keep the Inner Corner Light
Weight your liner on the outer third of the lid and keep the inner corner minimal or bare. Heavy liner at the inner corner closes the eye inward and makes the face look wider. A touch of light shimmer in the inner corner opens the eye up without adding width.
Mind Your Canthal Tilt
The natural angle of your eye corners — your canthal tilt — which you can measure in minutes — sets how much upward angle your wing needs. If your outer corners sit lower than your inner corners, a straighter, more horizontal wing sits far more naturally than a dramatic upward flick.
Skip Heavy Lower Liner
Lining the full lower lash line on a round face tends to close the eye down and emphasise roundness. For lower definition, smudge a soft line along the outer third only — never the full rim — and keep it below the waterline.
Pen vs Gel: Choosing the Right Product Type
No brand names matter — only the formula family, since different cosmetics behave differently on hooded lids.
Felt-tip liner pens are the best starting point. They lay down a controlled, thin stroke — exactly what hooded eyes need — and dry quickly, so they transfer less onto the hood. Choose a firm, fine tip over a flexible brush tip, which wobbles and is harder to control on textured lids.
Gel liners in a pot, applied with an angled brush, give the most opaque, long-wearing line and are excellent once your technique is solid. The trade-off is dry time: wet gel transfers onto the hood the moment you blink. Set the line with matching eyeshadow and give it a full minute before looking down.
Kohl or pencil liners are the smudgiest option. They work for the soft outer-third lower line, but skip them for the main wing — on hooded eyes, a pencil wing sits under the fold by lunchtime.
Whatever you choose, a lid primer — or concealer set with powder — gives liner something to grip and sharply reduces transfer onto the hood.
Common Mistakes to Avoid
- Drawing with eyes closed. The number-one hooded-eye mistake. Always judge the design with your eyes open and relaxed.
- Following the crease with the wing. If your flick traces the hood’s fold line, it looks broken when you open your eyes. Draw the wing above and outside the fold.
- Forcing both wings identical. Match them visually with eyes open, not by measuring closed. Slight asymmetry is normal — chase balance, not millimetre symmetry.
- Thick liner across the whole lid. Thick liner under a hood disappears and smudges. Keep the lid line thin; put the drama in the visible wing.
- Skipping the dry-down. Blinking or applying mascara before the liner sets causes transfer. Give it thirty to sixty seconds.
Check Your Face Shape First
Before committing to any technique, confirm you are working with the right geometry. Russella’s free AI face-analysis tool checks your face shape from a photo in seconds — so you know these round-face, hooded-eye techniques are actually yours. Try the free face shape check before your next eyeliner session.
Frequently Asked Questions
Should I stretch my eyelid when applying liner on hooded eyes?
No — stretching distorts the lid, so the line lands somewhere unexpected once the skin relaxes. Keep the eye open and relaxed, draw the visible shape, and clean up the edges afterwards.
Why does my winged eyeliner disappear when I open my eyes?
It was drawn on the mobile lid, which the hood covers. Draw the wing on the area that stays visible — higher and further out than feels natural — and check the shape with your eyes open throughout.
Is winged eyeliner good for round faces?
Yes, when the wing extends outward rather than upward. A horizontal, elongated wing stretches the eye sideways and balances roundness; a short, sharply upward flick can make the eye look smaller and the face rounder.
Pencil, pen, or gel — which is best for hooded eyes?
A felt-tip pen is the most forgiving: thin, controlled strokes that dry fast and transfer less. Gel lasts longest once your technique is solid but needs setting time. Pencils smudge too easily for a crisp wing.
How do I stop eyeliner transferring onto my hooded lid?
Use a lid primer, pick a fast-drying pen formula, keep the line thin where the hood touches, set gel with matching eyeshadow, and let everything dry fully before blinking hard or looking down.