Blush for Oval Face: Shades, Formulas and Placement Guide
Most blush advice for oval faces stops at one sentence: put it on the apples of your cheeks. That is not wrong, but it leaves out the decisions that actually determine whether your blush looks expensive or muddy. The shade has to match your undertone. The formula has to suit your skin type. The finish has to fit the occasion. Placement is only the final step, and on an oval face you have more placement options than any other face shape, because your proportions are already balanced and you can play.
This guide covers the full decision chain for oval faces: undertone first, then shade, then formula, then finish, then placement, then tools. Get the chain right and blush becomes the easiest part of your routine.
Key Takeaways
- Match blush shade to your undertone first: warm undertones suit peach and coral, cool undertones suit pink and berry, neutral suits rose.
- Cream formulas give oval faces the most flattering glow on the cheekbones, while powders offer the most control for beginners.
- Oval faces can wear three placements well: lifted on the cheekbones for sculpting, on the apples for youthfulness, or diffused for a fresh wash of color.
- Longer oval faces should favor the apples to add visual width; balanced ovals look best with the lifted placement.
- Keep blush above the bottom of the nose. Placing it too low drags oval features downward.
Why Oval Faces Get More Blush Freedom
An oval face is slightly longer than it is wide, with a forehead a touch wider than the chin and cheekbones as the widest point. Nothing needs correcting, which means blush is purely decorative. That is a luxury. Where round faces must place blush strategically to slim and square faces must soften, oval faces can choose a placement based on the effect they want that day.
Makeup artists consistently point to higher placements as especially flattering on ovals. In Patrick Ta’s pro blush placement guide, the lifted placement, blush worn high on the cheekbones, is recommended for oval faces because it enhances the face’s natural symmetry instead of pulling features downward. Layering a cream over powder along the cheekbone adds a glow that follows the lift. Keep that technique in mind. It comes back in the formula section.
Step 1: Find Your Undertone, Then Your Shade
Shade mistakes cause more bad blush days than placement mistakes. The rule is simple: your blush should harmonize with your undertone, the subtle hue beneath your skin’s surface.
Warm undertones (veins look green, gold jewelry flatters): reach for peach, apricot, warm coral, and terracotta. These shades melt into warm skin instead of sitting on top of it.
Cool undertones (veins look blue or purple, silver jewelry flatters): choose true pinks, cool rose, berry, and mauve. Warm oranges and corals can look clownish against cool skin.
Neutral undertones (mix of both, both metals work): you have the widest range. Soft rose, muted terracotta, and dusty pink all work. When in doubt, a medium rose is the safest universal pick.
Depth matters too. Fair skin needs sheer, light shades, because pigment shows up fast. Medium skin carries classic rose and coral beautifully. Deep skin tones glow in rich berry, brick, and vivid fuchsia, shades that would overwhelm fair skin. A shade that disappears into your skin when blended is right. A shade that sits visibly on top is wrong, regardless of how pretty it looks in the pan.
Step 2: Pick Your Formula by Skin Type
Formula determines finish, wear time, and how forgiving the blush is. Here is how the four main formulas behave on oval faces.
Powder blush: The most controllable and the best starting point for beginners. Works best on normal to oily skin, layers cleanly over foundation, and builds from sheer to bold without streaking. If your skin gets shiny by midday, powder is your safest bet.
Cream blush: The glow formula. Melts into skin for a lit-from-within finish that looks like a real flush. Best on normal to dry skin. On oval faces, cream has a special advantage: it sits beautifully high on the cheekbones for the lifted placement, and the Patrick Ta layering trick, cream pressed over powder along the cheekbone, gives dimension that powder alone cannot. Apply with fingers, a stippling brush, or a damp sponge, and blend the edges until they disappear.
Liquid blush: The longest-wearing and most pigmented. A single dot often covers a whole cheek, so start smaller than feels necessary. Excellent for oily skin and long days, but the least forgiving, so blend fast. Cult favorites like Rare Beauty’s Soft Pinch exist because the format delivers intense color that sheers out beautifully when blended quickly.
Stick blush: The convenient middle ground. Creamy, portable, and easy to dot directly on the cheek. Great for touch-ups and travel. Blend thoroughly, because sticks can leave visible edges if you stop halfway.
If you wear only one formula, make it the one that matches your skin type, not the trend. Dewy cream on very oily skin slides by noon. Matte powder on very dry skin looks flat. The formula decision is practical, not fashionable.
Step 3: Choose Your Finish
Matte: The daytime workhorse. No shimmer, just color. Best for oily skin, textured skin, and professional settings. Matte formulas photograph cleanly and never emphasize pores.
Shimmer: Adds light reflection for evening and events. Lovely on smooth skin, but shimmer particles catch on texture, so use a light hand over blemishes or enlarged pores. Keep shimmer blush on the high planes of the cheekbone where light naturally hits.
Satin: The middle finish, a soft glow without visible glitter. The most universally flattering option and the best single-finish choice if you only buy one blush. Satin reads as healthy skin in every lighting.
Step 4: The Three Placements (Pick by Effect)
Now the part everyone asks about. All three work on oval faces. Choose based on the effect you want and your face’s length.
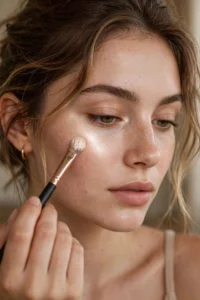
1. Lifted: Apply along the top of the cheekbones, sweeping up toward the temples. This is the sculpting placement. It emphasizes bone structure, keeps everything looking upward and awake, and suits balanced oval faces best. Use an angled brush for precision, and try the cream-over-powder layering for extra glow.
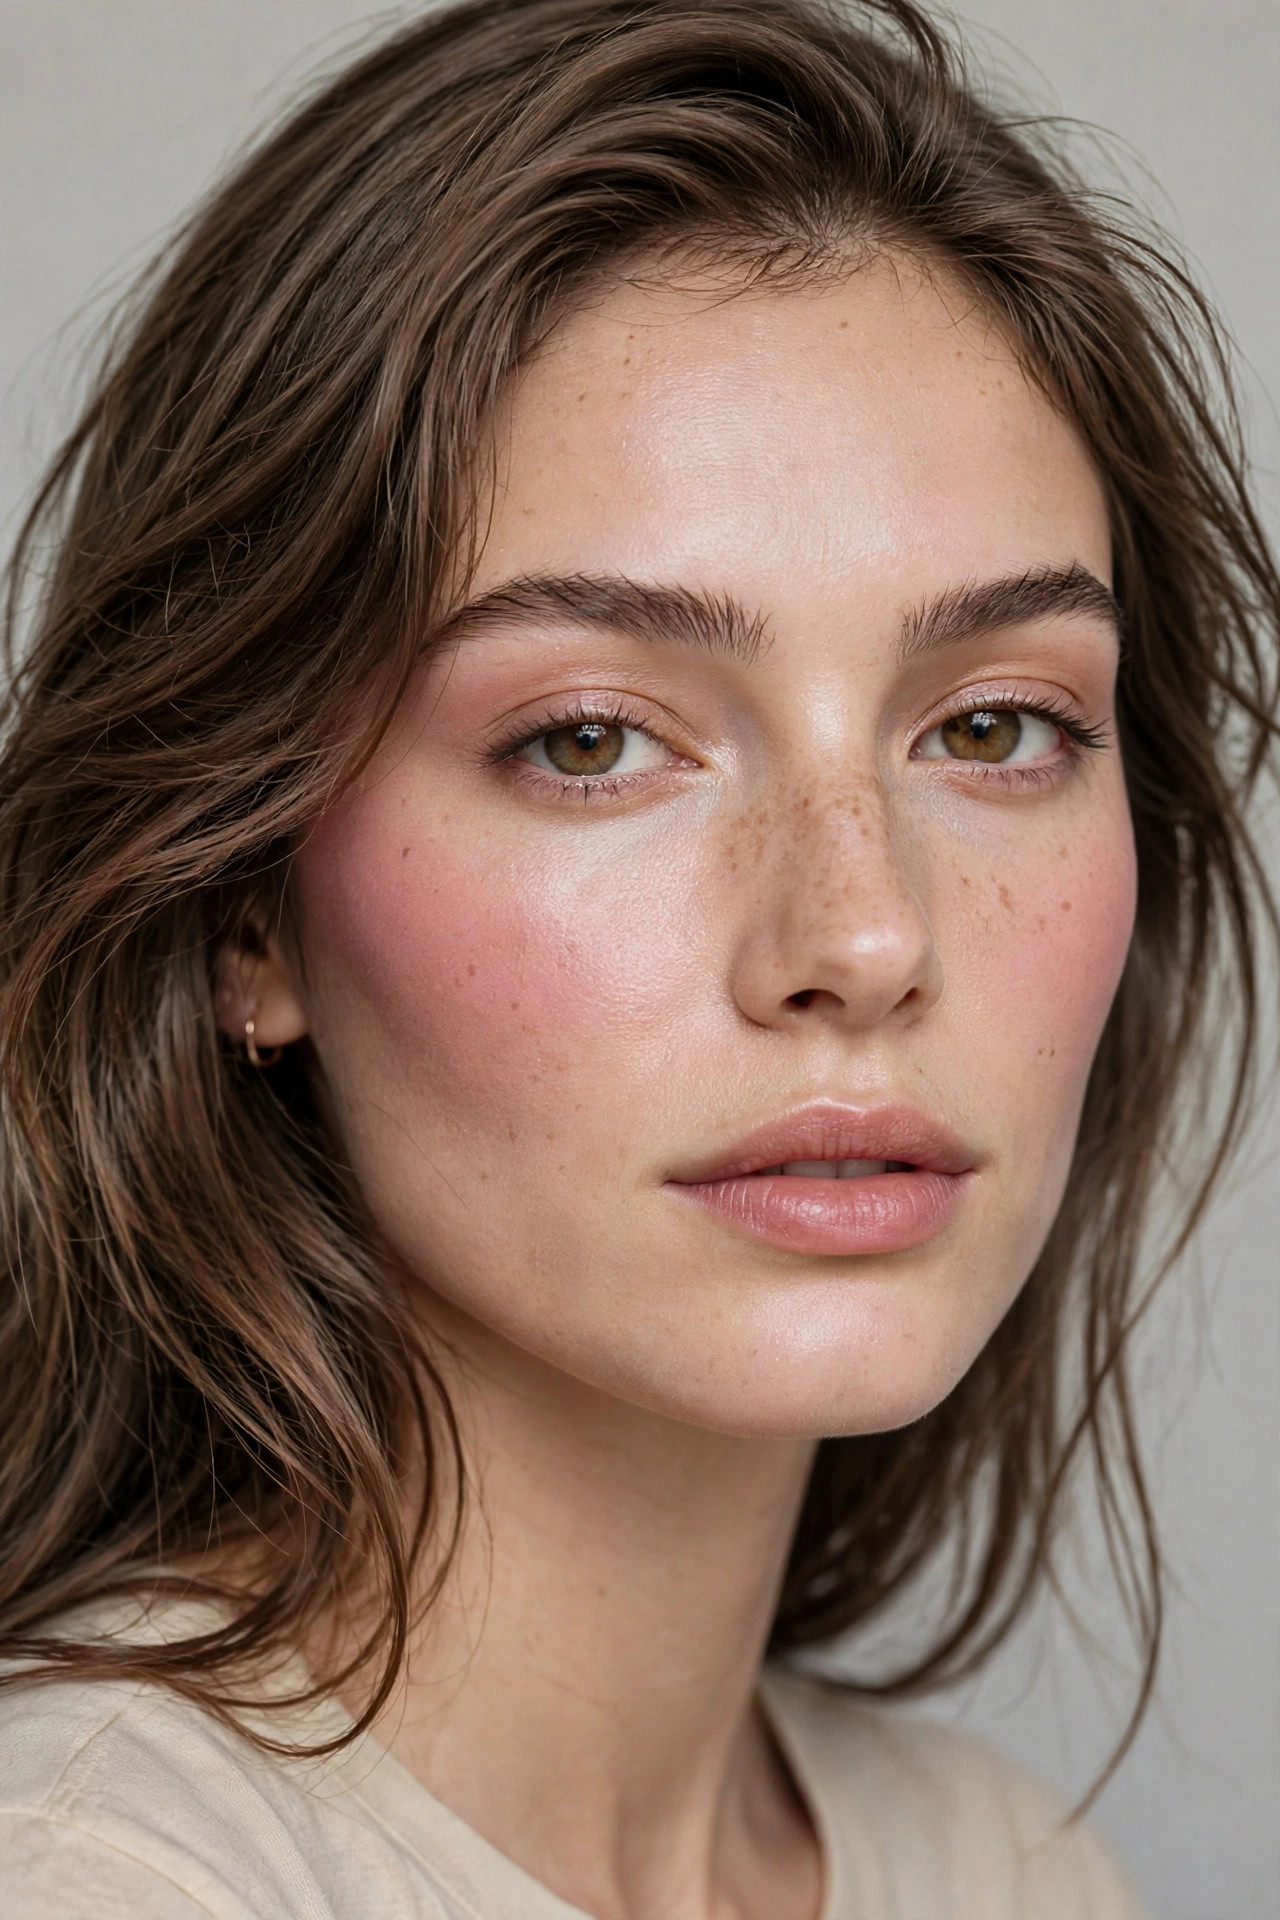
2. Apples: Smile, find the roundest part of the cheek, and apply there, blending outward. This is the youthful placement. It adds fullness and a fresh, innocent flush. It is the best choice for longer oval faces, because color concentrated on the apples adds visual width that balances length. Laura Mercier’s face-shape blush guide recommends exactly this for ovals: blush on the apples swept slightly outward along the cheekbones to add width and glow.
3. Diffused: A soft wash blended across the cheeks with a whisper on the nose bridge and temples. This is the fresh, no-makeup placement. It adds warmth and dimension while preserving the face’s natural proportions, and it is the most forgiving technique for beginners because there are no hard edges to get wrong.
The length rule: if your oval face runs long, favor the apples to add width. If it is a balanced oval, the lifted placement shows off your bone structure best. When in doubt, diffused never looks wrong.
Brushes and Tools That Actually Matter
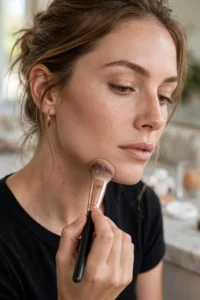
Fluffy dome brush: For powder on the apples. Picks up a sheer layer and blends in circles. The everyday default.
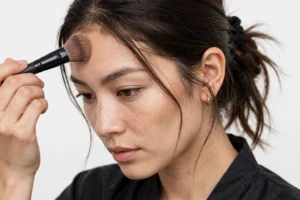
Angled cheek brush: For the lifted placement. The angle hugs the cheekbone and places powder exactly along the bone.
Stippling or duo-fibre brush: For cream and liquid. Stipples product on without dragging, then buffs the edges. Prevents the streaking that makes cream blush look patchy.
Damp sponge or fingers: For cream and stick. Warmth from fingers melts cream into skin seamlessly. A damp sponge sheers out liquid formulas that applied too heavily.
One non-negotiable habit: tap or blow off excess powder before the brush touches your face, and start with less cream than you think you need. Building up is easy. Removing excess means redoing the cheek.
Mistakes to Avoid on Oval Faces
- Placing blush too low: Color below the bottom of the nose drags oval features downward and ages the face. Keep the lowest edge of your blush at or above the nostril line.
- Blending toward the nose: Dragging blush inward toward the nose closes up the center of the face. Always blend outward and upward.
- Wrong undertone: A warm coral on cool skin, or a blue-pink on warm skin, will always look off no matter how perfect the placement is. Undertone first, always.
- Too much shimmer on texture: Shimmer over blemishes or pores spotlights them. Switch to matte or satin until skin is smooth.
- Skipping the blend: Visible edges are the difference between blush that looks like skin and blush that looks like makeup. Blend until you cannot find where the color starts.
- One shade for every season: Skin deepens in summer and pales in winter. A shade that was perfect in August can look harsh in January. Reassess twice a year.
Frequently Asked Questions
Where should blush go on an oval face?
You have three good options: high on the cheekbones swept toward the temples for a lifted, sculpted look, on the apples of the cheeks for youthful fullness, or diffused softly across the cheeks for a fresh wash. Longer ovals suit the apples best, balanced ovals suit the lifted placement.
What blush shade suits an oval face?
Face shape matters less than undertone for shade choice. Warm undertones glow in peach and coral, cool undertones in pink and berry, neutral undertones in rose. Pick depth by skin tone: sheer shades for fair skin, richer berries and bricks for deep skin.
Is cream or powder blush better for oval faces?
Both work, so choose by skin type. Cream gives the most beautiful glow on the cheekbones and layers gorgeously over powder for the lifted look. Powder offers more control and suits oily skin and beginners better.
Should blush go on the apples or the cheekbones?
Apples give youthfulness and fullness, cheekbones give lift and sculpture. For everyday wear most oval faces look best with a hybrid: start on the apple and blend up along the cheekbone toward the temple.
What blush finish is most flattering?
Satin is the safest universal choice, a soft glow with no visible glitter. Matte suits daytime and oily or textured skin. Shimmer is lovely for evenings on smooth skin but should stay on the high planes of the cheek.
How do I stop blush from looking clownish?
Three fixes cover most cases: use less product and build up, blend the edges until they disappear, and check your undertone match. A shade that fights your undertone will always look harsh regardless of technique.