Bronzer Placement for a Square Face: A Beginner’s Guide
Square faces are striking. With a broad forehead, wide cheekbones, and a strong jawline that runs nearly straight from temple to chin, a square face has real presence — it photographs with definition in any lighting. Bronzer isn’t here to change any of that. The right bronzer placement for a square face simply softens the sharpest corners, adds believable warmth, and sculpts a little lift exactly where it flatters most.
If you’re a beginner, this guide walks you through the three placement zones that matter (cheek arcs, jaw corners, forehead edges), how to blend without streaks, and the mistakes that make bronzer look muddy. All you need is a bronzer, a fluffy brush, and a mirror.
How to Tell You Have a Square Face
If you’re not sure about your face shape, pull your hair back and look straight into a mirror — or work through our free online face-shape guide. On a square face, the forehead, cheekbones, and jaw are all roughly the same width, and the jawline turns at a fairly sharp angle rather than tapering to a point. If you’d like a second opinion, the AI face shape detection tool can analyze a selfie and suggest your closest match — treat it as a fun starting point rather than a final verdict, since lighting and angles can easily shift the result.
Why Bronzer Suits a Square Face So Well
Bronzer does two things at once: it adds warmth, and it creates the illusion of shadow. On a square face, that second job is the important one. A light veil of bronzer at the outer corners of the face visually rounds the sharpest points — the jaw angles and the temples — so the face reads softer without looking smaller. Unlike heavy contour, which carves obvious lines, bronzer diffuses. It reads as a sun-kissed glow rather than a trick of light, which makes it far more forgiving for beginners.
Think of it less as reshaping and more as editing: you’re keeping every feature, just taking the hard edge off the frame. A square jaw stays a square jaw — it simply looks a little less severe and a lot more balanced.
Where to Place Bronzer: The Three Zones
1. The Lifted Cheek Arc
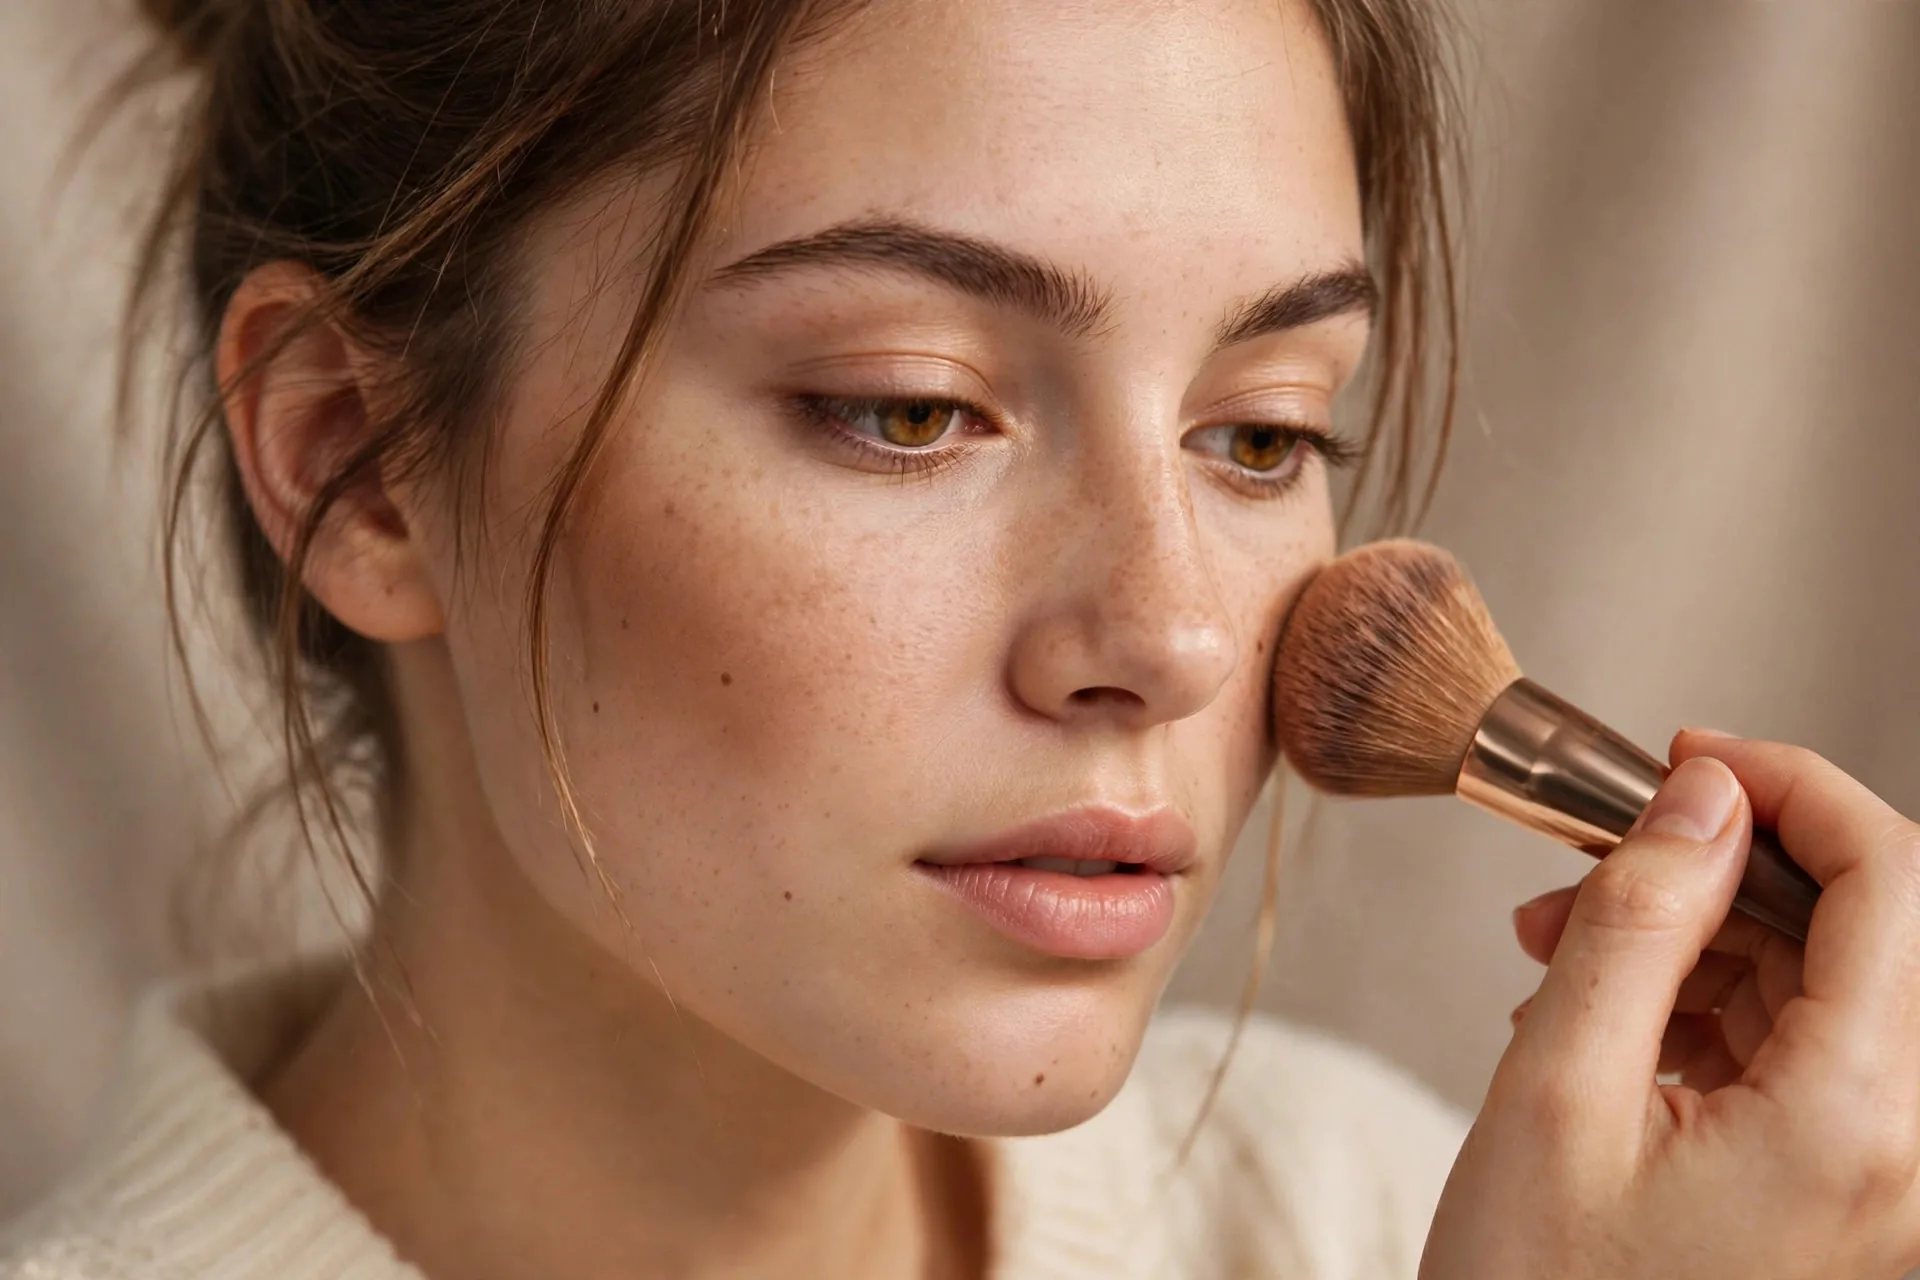
Smile lightly so you can feel the apple of your cheek, then place your brush just above it — on the upper cheekbone — roughly the middle facial third — not in the hollow beneath. Sweep the bronzer in a soft arc that starts near the outer corner of your eye and curves up and back toward the top of your ear. The upward direction matters: on a square face, dragging bronzer downward emphasizes the width of the jaw. An upward arc lifts the eye and draws attention to the cheekbones instead.
Use a light hand and build in two thin layers rather than one heavy one. The color should fade as it travels toward your ear — the deepest tone sits on the cheekbone itself and melts into nothing by the hairline.
2. Softening the Jaw Corners
The jaw corners are where a square face shows its angles most. Take whatever product is left on your brush — no fresh dip — and sweep it lightly along the underside of the jaw, where the jawline meets the neck. Then feather a whisper of that leftover product directly over the corner of the jaw itself.
You’re not drawing a line or darkening the jaw; you’re adding the faintest shadow so the angle catches less light and reads a little rounder. Turn your head side to side to check — if you can see a distinct stripe, blend it out until it disappears.
3. The Forehead Edges
A square face is often widest at the temples, so a touch of bronzer along the outer forehead brings the top of the face into balance with the softening you’ve done below. Sweep bronzer along the hairline at the temples in a small “C” motion that connects down toward the cheek arc — this ties the whole application together so nothing looks isolated.
Keep the product off the center of your forehead. Bronzer belongs at the edges here; the middle should stay bright, since darkening it can make the face look shorter and heavier. A good rule of thumb: at the hairline, you’re in the right place; near the inner ends of your eyebrows, you’ve drifted too far in.
Picking the Right Bronzer and Brush
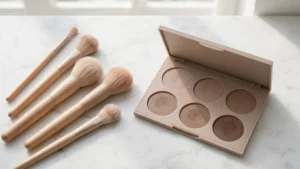
Formula first. If your skin is dry or you like a dewy finish, a cream bronzer blends beautifully and looks like real skin. If your skin runs oily, a powder bronzer with a matte or satin finish stays put longer and is easier to control. Beginners often find powder more forgiving since it builds slowly — choosing between formulas is mostly a question of which cosmetics finish suits your skin.
Choose a shade only one to two tones deeper than your natural skin — bronzer should warm, not tan. Undertones matter more than depth: neutral to slightly warm shades suit most people, while anything orange or muddy will read fake in daylight. For the brush, a medium fluffy brush with a tapered or angled head handles everything: precise enough for the cheek arc, soft enough for the jaw.
Blending: The Part That Makes or Breaks It
Unblended bronzer is what gives the product a bad name, so treat blending as a full step, not an afterthought. Work in small circular motions rather than back-and-forth strokes — circles diffuse the edges while strokes can leave stripes. Blend upward and outward, following the direction you placed the product, and finish each zone with a clean, product-free fluffy brush to buff away harsh lines.
The daylight test is non-negotiable. Bathroom lighting flatters everything, so check your work near a window or in a natural-light selfie before you leave. What looks perfect under warm bulbs can look patchy in daylight, and it’s much easier to blend a little more now than to fix it later.
Common Mistakes to Avoid
Stripes instead of shadows. If your bronzer sits in a visible band across the cheek, the placement was too low or the blending too light. Buff upward and keep the color on the cheekbone, not in the hollow.
Going too dark. A bronzer several shades deeper than your skin won’t look sculpted — it will look dirty, especially along the jaw. When in doubt, go lighter; you can always add a second sheer layer.
Skipping the temples. Bronzing the cheeks and jaw but leaving the forehead untouched creates an unbalanced frame. The three zones work as a set, so don’t leave one out.
See How It Looks on You
Curious how the new warmth changes your overall look? Upload a selfie to the free AI face-analysis tool and compare your before-and-after photos. You can peek at details like your facial symmetry too — remembering that ordinary asymmetry is completely normal. It’s lighthearted experimentation, never a score that defines you.
Frequently Asked Questions
Should I use bronzer or contour on a square face?
For everyday wear, prefer bronzer over contouring for square face shapes: contouring carves sharper lines, which can emphasize the angles you’re trying to soften. Bronzer diffuses and warms, which flatters a square face with far less effort.
Where should I not put bronzer on a square face?
Avoid the center of the forehead, the apples of the cheeks (that’s blush territory), and heavy product all along the jawline. A darkened forehead center can make the face look shorter, bronzer on the apples reads muddy, and a heavy jawline creates harsh lines.
Can I wear bronzer if I have fair skin?
Yes — choose the lightest warm shade you can find and apply it in sheer layers. Fair skin shows mistakes more easily, so blending and the daylight check matter even more. Skip anything with strong orange undertones.
Does bronzer replace blush?
No, they do different jobs. Bronzer adds warmth and soft shadow at the edges of the face; blush adds fresh color to the apples of the cheeks. They layer beautifully together — apply bronzer first, then pop blush on the apples for a finished look.