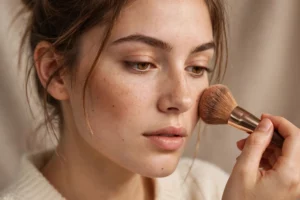
Makeup for Oblong Face: A Female Guide
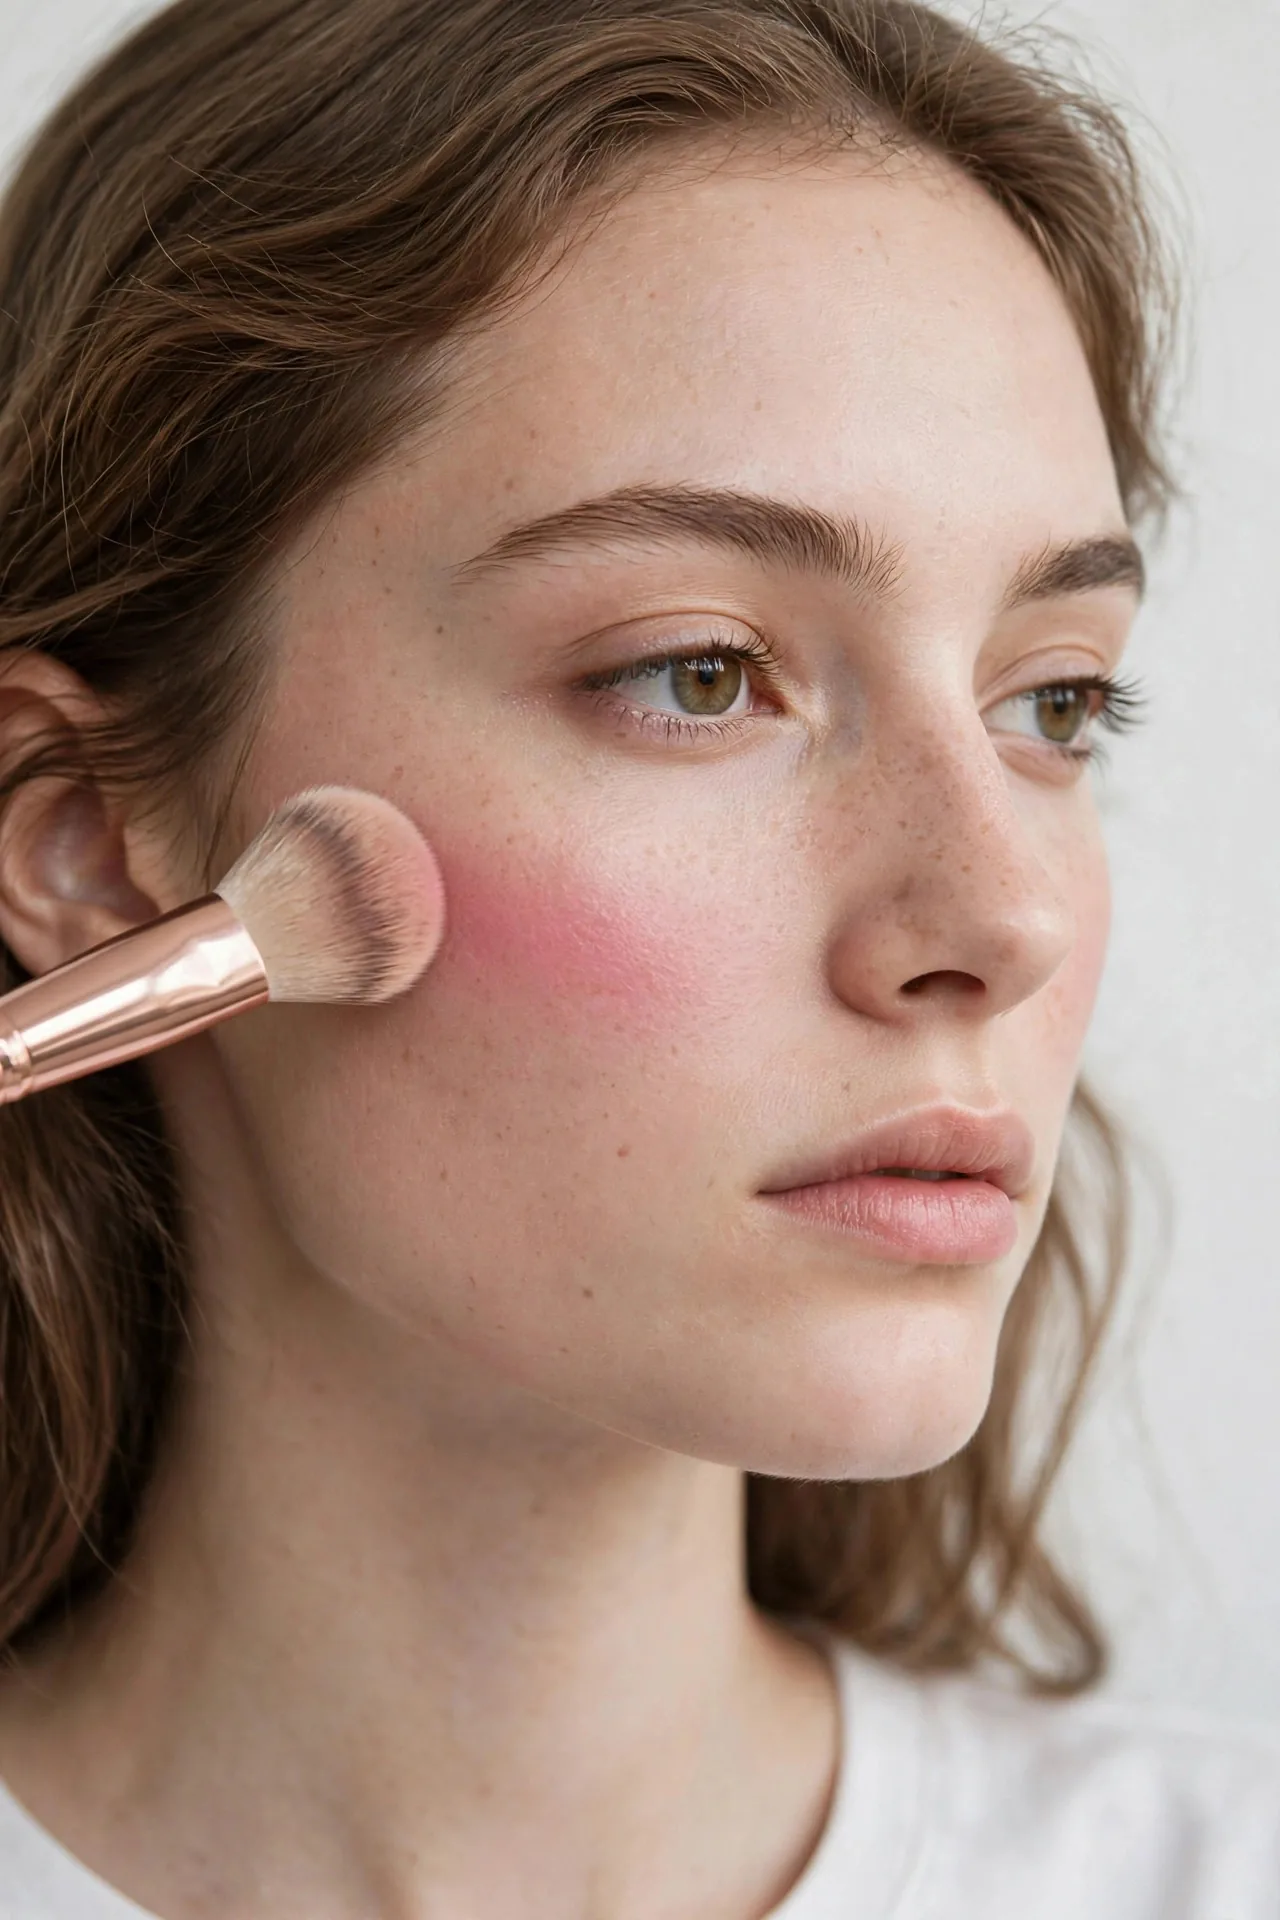
If your face is noticeably longer than it is wide — with a forehead, cheekbones, and jawline of similar width — you likely have an oblong face shape. It’s an elegant shape that photographs beautifully, but standard makeup tutorials (usually demonstrated on oval faces) can accidentally emphasise length: vertical blush, long nose highlights, and high arches all stretch the face further.
This guide flips that logic: every technique below uses horizontal placement to create the illusion of width and visually shorten the face. It’s styling, not correction — an oblong face needs none.
First: confirm your face shape
Oblong and oval get confused constantly. The quick check: an oblong face is longer than wide with fairly straight sides, while an oval is softly rounded at the forehead and jaw. Guessing wrong means working from the wrong placement map, so it’s worth confirming before you start. Our face shape detection guide walks through the differences — or you can get an instant read with our free AI face-analysis tool, which maps your shape and proportions from a single photo.
The overall strategy: think horizontal
The rule behind every step below: horizontal placement shortens, vertical placement lengthens. Blush swept sideways, contour across the hairline, brows that extend outward — each move adds perceived width or compresses perceived length.
It helps to think in thirds. Classical facial analysis divides the face into three horizontal sections — forehead, midface, and lower face — and our guide to facial thirds explains the balance artists look for. On oblong faces the goal is simple: visually compress the top and bottom thirds so the face reads more balanced.
Base makeup: keep it even and light
Heavy, full-coverage foundation all over can flatten the face and make length more obvious. A medium-coverage base that evens tone while letting skin show through looks fresher and gives contour and blush a natural base.
Place concealer under the eyes and blend it outward toward the temples rather than dragging it down the cheeks — downward blending creates vertical light that lengthens. Set lightly with powder, especially through the centre of the face, so your contour and blush layers blend smoothly.
Contour: shorten at the hairline and under the chin
This is the highest-impact step for an oblong face. Use a matte contour shade one to two tones deeper than your skin with a neutral undertone:
- Along the hairline. Sweep contour across the forehead right at the hairline and blend upward into the hair. This visually lowers the forehead and compresses the top third of the face.
- At the temples. A soft wash of contour at each temple adds gentle width and breaks up long, straight sides.
- Under the chin and jawline. Blend contour beneath the jaw and slightly under the chin to visually shorten the lower third. Blend downward into the neck so there’s no visible line.
Avoid harsh diagonal stripes under the cheekbones angled toward the mouth — they carve length into the face. If you contour the cheeks at all, keep it soft, high on the cheekbone, and blended horizontally toward the ear.
Blush: horizontal on the apples
Blush placement matters more on oblong faces than almost any other step. The rule: blush goes on the apples of the cheeks and blends outward toward the ears in horizontal sweeps — never draped downward toward the mouth, which is the fastest way to lengthen the face.
Smile lightly to find the apples, place colour there, then sweep outward and slightly up. Cream blush is beginner-friendly — it melts in and is hard to overdo; powder works well over a set base. Keep the colour concentrated in the middle band of the face — that’s where you want the eye to stop.
Width across the cheeks also plays into the classic five-part vertical proportion of the face; our guide to facial fifths shows how the cheek area fits into overall facial balance.
Brows: a shape that adds width
Brows are a width tool. For oblong faces, the most flattering brow is relatively straight with a soft, low arch — it draws the eye sideways across the face. High, dramatic arches do the opposite, adding vertical lift that emphasises length.
Practical tips:
- Extend the tail of the brow slightly outward rather than angling it down.
- Keep brows groomed but not over-thinned; a little fullness adds presence and width.
- Fill sparse areas with light, hair-like strokes rather than a heavy stamped shape.
If your brows already have a strong arch, softening the peak with a spoolie and brow gel is enough — no full redraw needed.
Eyes and lips: pull focus to the centre
With the face visually shortened at the edges, bring attention to the middle. Horizontal eyeshadow placement — colour swept outward toward the temples, a soft winged liner, lashes that emphasise the outer corners — widens the eye area and anchors the gaze centrally.
A defined lip colour — soft rose or bold red — pulls the eye to the centre of the lower face and breaks up length. Slightly overlining the outer corners (not the cupid’s bow) can add a touch of horizontal fullness. Keep the lip edge crisp; blurred, undefined lips let the eye slide downward.
Highlighter: glow sideways, not up and down
Highlighter is where oblong faces most often go wrong. A long stripe down the nose bridge plus dabs on the chin and forehead creates a vertical beam of light straight down the face — exactly what you’re trying to avoid.
Instead, place highlighter on the tops of the cheekbones and blend outward toward the temples — the same horizontal logic as blush. A small touch on the inner corners of the eyes brightens without adding length. If you highlight the nose at all, keep it to a short, narrow strip on the bridge and skip the tip.
Mistakes that make an oblong face look longer
- Blush draped down the cheeks toward the mouth — the number one lengthening mistake.
- Vertical contour stripes under the cheekbones angled downward.
- Long nose-highlight stripes running from bridge to tip.
- High, thin, over-arched brows that add vertical lift.
- Concealer dragged down the lower cheeks instead of blended outward.
- Dark, undefined lip colour with no crisp edge to stop the eye.
Check the finished look in a mirror at arm’s length — distance shows the overall impression everyone else sees.
Frequently Asked Questions
What’s the best blush placement for an oblong face?
On the apples of the cheeks, blended horizontally outward toward the ears. Keep it in the middle band of the face and never sweep it downward toward the mouth — downward blush visually lengthens the face.
Should I contour my forehead if I have an oblong face?
Yes — it’s one of the most effective steps. Sweeping a matte contour shade along the hairline and blending it upward visually lowers the forehead and compresses the top third of the face. Keep it soft and well-blended so it reads as natural shadow.
What eyebrow shape suits an oblong face best?
A relatively straight brow with a soft, low arch. This shape draws the eye horizontally and adds perceived width. Avoid high, dramatic arches and over-thinning, both of which emphasise facial length.
Can highlighter make my face look longer?
It can if placed vertically — a long stripe down the nose with dabs on the forehead and chin creates a lengthening beam of light. Place highlighter horizontally across the cheekbones toward the temples instead, and keep any nose highlight short and narrow.
How do I tell an oblong face from an oval face?
An oblong face is longer than it is wide with relatively straight sides through the cheeks; an oval face has softly rounded contours at the forehead and jaw with more curve. If you’re unsure, our face shape detection guide breaks down the differences, or try the free AI face-analysis tool for an instant read.