Makeup for Hooded Eyes: Beginner’s Guide
Makeup for Hooded Eyes: Beginner’s Guide That Actually Works
Hooded eyes have excess skin that folds over the eyelid, hiding the crease and making standard makeup techniques disappear when eyes are open. The beginner-friendly approach focuses on applying eyeshadow above the natural crease, using waterproof eyeliner, and keeping the lower lash line defined. You only need four products to create a complete look that actually shows.
- Hooded eyes = excess lid skin that covers the crease; the fix is placing product where it remains visible with eyes open
- Standard tutorials fail because they apply shadow in the crease, which disappears on hooded eyes
- You only need 4 products: matte transition shade, shimmer lid shade, waterproof eyeliner, and lengthening mascara
- Apply eyeshadow above your natural crease, not in it
- Tightlining (lining the upper waterline) defines without using lid space
- Well-groomed brows are essential: they frame hooded eyes and create the illusion of more lid space (see our brow shaping guide)
What Are Hooded Eyes? (How to Tell)
Hooded eyes have a fold of skin that hangs over the eyelid, partially or fully covering the mobile lid and the crease. When your eyes are open, you may see little to no lid space. When closed, the full lid is visible.
The mirror test: Look straight into a mirror with your eyes open and relaxed. If you cannot see your eyelid crease, or if your eyeshadow disappears when you open your eyes, you likely have hooded eyes. Another indicator: eyeliner that looks perfect when your eyes are closed but vanishes or transfers when open.
Hooded vs deep-set: These are often confused. Deep-set eyes sit further back in the socket with a prominent brow bone. Hooded eyes have the excess skin fold regardless of how deep the eye sits. You can have both, but they are distinct features with different makeup approaches.
It is extremely common. Hooded eyes are one of the most common eye shapes across all ethnicities and ages. They also become more pronounced with age as skin loses elasticity. This is not a flaw to fix; it is a feature to work with.
Why Standard Tutorials Don’t Work for You
Most eye makeup tutorials are demonstrated on non-hooded eyes with visible lid space. The techniques assume you can see the crease, the lid, and the brow bone as distinct areas. On hooded eyes, these zones overlap or are hidden.
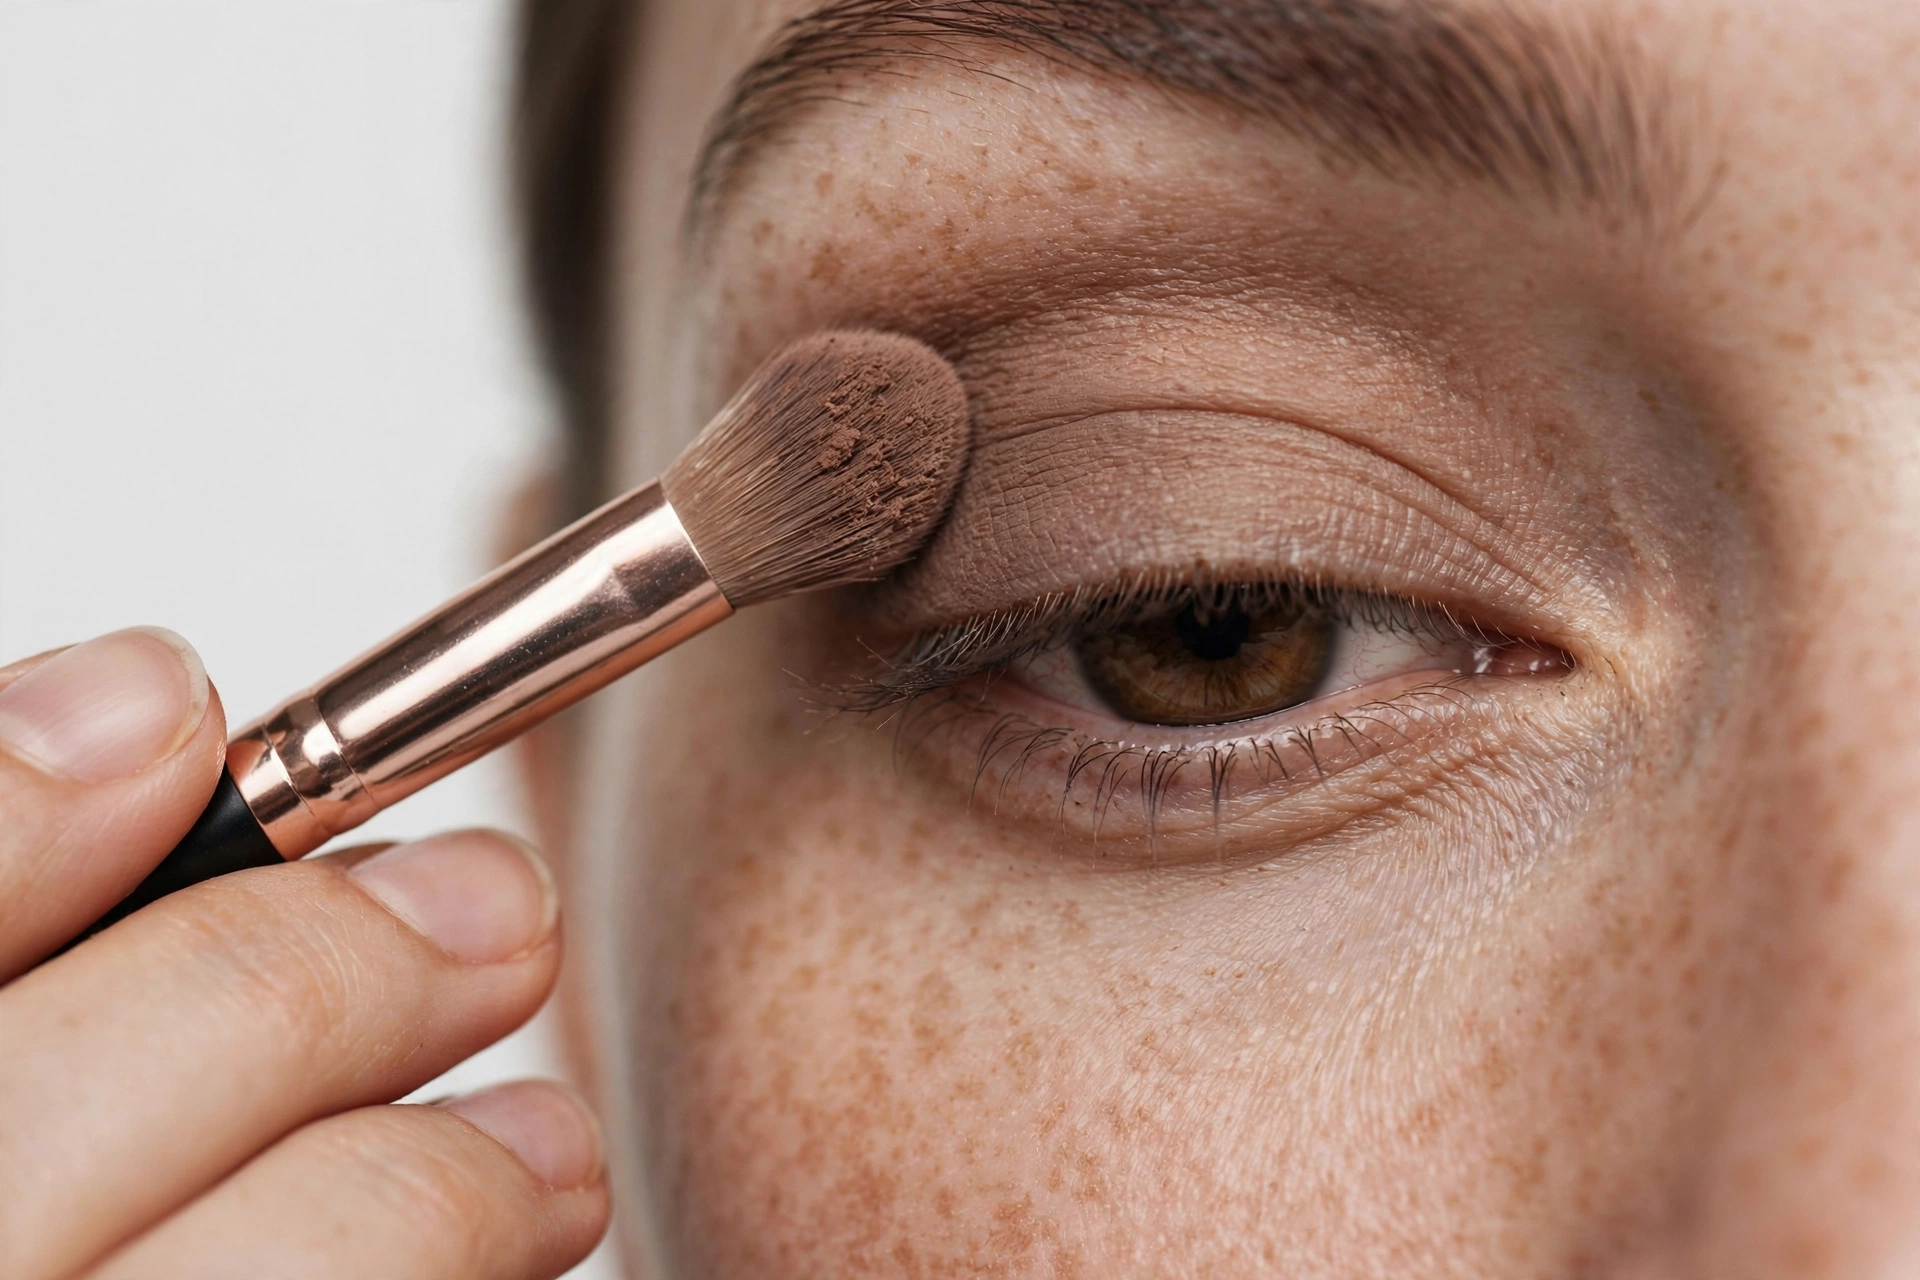
The crease problem: Tutorials say “apply transition shade in the crease.” On hooded eyes, the natural crease is hidden under the fold. Product placed there disappears when you open your eyes. The solution is to apply the transition shade above the natural crease, on the visible area, creating a new perceived crease higher up.
The lid space problem: Tutorials assume you have a mobile lid to showcase shimmer or color. Hooded eyes may have only 2-3mm of visible lid. Applying elaborate lid looks wastes product on skin that no one sees. The approach must prioritize the visible areas.
The eyeliner problem: Standard liner techniques create a line that gets swallowed by the fold or transfers to the upper lid. Hooded eyes need different liner placement and waterproof formulas.
The false lash problem: Many tutorials recommend dramatic lashes, but heavy lashes can push the hood down further, making eyes look smaller. Lighter, more natural styles work better.
Understanding why standard techniques fail is empowering. You are not bad at makeup; you have been following instructions designed for a different eye shape.
The Only 4 Products You Need
Forget the 12-pan eyeshadow palettes. Four products create a complete hooded-eye look:
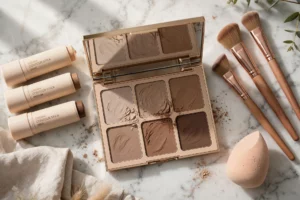
1. Matte transition eyeshadow: A matte shade 1-2 tones darker than your skin tone. This is your workhorse product for creating depth above the crease. Matte is essential because shimmer on the hooded area emphasizes texture. Choose a neutral brown or taupe that suits your undertone.
2. Shimmer lid shade: A light shimmer or satin shade for the visible mobile lid. This catches light and makes the most of your limited lid space. Champagne, soft gold, or pearl work universally. Apply only where visible with eyes open.
3. Waterproof eyeliner: Non-negotiable for hooded eyes. The fold causes transfer, so waterproof (not just water-resistant) formula prevents smudging. A dark brown is softer than black for daytime; black works for evening. Pencil or gel is easier for beginners than liquid.
4. Lengthening mascara: Length over volume for hooded eyes. Volumizing mascaras can overwhelm the limited visible lash line. A lengthening formula with a slim brush defines without bulk. Waterproof is preferable to prevent transfer to the hooded lid.
Brushes: One fluffy blending brush and one flat shader brush. That is all you need. The fluffy brush diffuses the transition shade; the flat brush packs shimmer onto the lid.
Step-by-Step: Everyday Look
This natural look takes under 10 minutes and works for daily wear.
Step 1: Prime. Apply eyeshadow primer or a thin layer of concealer on the lids and set with translucent powder. This prevents creasing and transfer, which hooded eyes are prone to. Do not skip this step.
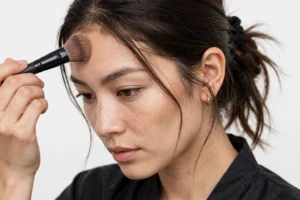
Step 2: Transition shade above the crease. With your eyes open, looking straight into the mirror, use the fluffy brush to apply the matte transition shade above your natural crease, on the visible skin. Use windshield-wiper motions back and forth. The color should be visible with eyes open. This creates the illusion of a higher, more open crease.
Step 3: Deepen the outer corner. Using the same shade (or one slightly darker), focus on the outer third of the eye, still above the natural crease. This adds dimension without closing off the eye. Blend well so there are no harsh edges.
Step 4: Shimmer on the lid. With eyes open, identify the visible lid space. Pat the shimmer shade onto just this area with the flat brush. Do not bring it up into the transition shade. Less is more; you want a subtle light-catching effect, not a stripe.
Step 5: Tightline. Using the waterproof eyeliner, fill in the upper waterline (the skin between your lashes). This defines the lash line without using any lid space. It is the single most impactful step for hooded eyes.
Step 6: Mascara. Curl lashes first, then apply lengthening mascara focusing on the outer lashes. Wiggle at the base for definition, then pull through to the tips. One to two coats is sufficient.
Step 7: Check with eyes open. Look straight ahead. All the work should be visible. If the transition shade disappeared, you placed it too low. If the shimmer is hidden, your lid space is smaller than estimated. Adjust placement, not product amount.
Step-by-Step: Evening Look
Build on the everyday look for more drama. Total time: 15 minutes.
Steps 1-4: Follow the everyday look through shimmer application.
Step 5: Add depth. Using a slightly darker matte shade, deepen the outer V (the outer corner where upper and lower lids meet). Keep it above the natural crease. This adds the smokiness without closing the eye.
Step 6: Eyeliner with a small wing. Draw a thin line along the upper lash line, extending slightly outward and upward at the outer corner. For hooded eyes, the wing should be drawn with eyes open, looking straight ahead. This ensures the wing is visible and correctly angled. Keep it thin; thick liner consumes precious lid space.
Step 7: Lower lash definition. Smudge a small amount of the transition shade or a soft brown liner along the outer two-thirds of the lower lash line. This balances the upper eye drama and prevents the look from being top-heavy. Avoid lining the full lower lash line, which can make eyes look smaller.
Step 8: Inner corner highlight. Dab a tiny amount of shimmer in the inner corner of the eye. This opens the eye and adds a brightening effect that is especially flattering for hooded eyes.
Step 9: Lashes. Apply two coats of mascara, or add individual false lashes to the outer corners only (not a full strip). Outer-corner lashes lift and elongate without overwhelming the hood.
Eyeliner for Hooded Eyes (The Hard Part, Simplified)
Eyeliner is the biggest challenge for hooded eyes. Here is how to master it:
Tightlining first: Before attempting any visible liner, master tightlining (filling the upper waterline). This alone defines the eyes significantly and requires no lid space. Use a waterproof pencil and gently lift the upper lid to access the waterline.
The open-eye technique: Always draw visible liner with eyes open, looking straight into the mirror. Drawing with eyes closed and then opening them is why liner disappears or looks uneven on hooded eyes. What matters is how it looks with eyes open.
Thin is better: A thin line along the lash line is more effective than a thick one. Thick liner uses lid space you do not have and can make the hood appear heavier. Start thin; you can always thicken.
The straight-across wing: Instead of the traditional angled wing, try drawing the wing straight outward (horizontal) rather than upward. On hooded eyes, an upward wing often gets lost in the fold. A straight-out wing remains visible and creates a flattering elongating effect.
Waterproof is mandatory: The skin-on-skin contact of the hooded fold causes transfer with non-waterproof formulas. Invest in a good waterproof liner. Set it with a matching eyeshadow to further prevent smudging.
Mascara Tips That Actually Show
Curl first, always. An eyelash curler is transformative for hooded eyes. It lifts the lashes up and away from the hood, maximizing their visibility. Heat the curler slightly with a hairdryer (test temperature on your wrist) for a longer-lasting curl.
Focus on the outer lashes. Applying extra mascara to the outer third of lashes creates a winged effect that elongates the eye. This counteracts the downward pull of the hood.
Lower lashes matter. A light coat on the lower lashes balances the eye and prevents the upper lid from dominating. Use the tip of the wand for precision and avoid clumps.
Waterproof for the win. Just like eyeliner, mascara transfers on hooded eyes. Waterproof formulas stay put. If you dislike waterproof removal, try tubing mascara, which forms water-resistant tubes around each lash and removes with warm water.
Consider lash tinting: If mascara transfer is a constant battle, professional lash tinting darkens the natural lashes for 3-4 weeks without any product. This is an excellent low-maintenance option for hooded eyes.
Mistakes That Make Eyes Look Smaller
Dark shadow all over the lid: Covering the entire visible lid in dark shadow closes the eye. Keep dark shades to the outer corner and above the crease; keep the mobile lid light.
Thick black liner on the lower waterline: Lining the full lower waterline in black makes any eye look smaller, but the effect is amplified on hooded eyes. If you line the lower waterline, use a nude or white pencil to open the eye, or keep dark liner to the outer third only.
Skipping the transition shade: Without the above-crease transition shade, hooded eyes can look flat and undefined. This step is what creates the illusion of depth and openness.
Heavy false lashes: Dramatic, heavy strip lashes push down on the hood and make eyes look smaller and more tired. If you wear falsies, choose lightweight, natural styles or individual clusters on the outer corners.
Neglecting the brows: Brows frame hooded eyes and significantly impact how open they appear. Well-groomed, defined brows lift the entire eye area. This is not optional for hooded eyes; it is essential.
Frequently Asked Questions
How do I know if I have hooded eyes?
Look straight into a mirror with eyes open and relaxed. If you cannot see your eyelid crease, or if eyeshadow disappears when you open your eyes, you likely have hooded eyes. Another test: apply eyeliner with eyes closed, then open them. If the liner is hidden or significantly diminished, the hooded fold is covering it. Hooded eyes are extremely common across all ages and ethnicities.
What eyeliner is best for hooded eyes?
Waterproof pencil or gel eyeliner is best for beginners. Waterproof formula is non-negotiable because the hooded fold causes transfer. Pencil is more forgiving than liquid for learning. Dark brown is softer than black for daytime. Always apply visible liner with eyes open, looking straight ahead, to ensure correct placement. Tightlining (upper waterline) should be mastered before attempting visible liner styles.
Should hooded eyes wear eyeshadow?
Yes, but with adjusted placement. The key difference is applying transition shades above the natural crease (on the visible skin) rather than in it. Use matte shades for the hooded area to avoid emphasizing texture, and reserve shimmer for the visible mobile lid only. The techniques in this guide are designed specifically for hooded eye anatomy and will show results where standard tutorials fail.
How do you make hooded eyes look bigger?
Five techniques: (1) Apply transition shadow above the natural crease to create the illusion of a higher crease. (2) Keep the mobile lid light with shimmer to catch light. (3) Tightline the upper waterline for definition without using lid space. (4) Highlight the inner corner and brow bone. (5) Curl lashes and focus mascara on the outer lashes. Well-groomed brows also lift the entire eye area significantly.
Can you do a cut crease on hooded eyes?
A traditional cut crease (sharp line in the natural crease) does not work well because the natural crease is hidden. However, a “fake” cut crease placed above the natural crease, on the visible skin, can work. This requires more skill and is not recommended for beginners. Master the basic techniques in this guide first. When you are ready to try advanced looks, search specifically for “hooded eye cut crease” tutorials that address the placement adjustment.