
How to Contour a Round Face for Beginners (Cream Stick Method)
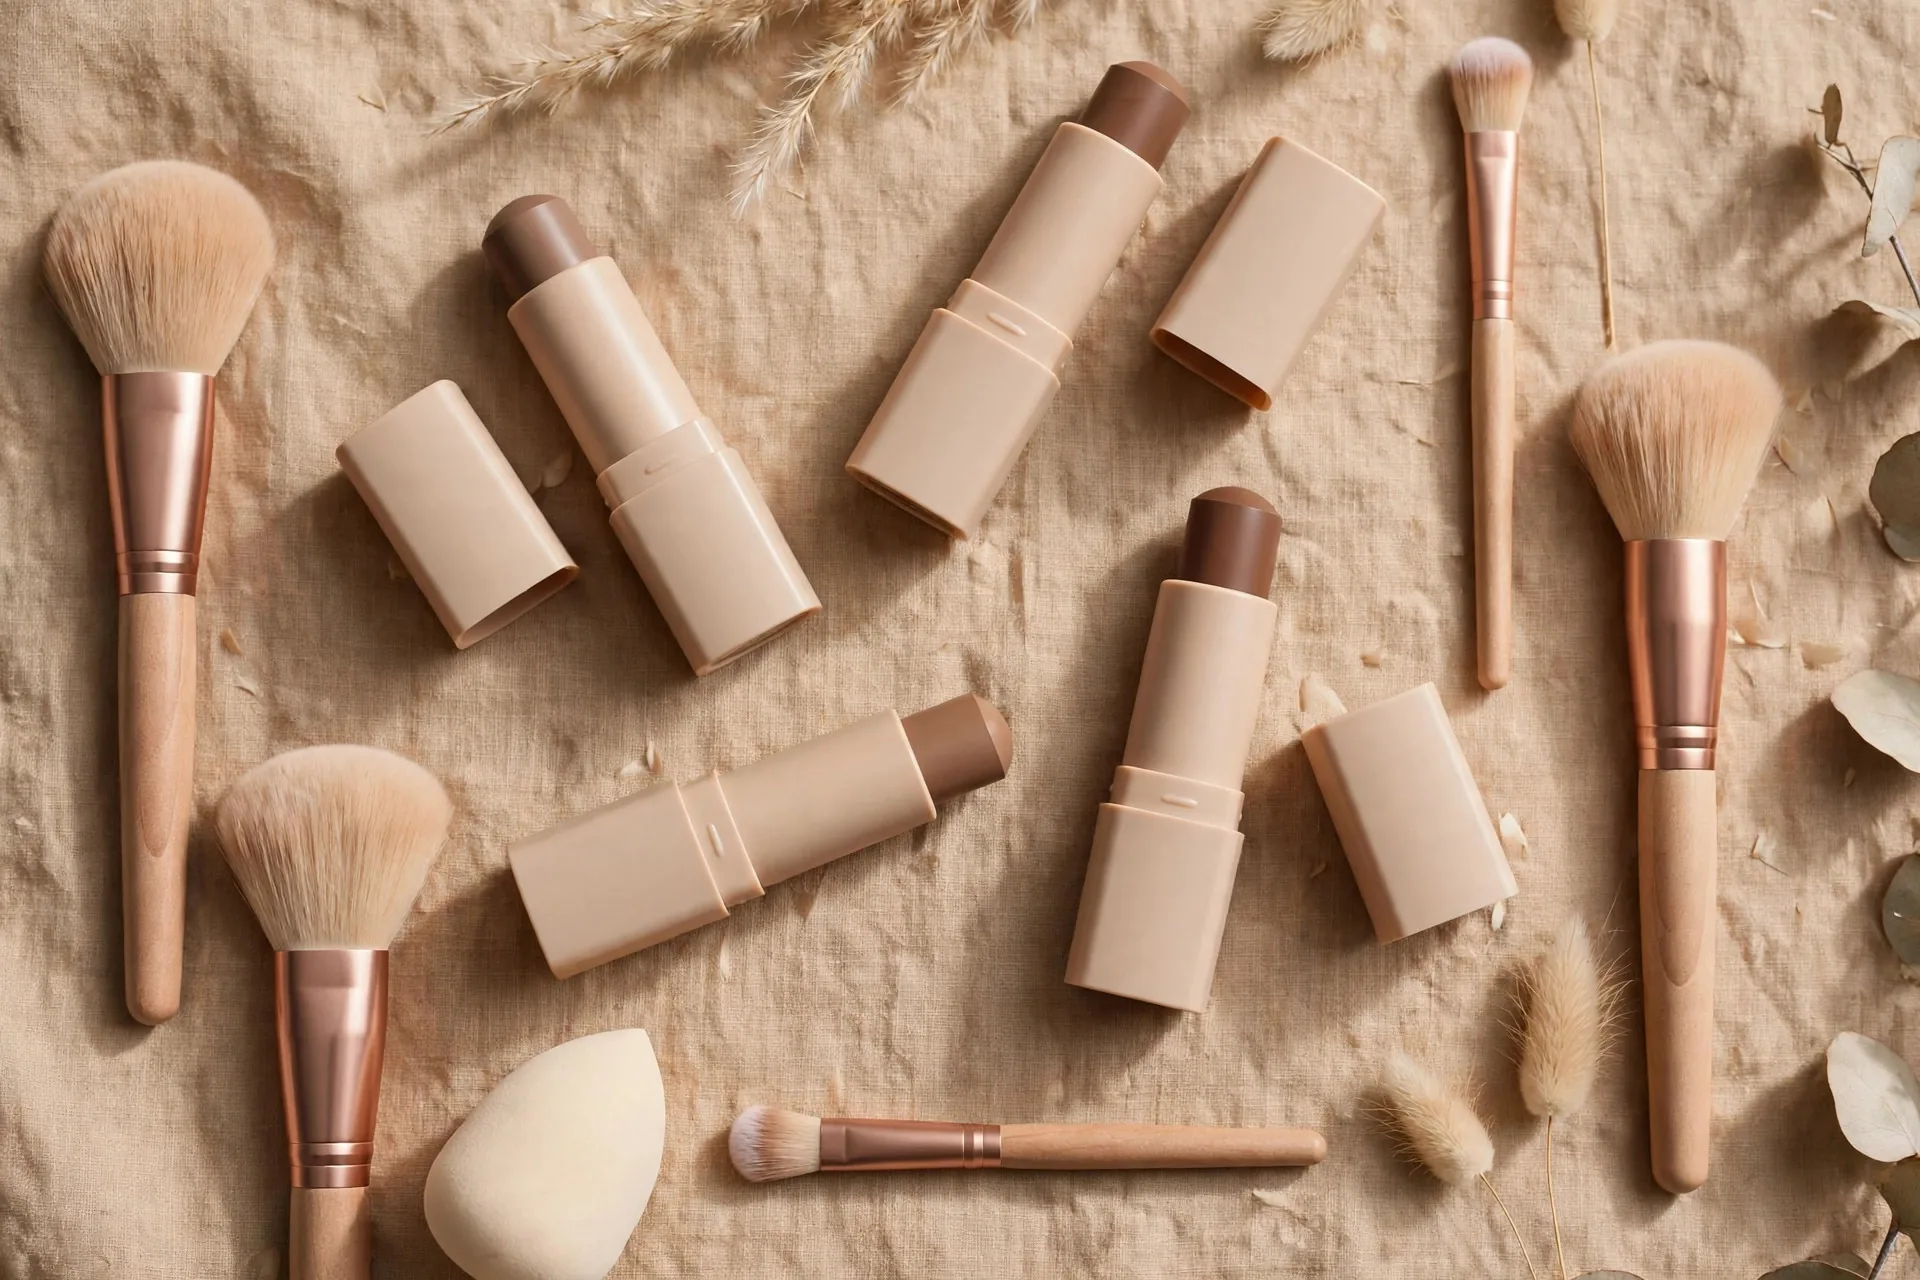
Contouring a round face isn’t about changing your face — it’s about using shadow and light to add the definition that round faces naturally soften. This beginner guide uses the simplest method (a cream contour stick), gives you exact placement, and teaches the blending rules that separate a sculpted look from a muddy one.
What Contouring Actually Does
Contour adds shadow where you want recession (hollows of cheeks, jawline, sides of forehead) and highlight where you want projection (center of forehead, tops of cheekbones, nose bridge, chin). On a round face — roughly equal in width and length with soft angles — strategic shadow creates the angles and length the bone structure doesn’t provide.
The goal is believable dimension, not a different face. If someone can tell you’re wearing contour, it’s too much.
What You Need (Beginner Kit)
- Cream contour stick, 2–3 shades deeper than your skin tone with a neutral-to-cool undertone (warm bronzers read orange, not shadowy). A stick is the most forgiving format for beginners — it goes exactly where you put it.
- Cream or liquid highlighter/concealer, 1–2 shades lighter than your skin.
- Damp makeup sponge for blending (the single most important tool).
- Optional: a fluffy brush for setting powder.
Skip powder contour until you’ve mastered cream — powder is harder to blend and less forgiving of mistakes.
Before you start, it helps to know your proportions. Our free face shape detector confirms your face shape from a photo, so you’re contouring for the right geometry — and the facial thirds guide explains the zones you’ll be working with.
The Cream Stick Method: Step by Step
Step 1: Prep the skin
Contour blends 10x better on hydrated skin. Moisturizer, then primer or just your regular base (foundation/tinted moisturizer). Let it set for a minute — contouring over wet base causes patchiness.
Step 2: Map the cheek hollows
This is the money step for round faces. Find your cheek hollow: suck your cheeks in slightly (fish face) — the indentation that appears is your target line.
- Draw the contour stick along the hollow, starting near the ear and stopping two finger-widths from the mouth corner. Going too far forward is the classic beginner mistake — it narrows the mouth area and looks unnatural.
- Angle the line slightly upward toward the temple, not straight across. An upward angle lifts; a horizontal line widens.
Step 3: Slim the jawline
- Run the stick along the jawbone, from ear toward chin, staying right on the bone’s edge.
- Blend downward into the neck (never upward onto the face — that erases the jaw you’re defining).
- This creates a shadow under the jaw that reads as a sharper jawline.
Step 4: Narrow the forehead
Round faces often have wide foreheads that emphasize width.
- Apply contour along the temples and the sides of the forehead, near the hairline.
- Keep it close to the hairline — visible contour in the middle of the forehead looks like dirt, not shadow.
Step 5: Define the nose (optional)
- Two thin lines down the sides of the nose bridge, plus a small amount under the tip.
- Less is more here; nose contour is the easiest to overdo.
Step 6: Highlight the center
Apply your lighter shade to: center of the forehead, bridge of the nose, tops of the cheekbones (just above the contour line), cupid’s bow, and center of the chin. On round faces, vertical highlighting down the center of the face adds the length contour takes from the sides.
Step 7: Blend — the rules
- Blend the light shades first, then the dark. (Blending dark first drags shadow everywhere.)
- Use a damp sponge with bouncing/stippling motions — never drag or swipe, which moves product off its placement.
- Blend the edges of each contour line, not the line itself. You want a gradient from shadow to skin, with the deepest color staying where you placed it.
- Check in natural daylight or a daylight bulb. Bathroom lighting lies.
- Step back from the mirror. Contour is judged at conversation distance, not six inches away.
Step 8: Set lightly
A light dusting of translucent powder over the contoured areas prevents migration. Skip heavy baking — it cakes on beginners.
Placement Map for Round Faces (Cheat Sheet)
| Area | Contour | Highlight |
|—|—|—|
| Cheeks | Hollow, angled up toward temple | Tops of cheekbones |
| Jaw | Along jawbone, blend down | Chin center |
| Forehead | Temples + sides near hairline | Center vertically |
| Nose | Sides of bridge (optional) | Bridge center |
| Eyes | — | Brow bone lightly |
Everyday vs Photo Contouring
Not all contour serves the same purpose — adjust intensity to the situation:
- Everyday wear: use half the product you think you need. In person, people see you in 3D with natural light doing half the sculpting. A whisper of cheek hollow and jaw definition is plenty. Skip nose contour entirely for daily wear — it’s the first thing that reads as “makeup” up close.
- Photography and events: cameras flatten faces, so contour needs to be roughly 30% stronger to register on camera. This is where the full routine (cheeks, jaw, forehead, nose) earns its place. Flash photography especially washes out subtle work.
- Video calls: webcams sit below eye level and use flat frontal light — the worst combination. A touch of jaw and cheek contour compensates, but keep it subtle; HD webcams pick up harsh lines.
The underlying placement doesn’t change — only the intensity. Learn the full version first, then scale it back for daily life.
Beginner Mistakes to Avoid
- Wrong undertone: warm/orange contour looks like bronzer misplaced. Shadow colors are neutral to cool.
- Too dark: jumping more than 2–3 shades deeper creates harsh lines that won’t blend out. Build in thin layers instead.
- Contouring too far forward on cheeks: stop two finger-widths from the mouth.
- Skipping the blend check in daylight: what looks subtle in a dim bathroom can look dramatic outside.
- Contouring every day the same way: faces change with weight, water retention, and age. Reassess placement every few months.
How Long Does It Take to Learn?
Honestly: about two weeks of regular practice. The first attempts will look stripey — that’s normal. Take a photo in daylight after each attempt; photos reveal blending errors your eyes miss in the mirror. By attempt ten, muscle memory takes over.
FAQ
Is cream or powder contour better for beginners?
Cream — specifically a stick. It’s precise, blendable, and forgiving. Powder demands brush skills and a light hand that beginners haven’t developed yet.
What shade of contour should I buy?
2–3 shades deeper than your natural skin tone, in a neutral or cool undertone. If you’re between shades, go lighter — it’s easier to build up than to blend away.
Can contouring make my face look slimmer in photos?
Yes — that’s its primary job on round faces. The cheek-hollow and jawline shadow read as structure in photos, where flat lighting otherwise washes definition out. (For camera-specific tips, see our photo guides.)
Do I need to contour every day?
No. Many people contour only for photos, evenings, or events. Daily wear is a preference, not a requirement — and good skincare plus the right haircut do more for everyday definition than daily contour.
Will contouring look bad as I age?
Heavy contour can settle into fine lines. The fix is lighter application, cream formulas (not powder), and thorough blending — the same rules, applied gently.