
Contour Makeup for Round Face: Complete Beginner Guide
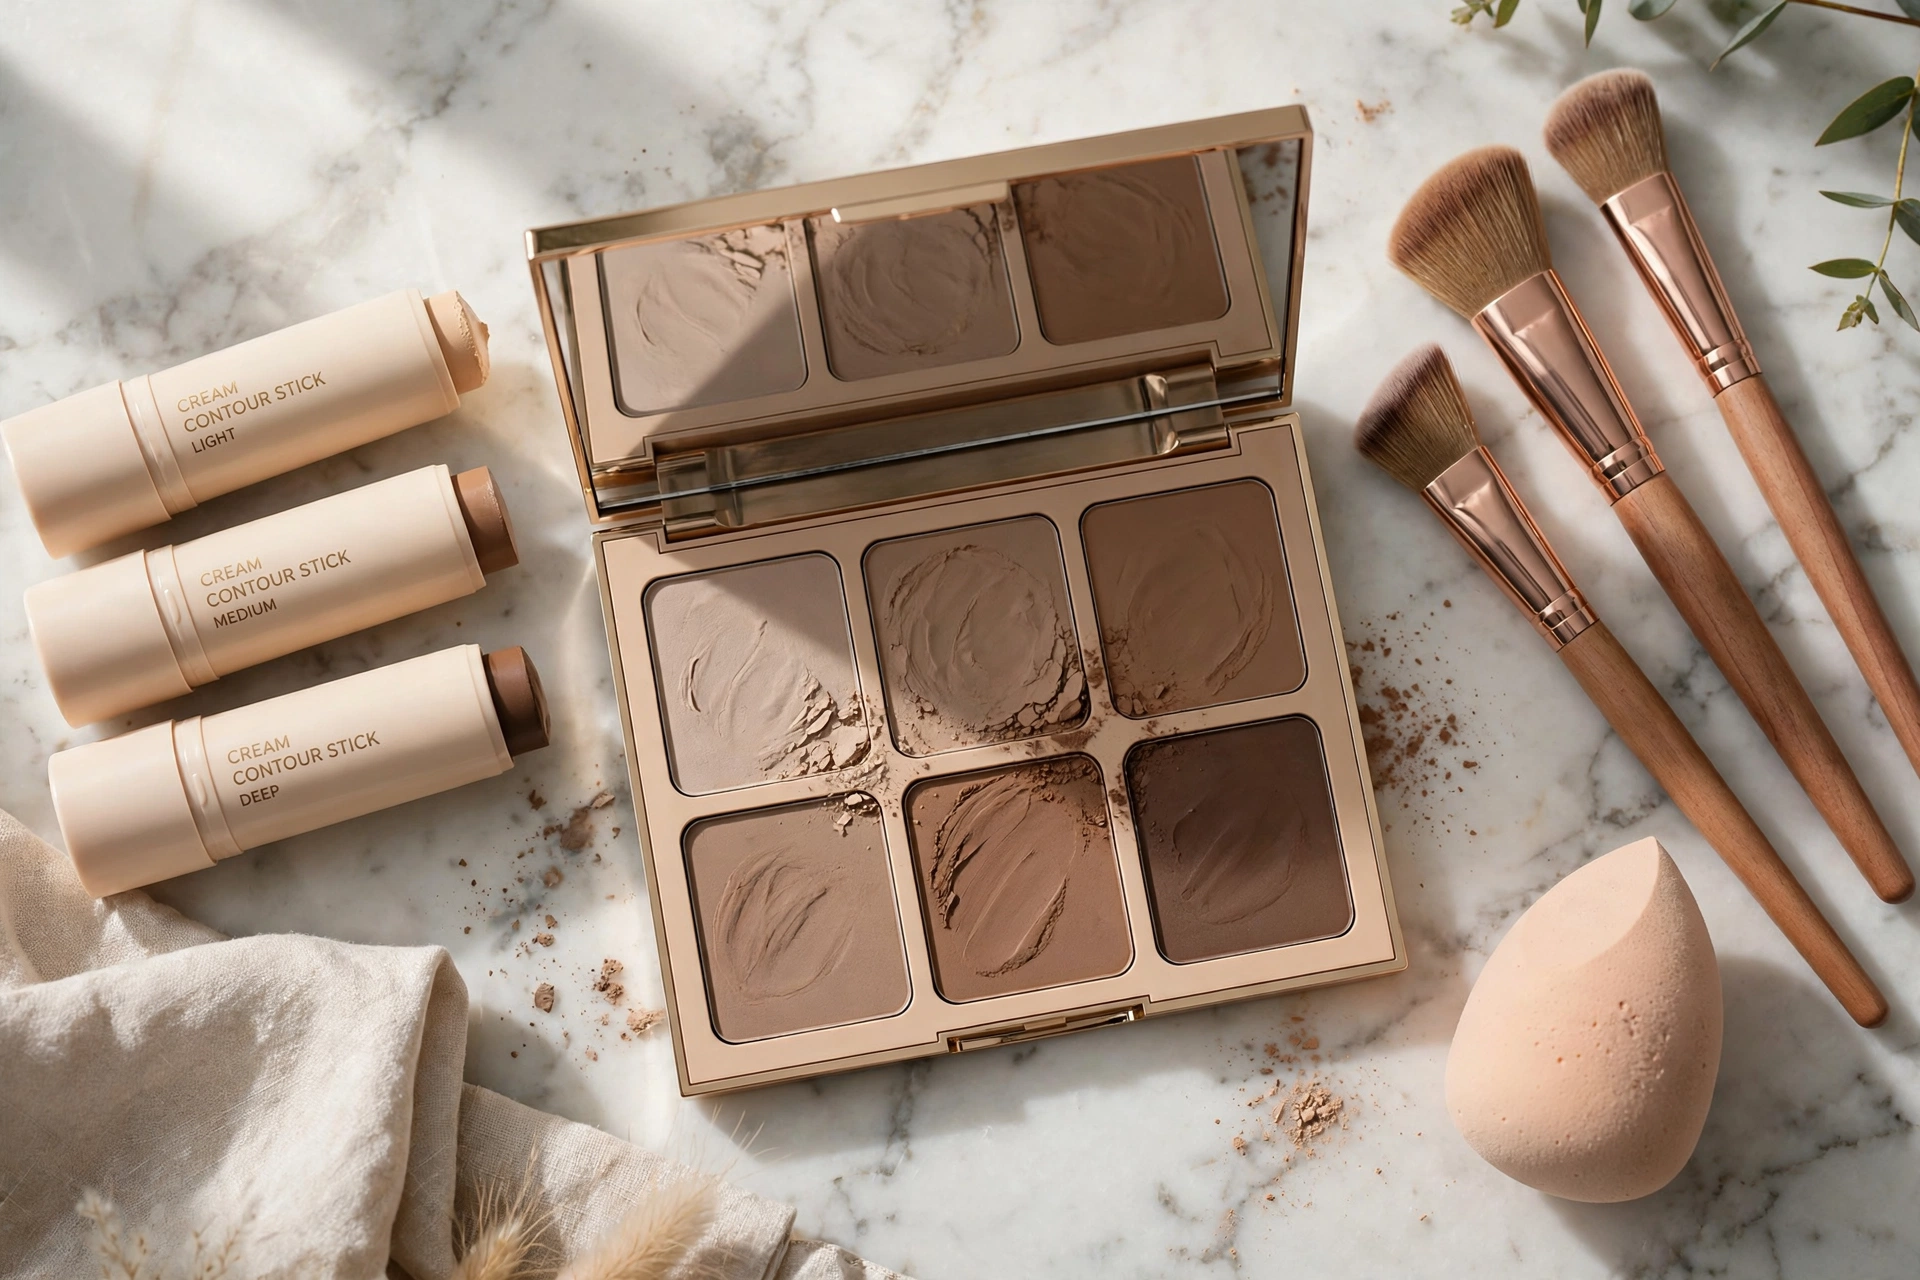
Direct answer: The best contour makeup for a round face starts with a matte contour product 1 to 2 shades darker than your skin tone, applied to the temples, cheek hollows and jawline. Beginners should start with cream sticks or palettes, which are the most forgiving formulas to blend.
Key Takeaways
- Choose a matte contour 1 to 2 shades darker than your skin, with cool undertones
- Cream sticks and palettes are the most beginner friendly formulas
- You need only three tools: angled brush, damp sponge and fluffy blending brush
- Apply in thin layers and build up, never start with too much product
- Set with powder and setting spray so the contour lasts all day
Walking into the makeup aisle to buy your first contour product can feel overwhelming. Sticks, palettes, powders, creams, dozens of shades with confusing names. This guide cuts through the noise with exactly what a beginner needs to contour a round face: which products to buy, how to pick your shade, and a step by step application routine. For the technique side, placement maps and blending methods, see our companion guide on how to contour a round face.
What You Need: The Beginner Contour Kit
You need fewer products than the beauty industry wants you to believe. Here is the complete starter kit:
- A contour product: One matte contour in the right shade is the core purchase. A cream stick or a small palette is ideal for beginners.
- A damp makeup sponge: For blending cream formulas seamlessly into the skin.
- An angled brush: For placing powder contour precisely along the cheek hollows and jawline.
- A fluffy blending brush: For softening edges so nothing looks painted on.
- Translucent setting powder: To set cream contour and prevent it from moving during the day.
- Setting spray: The final step that locks everything in place for hours.
That is genuinely everything. You do not need a separate highlight product at first, a light concealer you already own works for the center of the face highlights. Build your kit slowly and only add products when you know why you need them.
Choosing Your Contour Shade
Shade selection is where most beginners go wrong, and it matters more than the brand or price of the product. Follow these rules:
- Go 1 to 2 shades darker: Your contour should mimic a natural shadow, and real shadows are only slightly darker than the surrounding skin. Anything darker looks like dirt, not definition.
- Choose matte, never shimmer: Shimmer reflects light and brings areas forward, which is the opposite of contouring. Your contour product must be completely matte.
- Pick cool or neutral undertones: Natural shadows are cool toned. Warm, orange toned “contour” products look muddy on most skin tones. Hold the product next to your jaw in natural light, if it looks orange, put it back.
- Test on your jaw, not your hand: Hand skin is a different tone and texture from face skin. Always test contour shades along your jawline and check in daylight.
For fair skin, look for taupe or light ash brown shades. Medium skin suits soft brown with neutral undertones. Deep skin needs rich chocolate or espresso tones, still matte and never orange. When in doubt between two shades, choose the lighter one, because you can always build up but you cannot easily remove too dark a contour.
Product Types Compared for Beginners
| Product Type | Best For | Beginner Friendliness |
|---|---|---|
| Cream stick | Dry to normal skin, quick application | Excellent, draw and blend |
| Contour palette | Trying multiple shades, travel | Very good, versatile |
| Powder contour | Oily skin, long wear | Good, needs a light hand |
| Liquid contour | Full coverage looks, experienced users | Harder, sets fast |
For your first purchase, a cream stick is the easiest starting point. You draw it directly where you want shadow and blend with a damp sponge. There is no brush technique to learn and the formula is forgiving. Byrdie consistently rates cream sticks among the best beginner contour products for exactly this reason.
Step by Step Application for Round Faces
Follow this routine in order. The whole process takes about five minutes once you have practiced it a few times:
- Start with a good base: Apply moisturizer, primer if you use one, and foundation as normal. Contour goes over foundation, never on bare skin, because it needs an even surface to blend into.
- Map the temples: Draw or sweep contour along the outer forehead near the hairline on both sides. Keep it in the outer third and blend into the hairline.
- Carve the cheek hollows: Suck in your cheeks lightly to find the hollow below the cheekbone. Apply contour from near the ear toward the mouth, stopping two finger widths from the lips. Angle slightly upward.
- Define the jawline: Apply along the jaw from ear to chin, staying just under the bone. This is the step that slims the lower face most visibly on round faces.
- Blend everything: Use a damp sponge for cream or a fluffy brush for powder. Blend the cheek contour upward, the jaw contour downward into the neck, and the temples into the hairline. Check for lines.
- Add highlight: Apply a light concealer or highlighter down the center of the forehead, on top of the cheekbones, down the nose bridge and lightly on the chin. Blend the edges.
- Set it: Dust translucent powder over cream contour, then mist setting spray over the whole face in an X and T motion.
If this is your first time contouring at all, our contouring for beginners guide walks through the absolute basics with extra detail on tools and preparation.
Day vs Evening Contour Looks
One routine does not fit all occasions. Adjust the intensity:
- Daytime: Use one thin layer of contour, blend extensively, and check in natural light. The goal is definition that nobody can quite put their finger on. Skip the nose contour for day, it is the step most likely to look obvious.
- Evening: Build a second light layer for more drama, add the optional nose contour, and pair with a stronger highlight. Evening lighting is dimmer, so makeup needs more contrast to show up.
- Photography: Cameras flatten faces, so go slightly stronger than you think you need, especially on the cheek hollows and jawline. What looks perfect in the mirror can disappear on camera.
How to Make It Last All Day
Contour that fades by afternoon is usually a preparation or setting problem, not a product problem:
- Prep oily skin: Use a mattifying primer on the T zone and set foundation with powder before contouring. Powder contour over unset foundation slides around.
- Layer cream under powder: For maximum longevity, apply cream contour first, then lightly dust powder contour over the same areas. The powder locks the cream in place.
- Blot, do not wipe: Carry blotting papers and press them on shiny areas before touching up. Wiping drags the contour out of place.
- Setting spray matters: A proper setting spray, not just facial mist, forms a flexible film over makeup. Apply after everything else, holding the bottle 8 to 10 inches from the face.
Healthline notes that skin preparation is the foundation of long wearing makeup, and contour is no exception. Well moisturized skin holds product evenly, while dry patches grab pigment and create uneven lines.
Budget Friendly Starter Picks
You do not need luxury prices to contour well. The formula matters more than the brand:
- Drugstore cream sticks: Many affordable cream contour sticks blend beautifully and come in shade ranges that work for light to deep skin. Look for matte finishes and twist up packaging that keeps the product clean.
- Powder duos: Affordable contour and highlight duos give you both products in one compact, which is convenient for learning the balance between shadow and light.
- Brush sets: A basic face brush set with an angled brush and a fluffy powder brush covers all your contour tool needs. Synthetic bristles work fine with both cream and powder.
Spend your money on getting the right shade rather than the most expensive brand. A perfectly matched affordable contour always beats a luxury shade that is too dark or too warm. For more beginner makeup guidance, see our makeup for hooded eyes beginners guide.
Contour and Blush: Getting the Balance Right
Contour and blush work as a team, but they go in different places and serve different purposes. Contour creates shadow in the hollows below the cheekbones, while blush adds color and life to the apples and tops of the cheeks. Mixing up the placements is one of the most common beginner mistakes.
The correct order is contour first, then blush above it. Apply your contour in the cheek hollow and blend upward, then smile lightly and apply blush to the apples of the cheeks, sweeping it back toward the temples. The blush should sit above the contour line, never on top of it. This layering creates lift: shadow below, color above, highlight on the very top of the cheekbone.
For round faces, keep blush focused on the upper cheek rather than the center apple. Blush placed too far forward on the cheek adds width, while blush swept upward and outward lifts the face. Choose matte or satin blushes for daytime, since shimmery blush on the apples can emphasize fullness.
Frequently Asked Questions
What contour makeup is best for beginners with round faces?
A matte cream contour stick 1 to 2 shades darker than your skin tone is the best starting point. Cream sticks are easy to apply directly to the temples, cheek hollows and jawline, and they blend forgivingly with a damp sponge. Choose cool or neutral undertones, never orange.
How do I choose the right contour shade for my skin tone?
Go 1 to 2 shades darker than your natural skin with a matte finish and cool or neutral undertones. Test along your jawline in natural light, not on your hand. Fair skin suits taupe tones, medium skin suits soft neutral browns, and deep skin suits rich chocolate tones.
Do I need both cream and powder contour?
No, start with one. Cream suits dry skin and is more forgiving for beginners, while powder suits oily skin and lasts longer. Once you are comfortable, layering cream under powder gives the most long wearing result, but one good product is enough to learn with.
Why does my contour look muddy instead of defined?
Muddiness usually comes from a shade that is too dark or too warm for your skin. Switch to a lighter shade with cooler undertones and apply in thinner layers. It can also happen when contour is placed over unset foundation, so make sure your base is set before contouring.
How long should contour makeup last during the day?
With proper setting, contour should last 8 to 10 hours. Set cream contour with translucent powder, finish with setting spray, and blot oily areas during the day instead of wiping. If it fades faster, the issue is usually skin preparation or missing setting steps rather than the product itself.