Blush Placement for Heart Shaped Face: A Beginner’s Guide
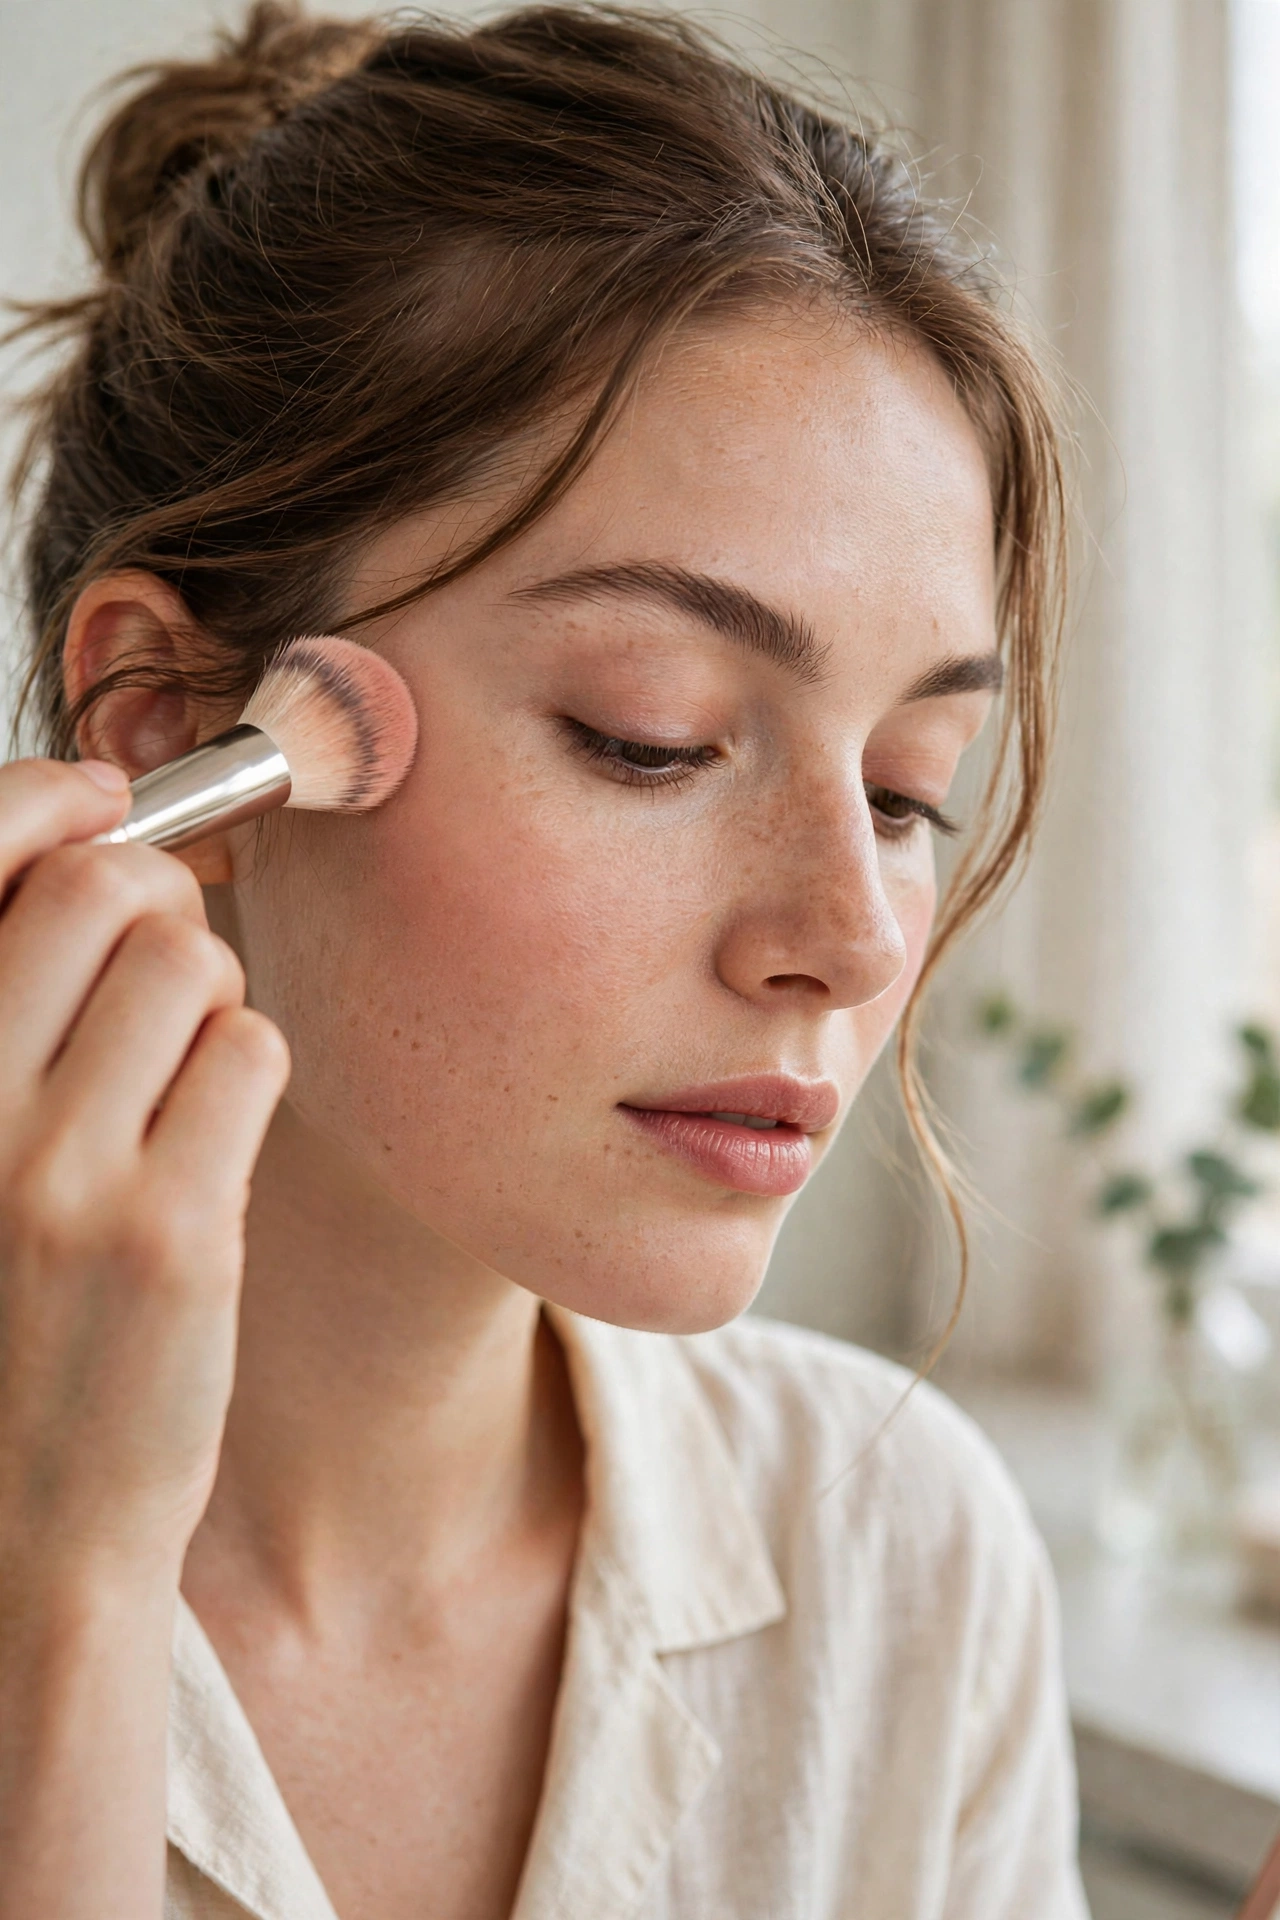
Blush low on the apples adds fullness to the lower face for heart-shaped faces.
Key Takeaways:
- Apply blush in a soft C-shape on the outer cheek for heart-shaped faces.
- Start at the temple area and sweep down toward the cheekbone.
- Keep the center of the face quiet to avoid adding width to the forehead.
- Blend outward and downward to soften the transition into the jawline.
- This placement adds fullness to the narrower lower face.
The most common mistake I see on heart-shaped faces is blush placement that mirror the face shape instead of balancing it. That doubles down on a wide forehead tapering to a narrow chin when you want the opposite. Here is what to choose instead.
This beginner guide covers the heart-face blush technique (the outer-cheek C-shape), exact steps, and the placements that unbalance this face shape. For comparison, see our blush placement guide for oval faces and our blush guide for round faces.
What Blush Should Do for a Heart Face
On a heart face, blush has two jobs: soften the visual width of the cheekbone area and avoid adding emphasis where width already exists. That means the color sits slightly outward and lower than the classic apple placement, along the outer cheek in a soft C-shape that follows the cheekbone’s curve. The effect is a flush that warms the midface without widening it.
The Technique: The Outer-Cheek C-Shape
1. Locate the placement zone
Find your cheekbone with your fingers. Now slide your fingers slightly down and outward, the fleshy area just below and outside the cheekbone’s peak is your zone. It sits farther out toward the ears than most beginners expect. That outward position is the whole trick: color here does not widen the face’s front view.
2. Apply in a soft “C”
Using your blush brush, apply color in a gentle C-shape: start near the temple, curve down along the outer cheek, and fade toward the mid-cheek, stopping well before the nose. Think of the letter C hugging the outer cheek. The deepest color sits at the outer curve; the inner end should be barely-there.
3. Keep the center of the face quiet
Resist bringing blush inward toward the nose or upward onto the cheekbone’s peak. On heart faces, the center-front of the cheeks is close to the widest zone, loading it with color spotlights width. Let highlighter handle the center if you want glow there; our highlighter placement guide for heart-shaped faces pairs perfectly with this technique.
4. Blend outward and down
Blend with soft strokes moving outward toward the hairline and slightly downward, never upward onto the temples, which would re-emphasize forehead width. The finished look: a diffused warmth on the outer cheeks with no visible edges.
Photo checkpoint: take a straight-on photo. The blush should read as warmth on the sides of the midface. If the center of your cheeks looks pinker than the outer edges, you placed too far inward, shift outward next time.
Placements to Avoid on Heart Faces
- Centered apple circles: the most common mistake, it piles color onto the widest part of the face.
- High on the cheekbone peaks: shimmery blush right on the prominent cheekbones spotlights their width; keep the peaks for subtle highlight instead.
- Swept up to the temples: upward blending toward the temples connects the blush visually to the wide forehead, doubling the emphasis.
- Across the nose: a horizontal band of color adds width across the midface, flattering on some shapes, counterproductive here.
Choosing Your Blush: Shade and Formula
Shade: natural flush tones are safest, soft rose, peach, and warm pink for fair to medium skin; berry, plum, and warm coral for deeper tones. Because the placement is outward, you can wear slightly deeper shades than you might center-face; the position keeps them from overwhelming.
Formula: cream blush blends beautifully into the C-shape and is forgiving for beginners learning the zone. Powder gives more staying power and suits oily skin. A cream-then-powder layer (light cream base, whisper of powder to set) gives the most natural, long-wearing result.
Finish: satin finishes are ideal, they give a skin-like glow without the width-emphasizing reflectivity of heavy shimmer placed on the cheekbones. If you love shimmer, keep it minimal and low on the outer cheek.
Getting the Brushwork Right
The C-shape is easy to describe and slightly tricky to execute at first, so here is the physical technique. Load the brush lightly, tap off excess, and use the side of a medium fluffy brush rather than the tip, which deposits too much color in one spot. Work in soft, overlapping strokes following the C path, building the color gradually over two or three passes instead of one heavy application. Between passes, step back from the mirror: blush always looks stronger up close than it does at conversational distance. If you overdo a spot, do not add more product elsewhere to match, instead, press a clean sponge over the heavy area to lift the excess.
Blush Mistakes That Age the Face
A few missteps make blush work against you. Shades far darker than your natural flush can look harsh against the delicate lower face of a heart shape, stay within a step or two of your real flush. Harsh, unblended edges read as stripes and instantly age any face; when in doubt, blend more. And heavy glitter placed on the outer cheek catches light across the widest zone, save shimmer for the center of the face and keep the outer-cheek blush satin or matte.
Building the Full Heart-Face Routine
Blush is one piece of the heart-face balancing act. Pair the outer-cheek C-shape with softly contoured temples (which quiet forehead width, as our beginner heart-face contour guide details) and highlighter kept to the center of the face, forehead center, chin, and nose bridge. Keep brow shapes soft and rounded rather than sharply arched, since strong angles up top compete with the blush’s softening work. When every product follows the same logic, soften the wide areas, support the narrow ones, the face reads as harmonious rather than made-up.
Frequently Asked Questions
Where do you put blush on a heart-shaped face?
On the outer cheek in a soft C-shape, starting near the temple, curving down along the outer cheek, and fading before the mid-cheek. Keep color away from the center of the face and the cheekbone peaks.
Should heart-shaped faces put blush on the apples?
Only very lightly, if at all. The apples sit near the widest zone of a heart face, so heavy color there emphasizes width. The outer-cheek placement gives the flush without the widening.
What blush shape suits a heart face best?
The C-shape along the outer cheek. It follows the cheekbone’s natural curve, warms the midface, and keeps the brightest color away from the face’s widest points.
Is cream or powder blush better for heart-shaped faces?
Cream is the easier learning tool, it melts into the C-shape zone and blends forgivingly. Powder lasts longer and suits oily skin. Many people get the best result layering a light cream under a touch of powder.
Can blush make my forehead look smaller?
Indirectly, yes. By keeping color low and outward, away from the temples and upper cheeks, you avoid drawing the eye upward, which lets the forehead recede visually. Pair it with softened temple contour for the full balancing effect.
The Bottom Line
Heart-face blush is an outward game: C-shape on the outer cheek, color kept low and away from the center, edges fully diffused. Master the zone and blush stops widening your widest areas and starts harmonizing the whole face.
Curious how your own cheek and forehead proportions measure? Try our free AI face analysis tool on the homepage, upload a photo for an entertaining breakdown of your facial proportions and symmetry.