
Contour for Diamond Face Guide: Placement That Balances
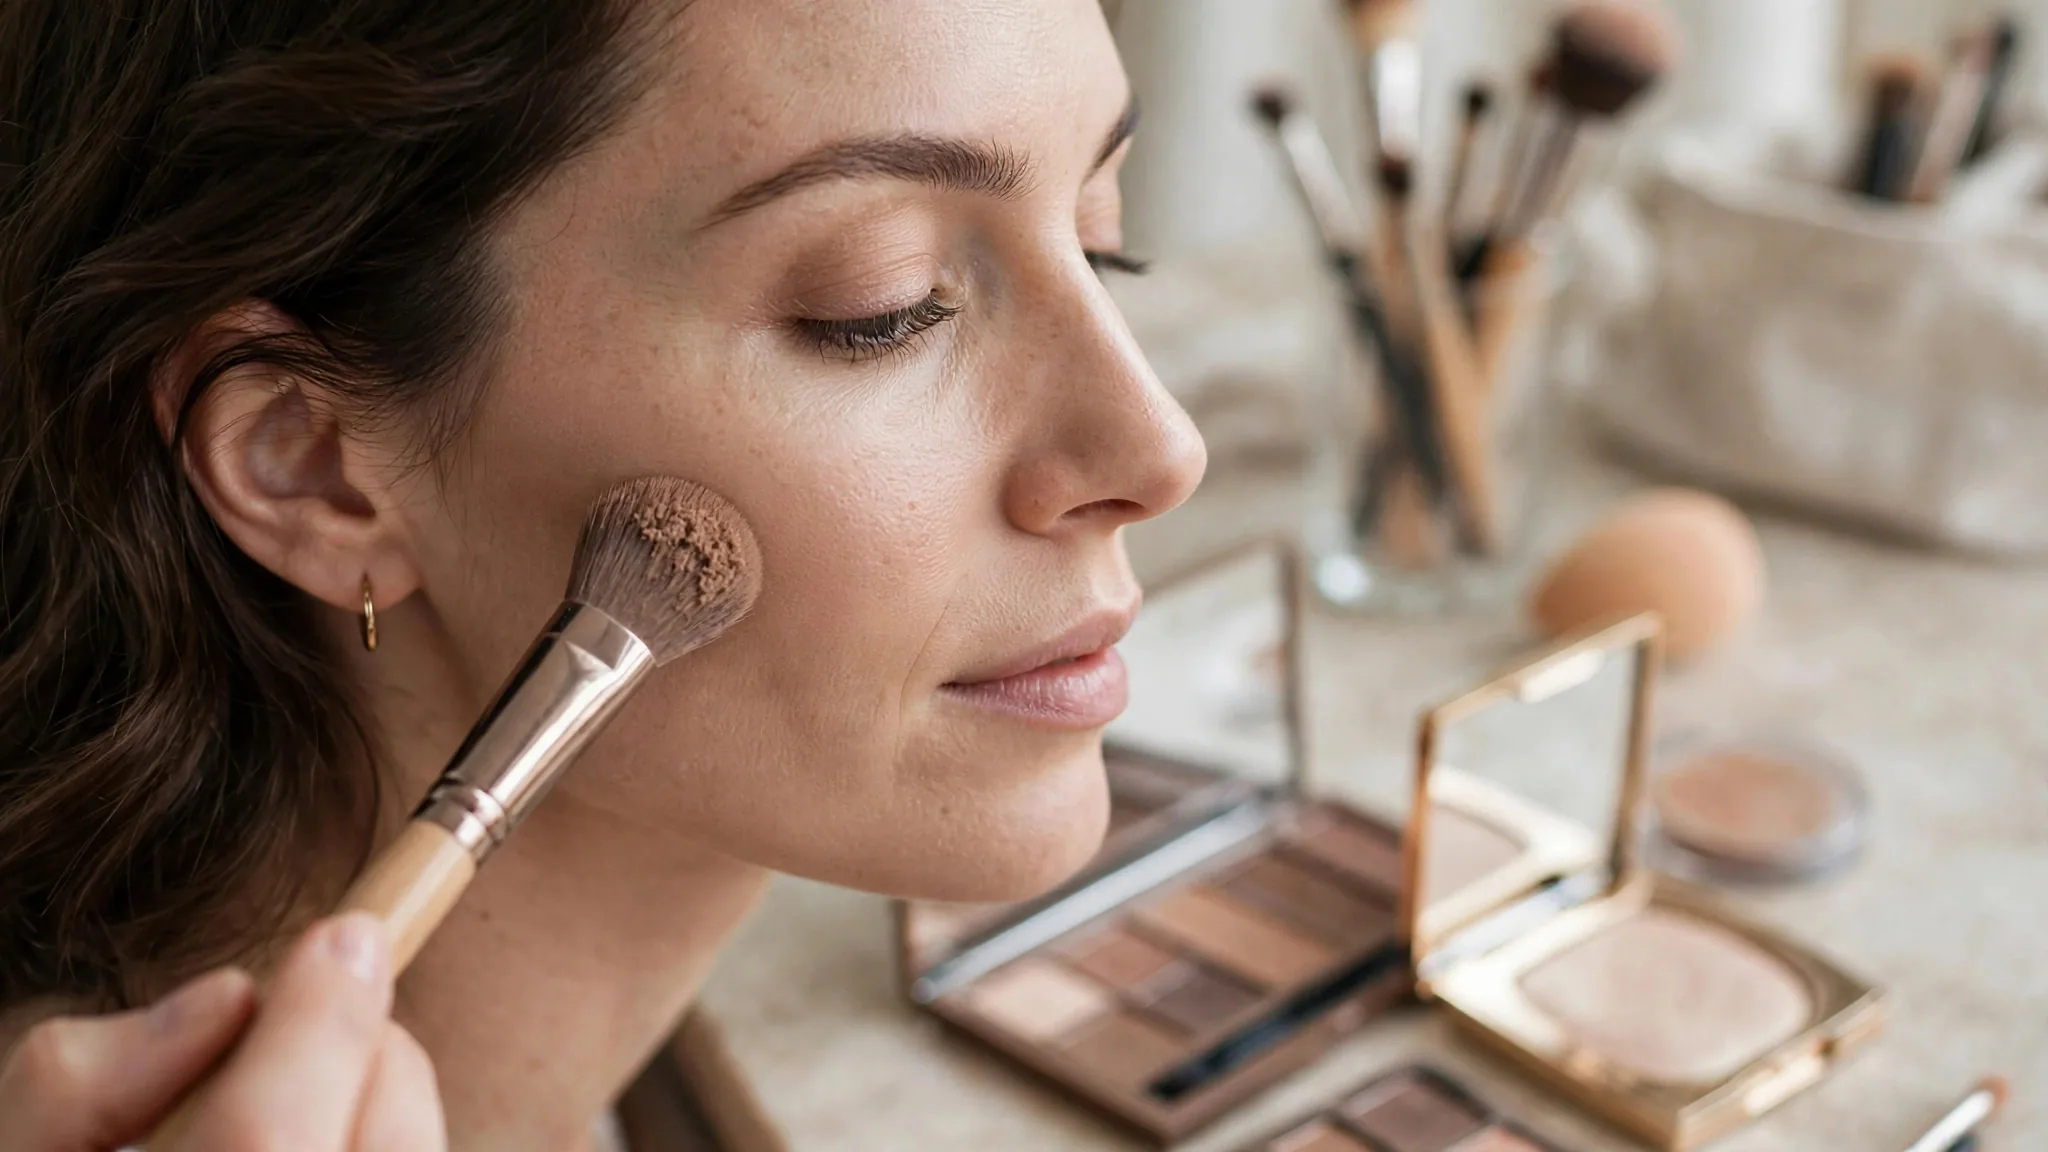
Contour the cheekbones while highlighting forehead and chin for diamond faces.
Key Takeaways:
- Contour the cheekbones softly while highlighting the forehead and chin forward.
- Keep contour off the cheekbone peaks to avoid exaggerating their width.
- Highlight the center of the forehead and chin to bring them visually forward.
- Skip deep hollows under the cheekbones, they sharpen the diamond angles.
- Blend upward and outward so no harsh lines sit on the widest part of the face.
- Choose the highlight-first routine with sheer under-cheekbone shadow when you want balance, and deepen placement only gradually, judging each attempt by daylight photos.
Finding flattering contour for diamond faces comes down to contrast: pick contour that widen the forehead and chin areas. Below are the specific styles, shapes, and details that do it best, plus the ones to skip.
This guide covers diamond-specific contour placement, the highlight work that does half the job, and the mistakes that exaggerate the diamond’s angles. For contrast, see our square-face contouring guide and our heart-shaped face contour guide for beginners.
The Diamond-Face Contour Philosophy
Forget “carving” cheekbones, yours are already carved. Diamond-face contour has two goals:
- Minimize the visual width of the cheekbones by keeping contour off their peaks and avoiding deep hollows beneath them.
- Maximize the forehead and chin by highlighting them forward, which balances the wide midface.
In other words, contour plays a supporting role here; highlighter is the star. Beginners who contour a diamond face like a round face, heavy hollows under the cheekbones, end up emphasizing exactly what they wanted to soften.
What You’ll Need
- A contour product one to two shades deeper than your skin, cool-neutral undertone. Creams blend most forgivingly.
- A highlighter or concealer one to two shades lighter than your skin for the forehead and chin work.
- A fluffy brush or damp sponge, and foundation already applied.
Step-by-Step Placement
Step 1: Temples, soften the upper width
Apply a light wash of contour at the temples, blending into the hairline. This gently narrows the upper face’s appearance where it meets the wide cheekbones. Keep it sheer, heavy temple contour on a narrow forehead closes the face in.
Step 2: Under the cheekbones, light and high
This is where diamond contour differs most. Place contour just beneath the cheekbone, but keep it higher and lighter than standard placement, a soft shadow hugging the bone rather than a deep hollow carved below it. Stop the sweep early, about midway between ear and nose. Deep, long hollows exaggerate the cheekbones’ projection.
Step 3: Jawline, define gently
Sweep a whisper of contour under the jawline from ear toward chin, blended down into the neck. This gives the narrower lower face a touch of structure without creating harsh angles.
Step 4: Skip heavy forehead contour
The forehead is already the narrow zone, contouring it smaller works against you. At most, if your forehead is long, use the faintest touch at the top hairline. Otherwise skip it entirely.
Step 5: Highlight the forehead and chin forward
Now the important part. Apply highlighter or light concealer to the center of the forehead, the bridge of the nose, and the chin. These are the narrow zones, bringing them forward with light visually widens them, balancing the cheekbones. Also highlight the tops of the cheekbones themselves (not below them) so the bone catches light rather than sitting in shadow.
Step 6: Blend everything seamlessly
Blend contour upward into the hairline and outward, never leave visible edges. Check in daylight; diamond-face contour should read as soft dimension, with the cheekbones gently receding and the forehead and chin glowing forward.
The Highlight-Contour Balance
On diamond faces, think of your routine as 60% highlight, 40% contour. The light you add to the forehead, nose bridge, chin, and cheekbone tops does more balancing work than any shadow placement. If you’re short on time, do the highlight steps alone, they flatter diamond faces even without contour. Over time, you’ll develop an eye for how much shadow your particular cheekbones need: some diamond faces need only the faintest under-bone wash, while others with very prominent bones benefit from slightly deeper (but still sheer) placement. Let your daylight photos be the judge, and adjust gradually rather than changing everything at once.
Mistakes That Exaggerate Angles
- Carving deep hollows under the cheekbones, the classic tutorial move that backfires on diamond faces.
- Contouring the forehead heavily, which narrows an already narrow zone.
- Skipping highlight, without forehead and chin highlight, contour alone just adds shadows to an angular face.
- Harsh, unblended edges anywhere, angles plus visible lines equals severity.
- Using warm bronzer as contour, it reads as tan stripes rather than soft shadow. Keep contour cool-neutral.
Building the Routine
Practice the light under-cheekbone placement and the forehead-chin highlight as your core two-minute routine. Add temple and jaw work once the basics feel natural. Photograph each attempt straight-on in daylight, the photo shows whether the cheekbones are softening or sharpening, which the mirror often hides. And remember that contour is only one part of the picture: hairstyle does enormous work on diamond faces, with volume at the forehead and chin (think curtain bangs or chin-length layers) reinforcing exactly the balance your contour is building.
Choosing Contour Shades for Your Skin Tone
The wrong contour shade ruins even perfect placement:
- Fair skin: use the lightest contour you can find, taupe or light cool-brown. Anything deeper looks like a bruise.
- Light to medium skin: classic taupe-brown contour shades work; stay cool-neutral, never orange.
- Medium to deep skin: richer cool browns and deep umber tones; the contour must still read cooler than your bronzer.
- Deep skin: espresso and deep cool-brown creams; sheerness matters more than depth, build in thin layers.
Across all tones, test contour on your jawline in daylight. The right shade disappears into a natural-looking shadow; the wrong shade sits on top of the skin visibly.
Diamond Contour for Different Occasions
Everyday: highlight on forehead, nose, and chin plus the sheer under-cheekbone placement, two minutes, camera-ready for video calls.
Evening: deepen the temple and jaw placement slightly and add a touch more highlight on the cheekbone tops for dimension under artificial light.
Photography: cameras flatten faces, so you can go about twenty percent deeper with both contour and highlight than you would for real life, but keep edges blended, since cameras also sharpen visible lines.
Who This Diamond Face Contour Guide Suits, and Who Should Read It Differently
This guide suits beginners with diamond faces, widest at the cheekbones with a narrower forehead and chin, who want contour that balances rather than carves. Its philosophy reverses the usual tutorial: contour plays a supporting role and highlighter is the star, since bringing the narrow zones forward with light does more balancing work than any shadow placement, and the routine is built as roughly sixty percent highlight and forty percent contour. The core two-minute routine is a light, high wash under the cheekbone plus highlight on the forehead center, nose bridge, and chin, with a simple kit, cream contour one to two shades deeper with a cool-neutral undertone, a lighter highlighter, and a brush or damp sponge over foundation already applied.
Read it differently if you want carved cheekbones, heavy forehead contour, or a contour-first routine. Deep hollows under the cheekbones are the classic tutorial move that backfires on diamond faces, exaggerating exactly the projection the guide tries to soften, and contouring the narrow forehead smaller works against the whole balance, so the forehead is skipped entirely unless it is long. Shade rules shift with skin tone, from the lightest taupe on fair skin to espresso creams on deep skin, always tested on the jawline in daylight, and depth scales with occasion, everyday sheer, evening slightly deeper, photography deeper still with edges kept blended. Confirm the diamond proportions first, since every placement assumes true diamond geometry, and let hairstyle reinforce the balance, with volume at the forehead and chin echoing what the contour is building.
FAQ
Where do you put contour on a diamond face?
Light, sheer contour at the temples, softly under (not deeply below) the cheekbones, and a whisper under the jawline. Pair it with highlight on the forehead center, nose bridge, and chin to bring the narrow zones forward.
Should diamond faces contour their cheekbones?
Only lightly. Diamond faces already have prominent cheekbones, heavy contour beneath them exaggerates the angles. Keep the shadow high, sheer, and short.
Is highlighter more important than contour for diamond faces?
Yes, bringing the narrower forehead and chin forward with light does more to balance a diamond face than any shadow placement. Treat highlight as the primary tool and contour as support.
What contour mistakes should diamond faces avoid?
Deep carved hollows under the cheekbones, heavy forehead contour, skipping highlight, and unblended edges. All of them emphasize the face’s angularity instead of softening it.
Confirm the Diamond Before You Contour
Every placement here assumes true diamond proportions, widest at the cheekbones. Upload a photo to the free AI face-rating tool at https://russella.co.uk/ to verify your face shape, then contour with the light-touch map built for it.