Best Eyebrow Shape for Round Face Female: High-Arch Guide
Eyebrows are the fastest, cheapest way to change how a round face reads. The right brow shape adds vertical length and structure to a face that’s naturally soft and full — no makeup skills beyond a pencil required. Here’s exactly which shape works, where to place the arch, and how to get it.
Why Brows Matter So Much for Round Faces
A round face is roughly as wide as it is long, with soft angles and full cheeks. The eye travels across it horizontally. A brow with a defined arch breaks that horizontal flow — it pulls the eye upward, creating the illusion of length and lifting the whole face.
Flat or overly rounded brows do the opposite: they echo the face’s natural curves and can make it look even rounder. That’s the core principle behind every tip below.
Not sure about your face shape? Our free face shape detector analyzes your photo and tells you in seconds — useful before you commit to a brow reshape.
The Best Eyebrow Shape for a Round Face: High, Soft-Angled Arch
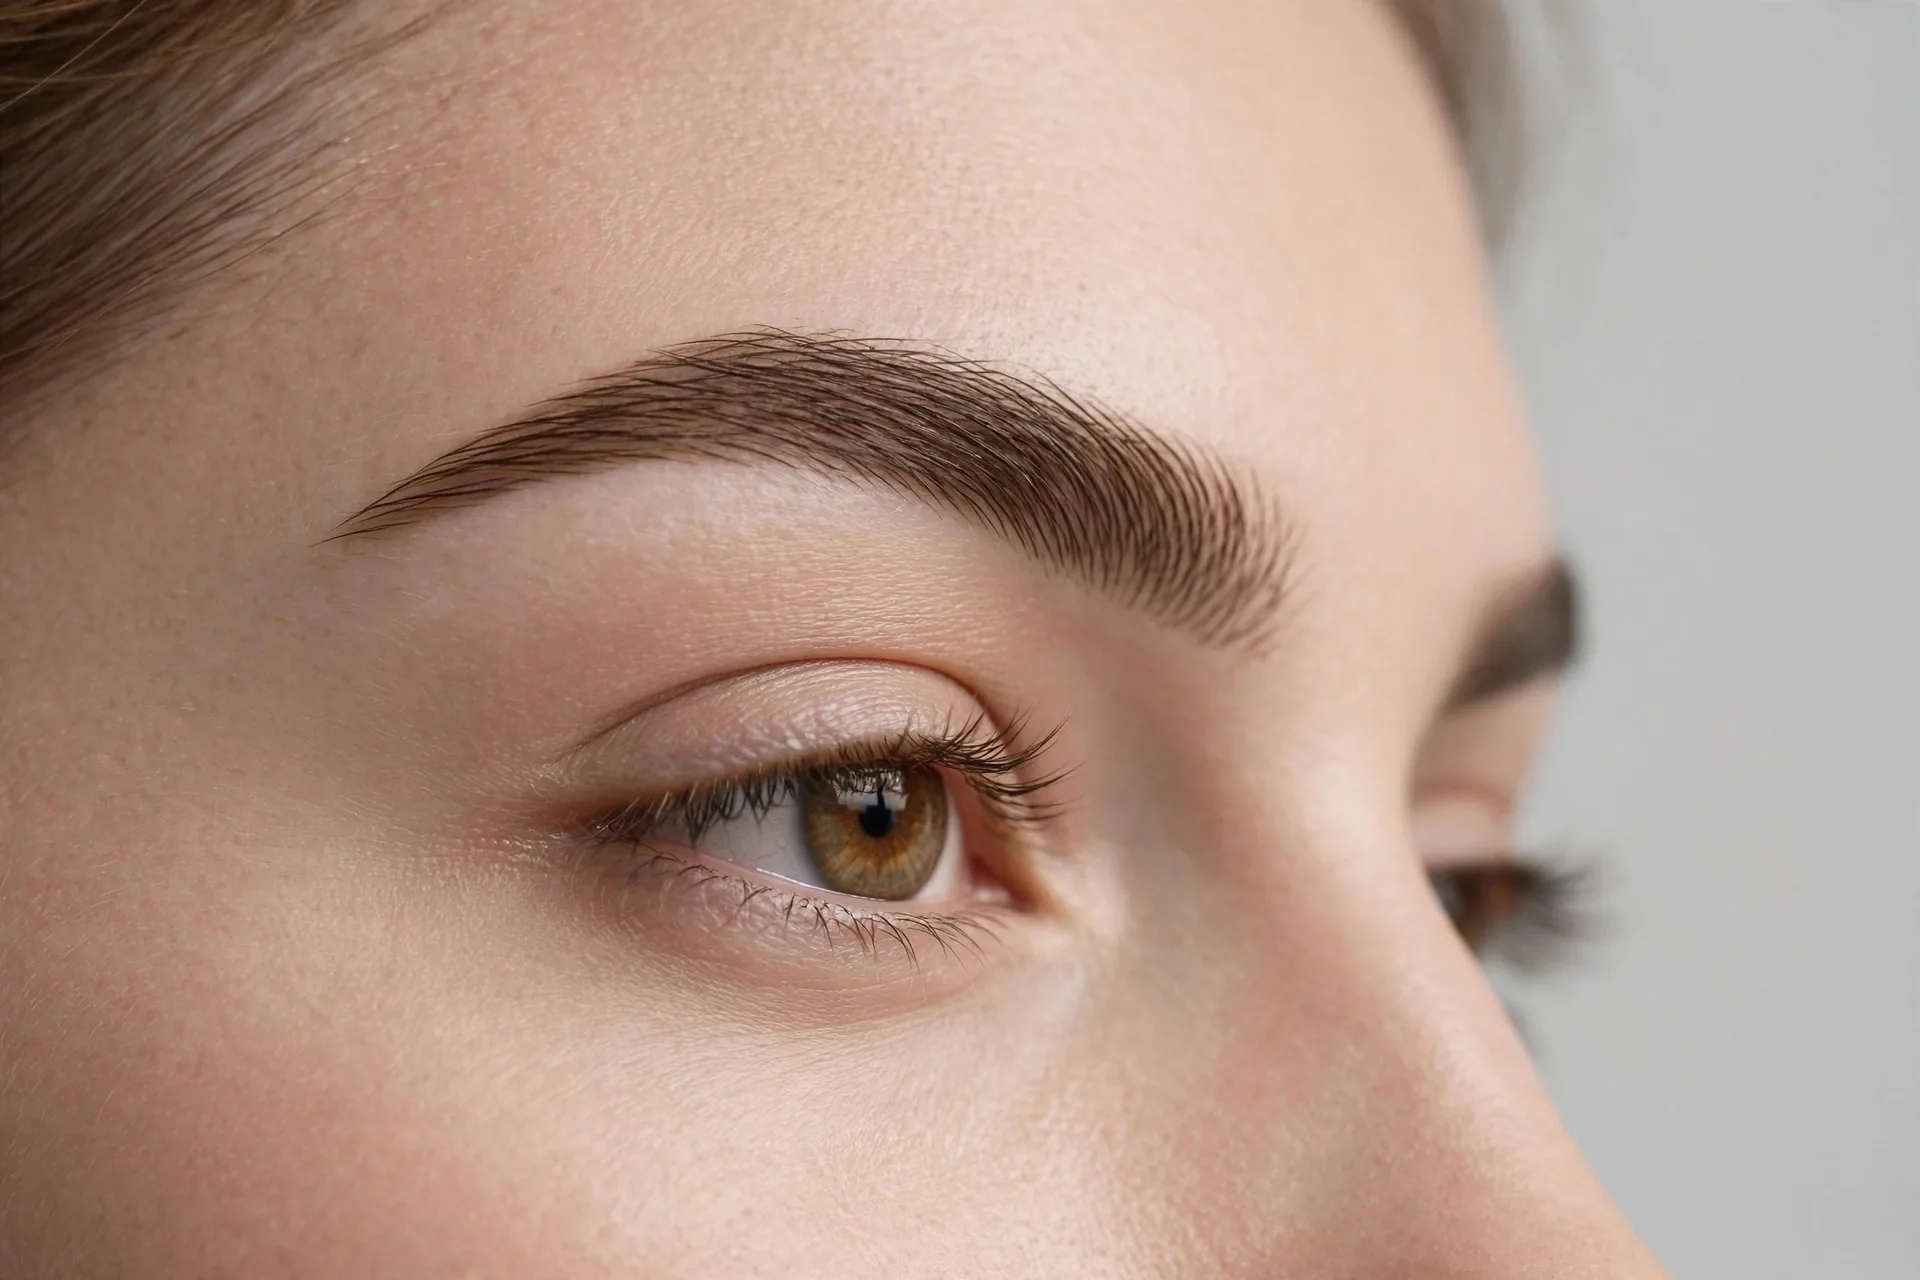
The consensus among brow artists is clear: a high arch with a soft angle is the most flattering brow for round faces.
- High arch: the peak of the brow sits noticeably above the brow’s start and tail, adding vertical lift.
- Soft-angled (not sharp): the peak comes to a gentle point rather than a severe angle. Too sharp looks harsh; too rounded loses the lengthening effect.
- Slightly elongated tail: extending the tail a touch longer than “natural” draws the eye outward and down in a slimming diagonal.
What to avoid: completely straight brows (widen the face visually), very round arches (mirror the face shape), and ultra-thin brows (they disappear and leave the roundness unchallenged).
Where Exactly to Place the Arch
Arch placement matters as much as arch height. The classic mapping method:
- Start: hold a pencil vertically against the side of your nose — where it crosses the brow is where the brow should begin.
- Arch peak: angle the pencil from the nose’s edge through the outer edge of the iris (looking straight ahead). Where it crosses the brow is your ideal arch point. For round faces, you can place it a few millimeters further out than the textbook spot — this lengthens the lifting diagonal.
- Tail: angle the pencil from the nose’s edge past the outer corner of the eye. The brow should end roughly there. Don’t let tails droop downward — downturned tails drag the face down.
Mark these three points lightly with a brow pencil before you tweeze or fill. It takes the guesswork out completely.
Shaping Methods: What Works Best
Tweezing: best for maintenance and small adjustments. Tweeze from below the brow to raise the arch; avoid over-tweezing the top, which flattens the shape.
Waxing/threading: good for a full reshape, but bring a reference photo and be specific — “high soft arch, longer tail” — because the default tidy-up often rounds brows out.
Microblading: only worth it once you know your ideal shape. Live with a penciled-in version for a few weeks first.
Filling (pencil/powder): the zero-commitment option. Fill the arch peak slightly higher and more defined than your natural brow, extend the tail, and see how it looks for a week before removing any hair.
Filling Technique for Maximum Lift
- Brush brows upward with a spoolie.
- Define the bottom edge of the brow from start to arch with light strokes — a crisp lower edge is what creates the lifted look.
- Build the arch peak with slightly more product, keeping it soft, not spiky.
- Extend the tail in the direction of your temple, tapering to a soft point.
- Set with clear brow gel, brushing the front of the brow up and the tail toward the temple.
Keep the front of the brow softer than the arch — a gradient (lighter at the start, more defined at the arch and tail) looks modern and avoids the stamped-on effect.
Common Mistakes on Round Faces
- Over-plucking the arch: chasing height by removing too much hair underneath creates a surprised, harsh look. Build height with fill first; remove hair second.
- Tails that curve down: even slightly downturned tails visually shorten the face. The tail should travel outward, ending level with or above the brow’s start.
- Matching the brow to the face’s roundness: a brow that follows your face’s curve feels harmonious but adds no structure. Contrast is the point.
- Ignoring thickness: very thin brows can’t carry an arch — they read as a line rather than a shape. Keep moderate fullness through the arch.
How Brows Interact With the Rest of Your Face
Brows don’t work alone. The facial fifths — the vertical divisions of face width — include brow positioning as a key proportion, and brow height affects how the facial thirds read. If you raise your arches significantly, you may want to double-check your overall proportions with a quick photo analysis — Russella’s free AI face rating tool maps your features and shows how they sit within your face’s geometry, which helps you judge whether a brow change actually improved the balance or just feels different because it’s new.
Maintaining Your New Brow Shape
A reshape is only as good as its upkeep. Brows grow fast, and strays outside your mapped shape will blur the arch within two weeks.
- Weekly: tweeze only the obvious strays well outside your three mapped points (start, arch, tail). Never touch the top edge of the arch — that’s where the lift lives.
- Every 3–4 weeks: if you wax or thread, that’s the right interval. Longer gaps let the shape dissolve; shorter ones irritate the skin.
- Daily: brush through with a spoolie before filling. Hairs that have shifted overnight can make even a perfect shape look messy.
- Regrowth phases: if you’re growing out over-plucked areas, fill the target shape daily and resist touching anything inside it for 6–8 weeks. It’s tempting to “clean up” — don’t.
Take a straight-on photo in daylight once a month and compare it to the photo from your reshape day. Photos catch drift your mirror misses.
FAQ
Should eyebrows be arched or straight for a round face?
Arched — specifically a high, soft-angled arch. Straight brows emphasize width, which is the one thing round faces don’t need emphasized.
How high should the arch be?
High enough to be clearly visible, but not so high it looks surprised. A good test: the arch peak should sit noticeably above an imaginary straight line connecting the brow’s start and tail — roughly 3–5mm on most faces.
Can I fix over-plucked brows?
Yes, with patience. Stop tweezing for 4–8 weeks, fill the desired shape in daily, and only clean up strays well outside the target shape. Brow serums can help, but time does most of the work.
Do thick or thin brows suit round faces better?
Medium to full. Thickness gives the arch presence; overly thin brows can’t create the lifting structure a round face benefits from. That said, work with your natural density — forcing thickness you don’t have looks worse than a well-shaped natural brow.
Waxing, threading, or tweezing — which should I choose?
Threading offers the most precision for shaping (ideal for creating a new arch). Waxing is fastest for maintenance once the shape exists. Tweezing is best for weekly touch-ups between appointments. Most people end up combining: threading for the reshape, tweezing for upkeep.